You are using an out of date browser. It may not display this or other websites correctly.
You should upgrade or use an alternative browser.
You should upgrade or use an alternative browser.
Flatlands #1
- Thread starter FlatlandFSJ
- Start date
Help Support Hardline Crawlers:
1tonyj
Well-Known Member
Thxs fellas....Bebop ready to see yours done....hurry up lol!
smbroady82
Well-Known Member
1tonyj said:Thxs fellas....Bebop ready to see yours done....hurry up lol!
looks awesome man! Idk how I missed it up and running
FlatlandFSJ
Well-Known Member
Dwalk said:Awesome buggy, very talented Fabricator.
Thanks man, it was a blast riding with you this weekend. And thanks again for showing us around HPO, we would have never found all that stuff with my navigation and Rays driving :rolf:
1tonyj
Well-Known Member
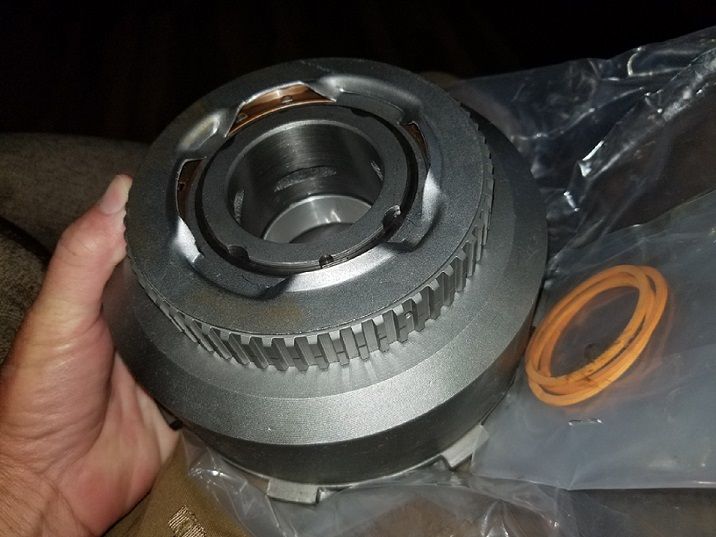
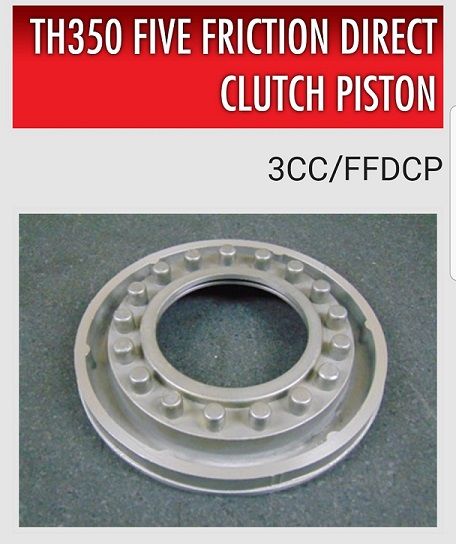
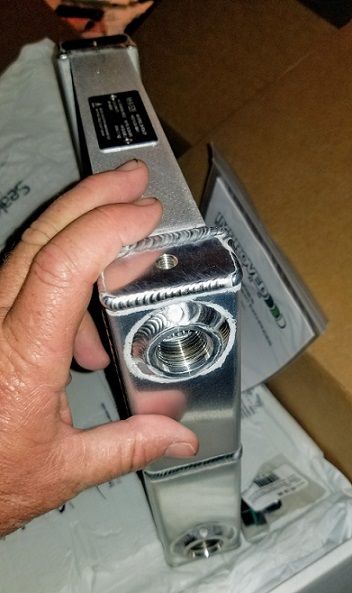
So i lost second gear in the tranny (th350)......and yep the hardened intermediate sprag blew to pieces lol. So I bought a new direct drum that has been fitted with the larger 36 element hardened sprag and ordered a new piston that has been machined to accept an extra friction and steel. Hopefully this will help keep the trans together.
Attachments
1tonyj
Well-Known Member
ranger11 said:Where did you get your parts from?
Sent from my XT1635-01 using Tapatalk
Drum and sprag are from TCI and the piston is from CKperformance
1tonyj
Well-Known Member
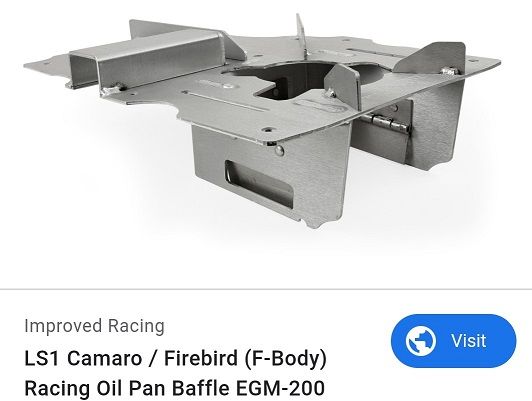
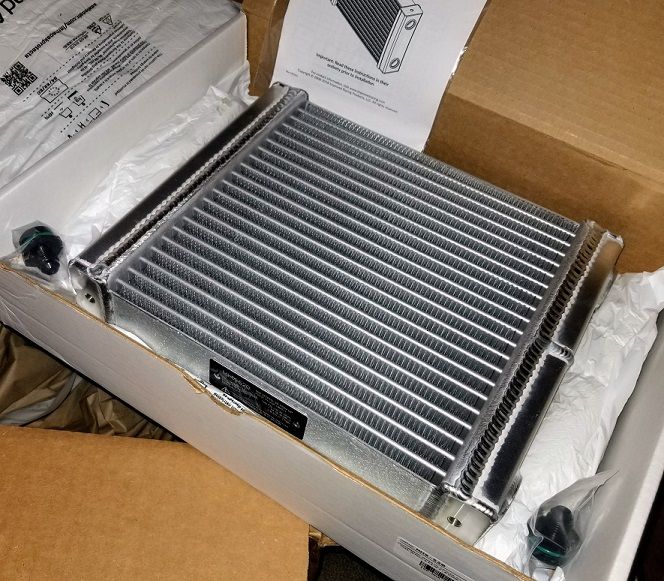
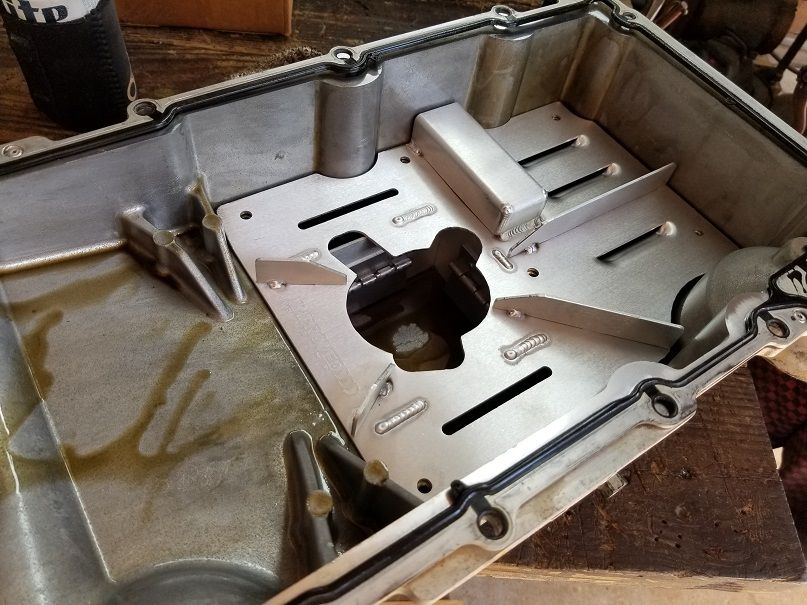
While the trans is out figured it was time to upgrade a couple things. Decided to drop in one of these Improved Racing oil pan baffle systems as well as upgrade my two tranny coolers to these Improved Racing coolers....which are backed by 10" fans.
Attachments
1tonyj
Well-Known Member
1tonyj
Well-Known Member
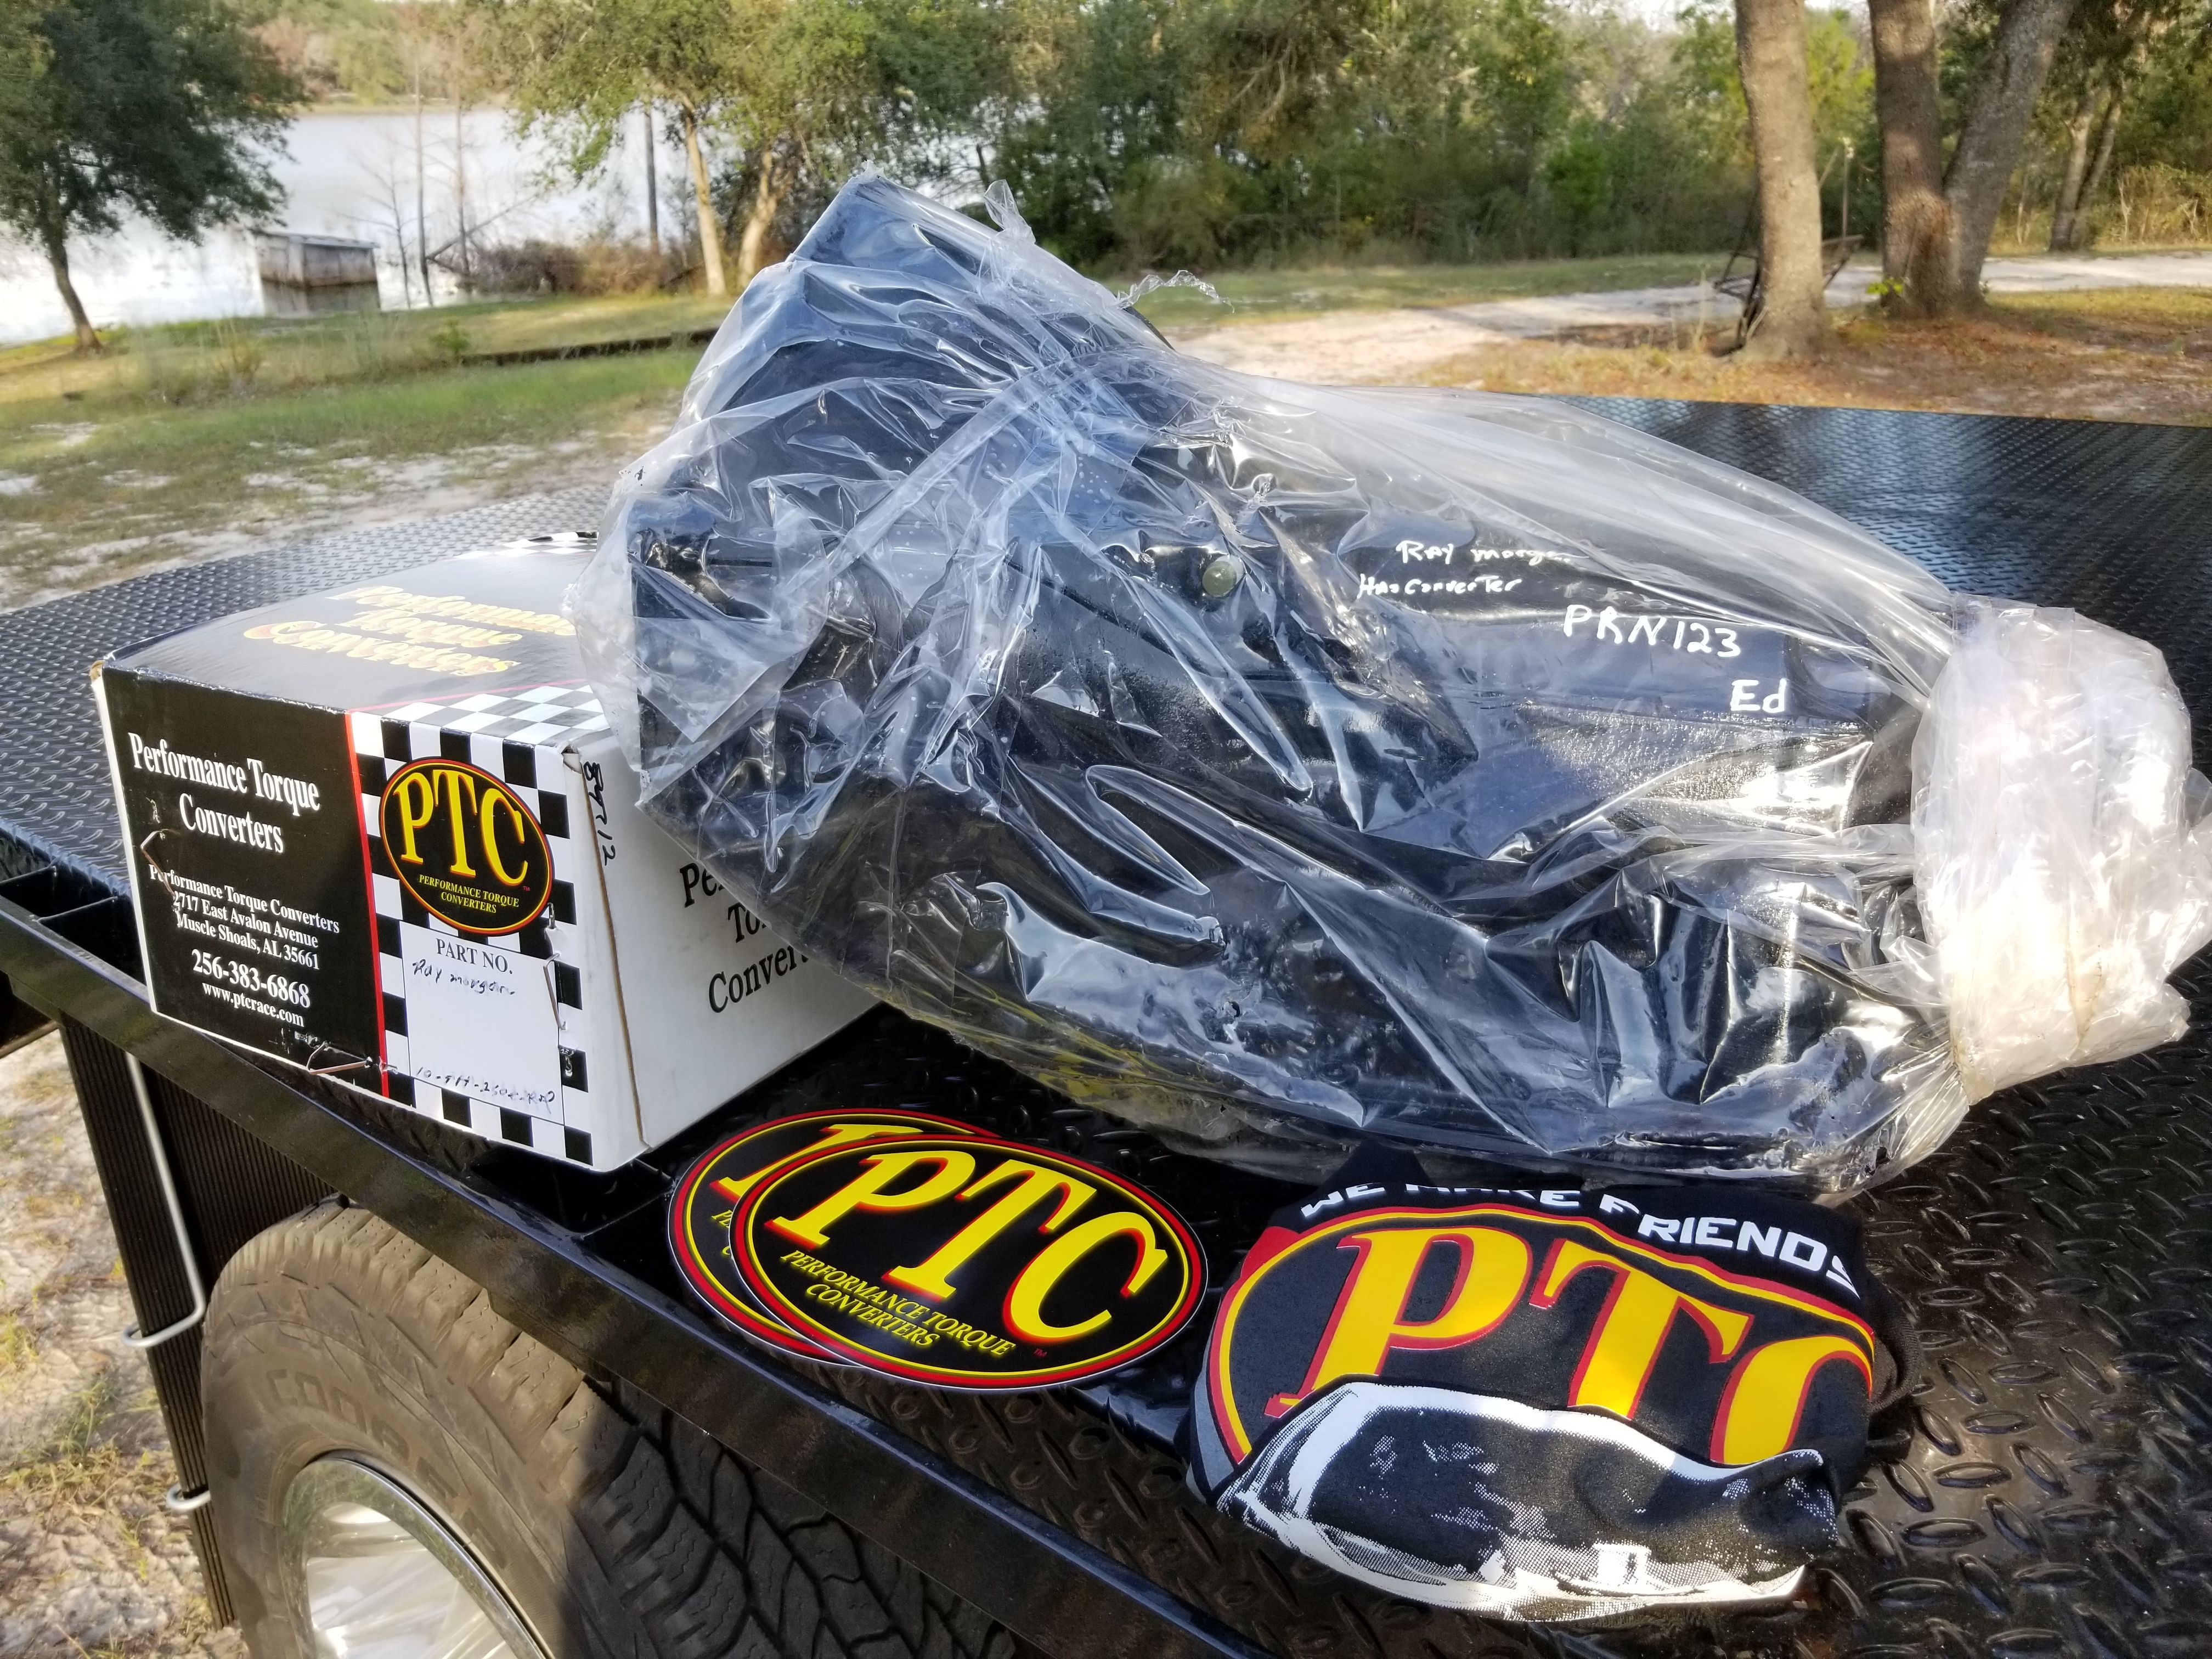
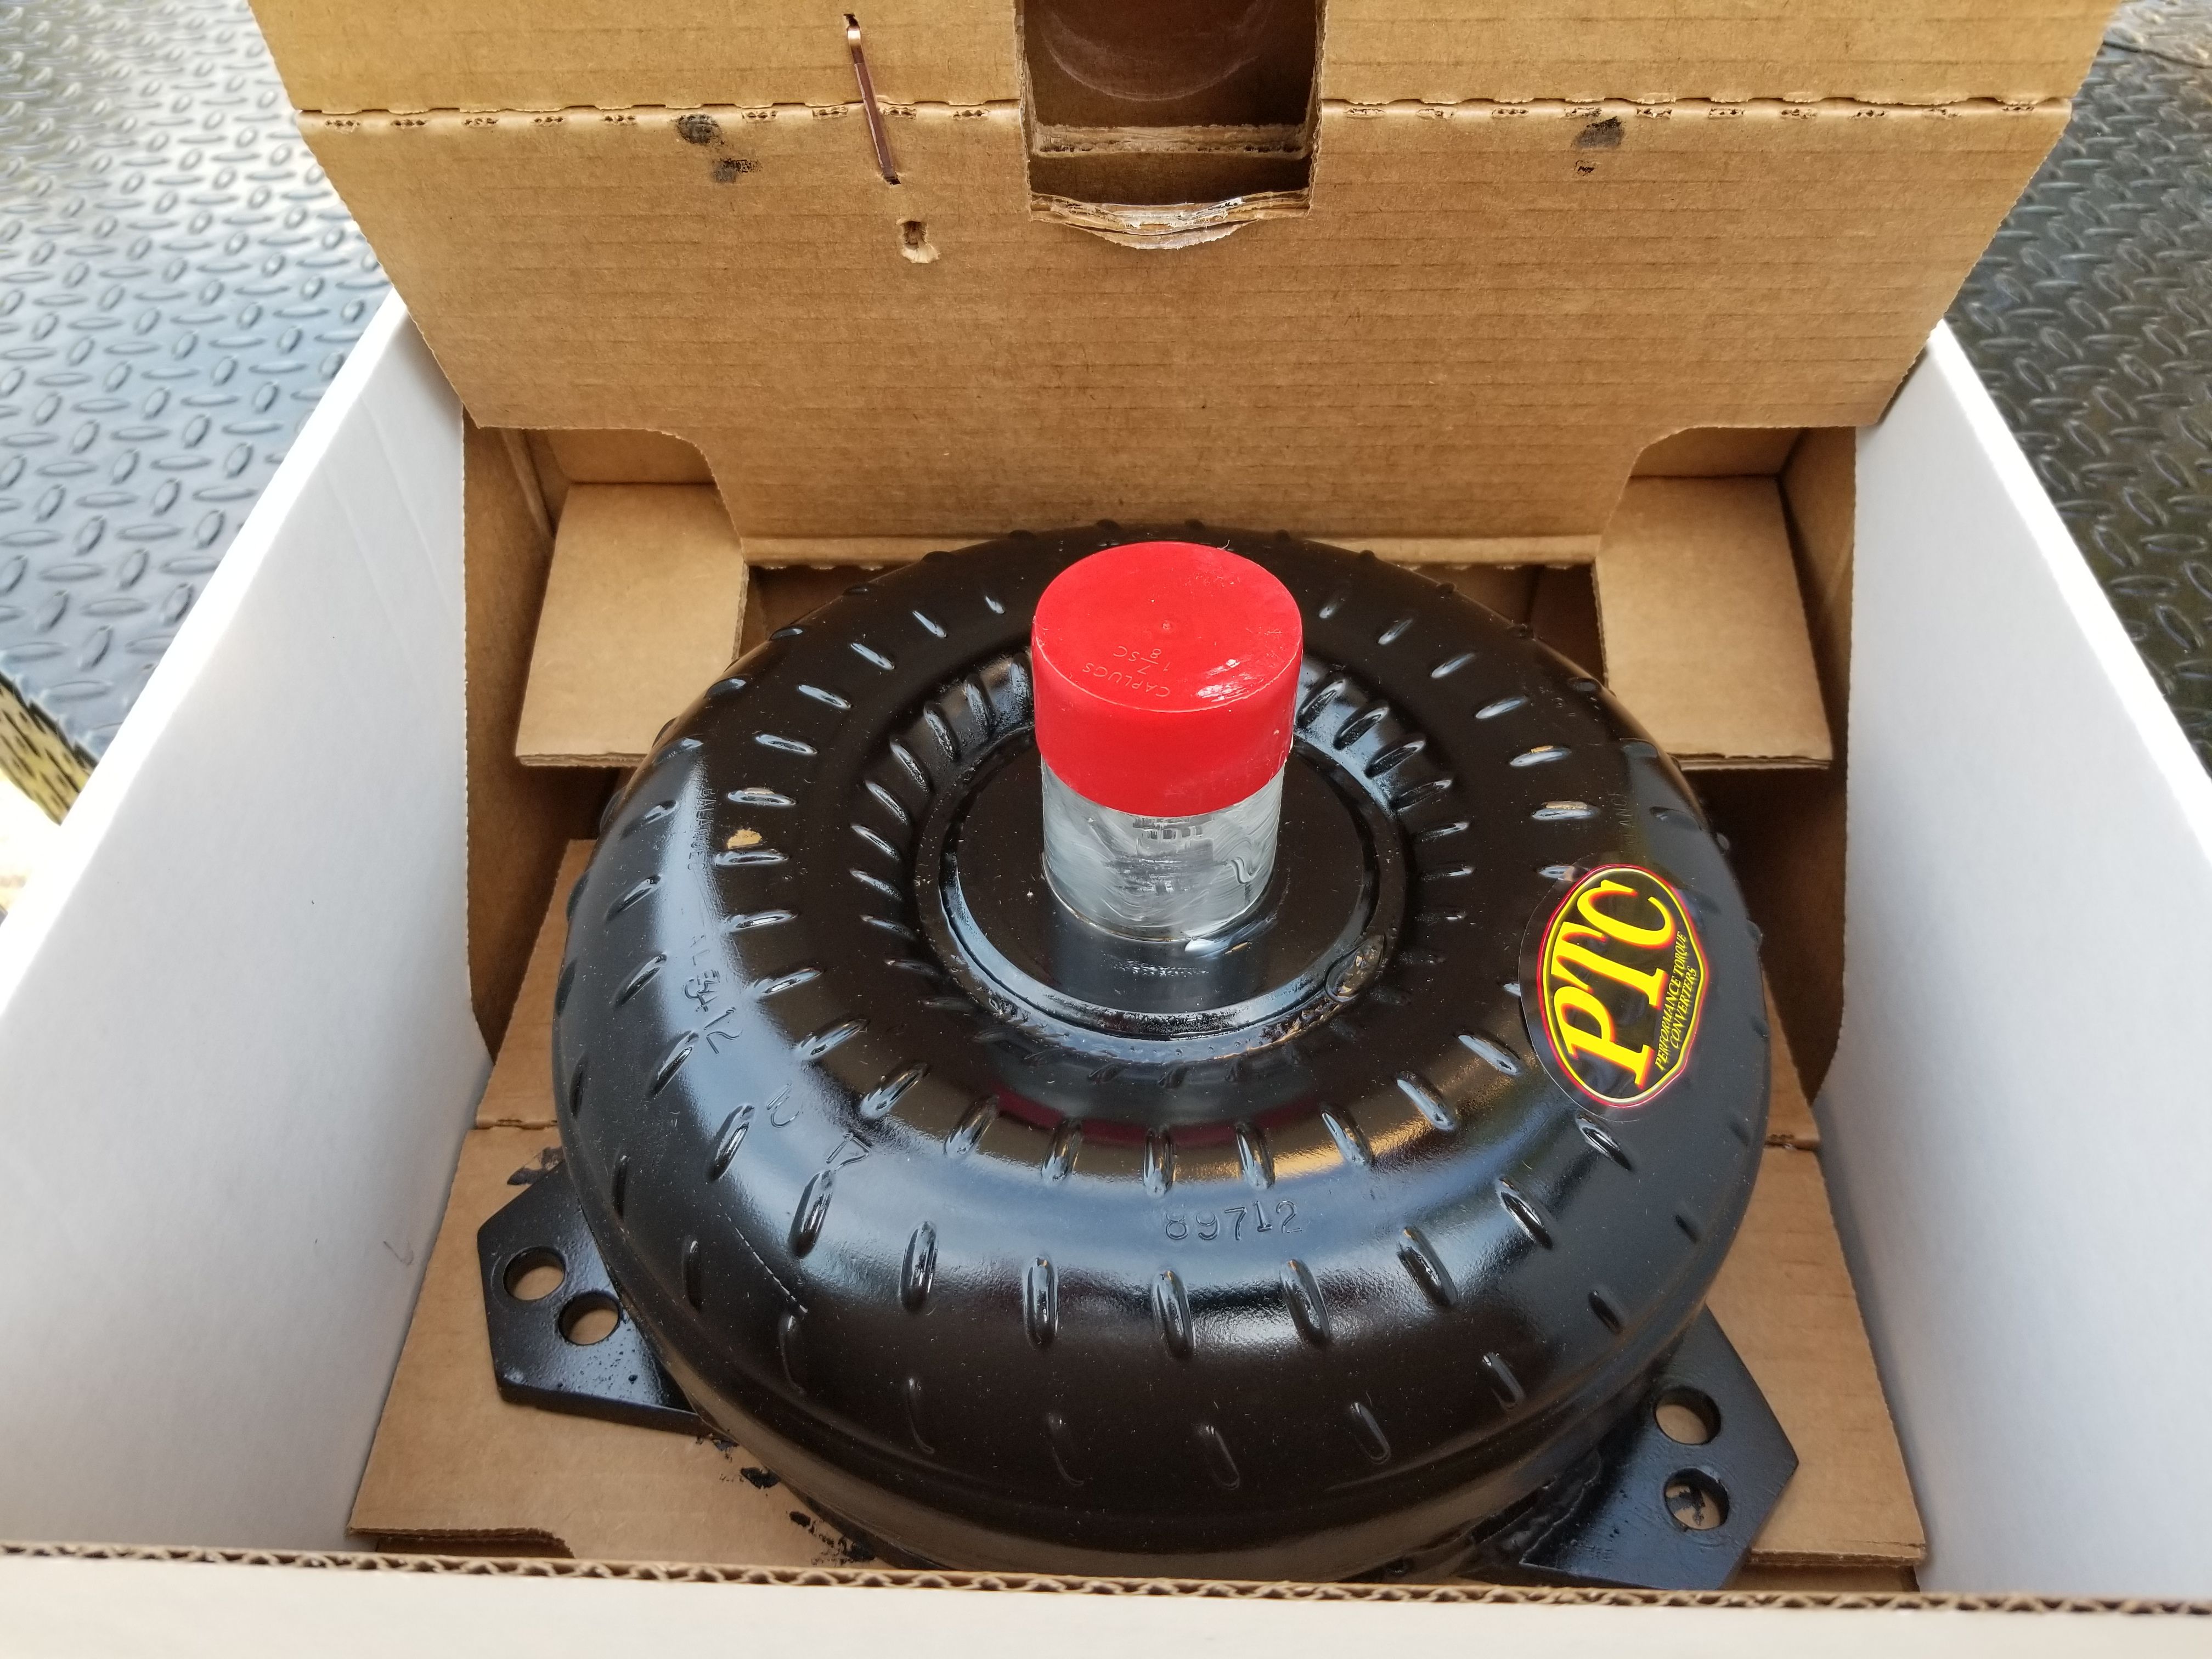
Well after getting ****ed around for a month with a local trans builder I finally did what I should have done in the very beginning and called Ed at PTC. Told him what my buggy specs were and what I wanted and seven business days later it was delivered! Big THANK YOU to PTC and Ed for the customer service and understanding what guys like us do with our rigs. Now to get this all back together.
Attachments
crzyamerican
Member
Love this rig Ray! Great job Dylan! It looks and performs great! It rides soooo nice!
I need some panels, console reworked, and a re-wire!
I need some panels, console reworked, and a re-wire!
Last edited:
1tonyj
Well-Known Member
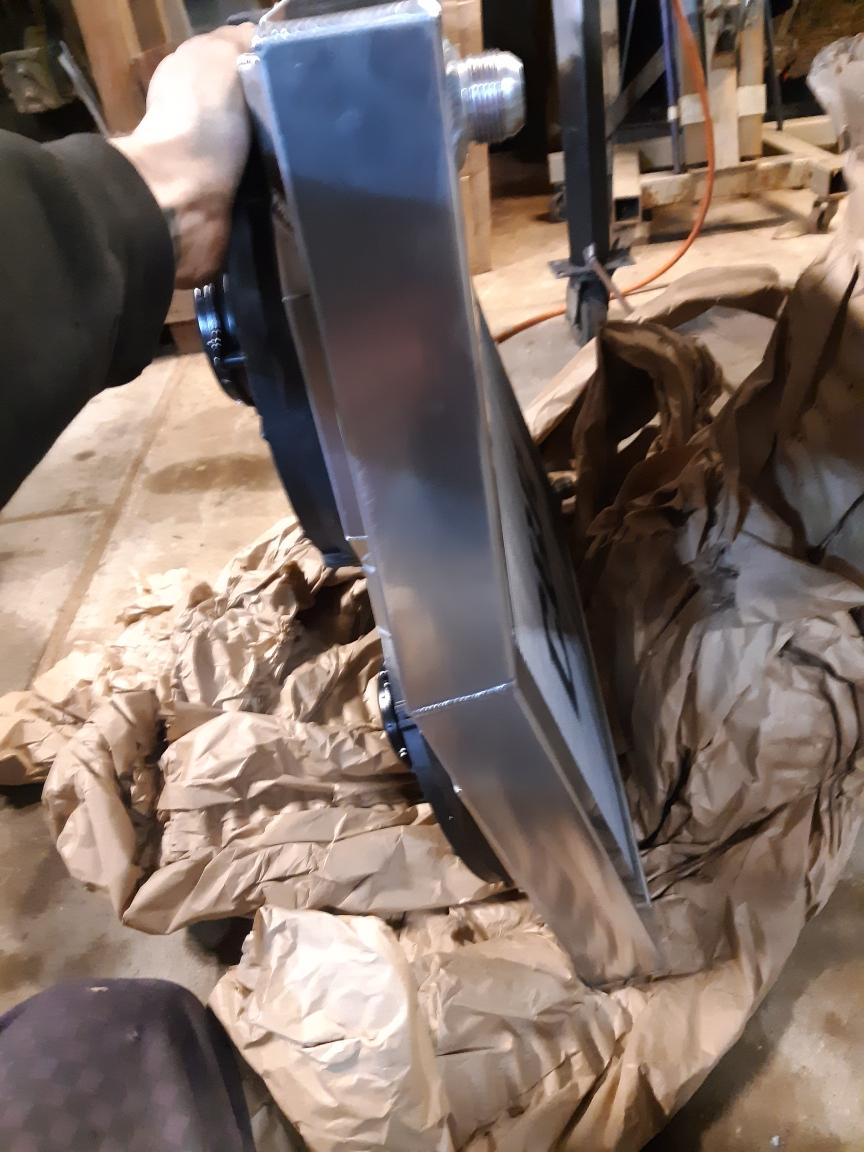
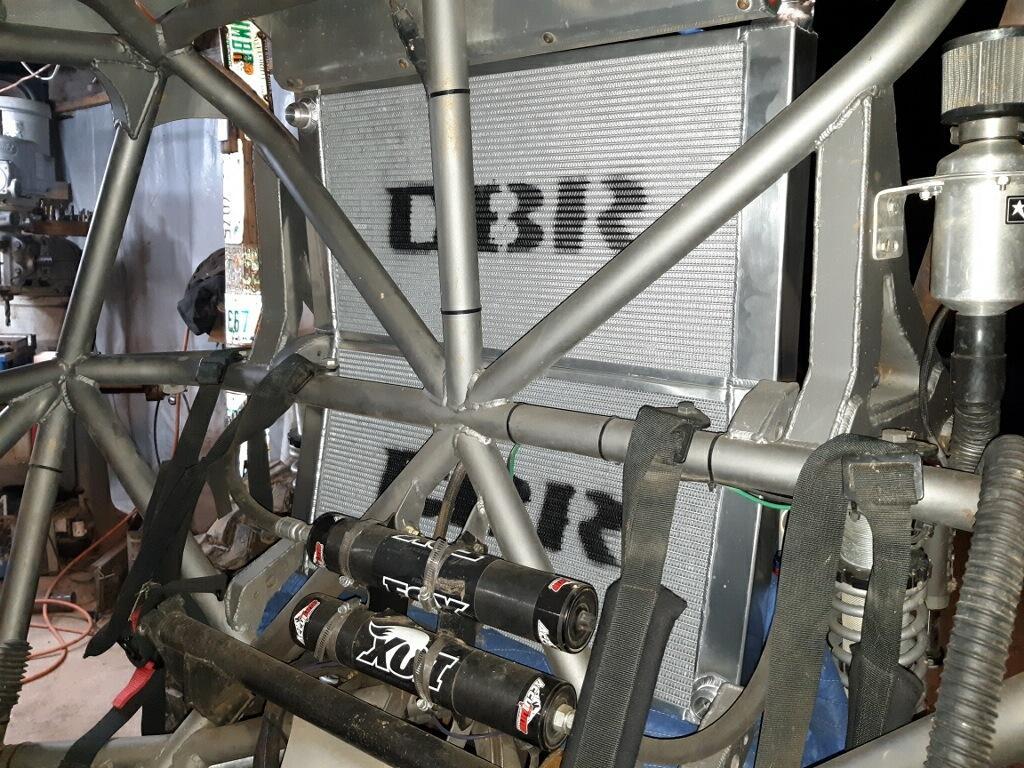
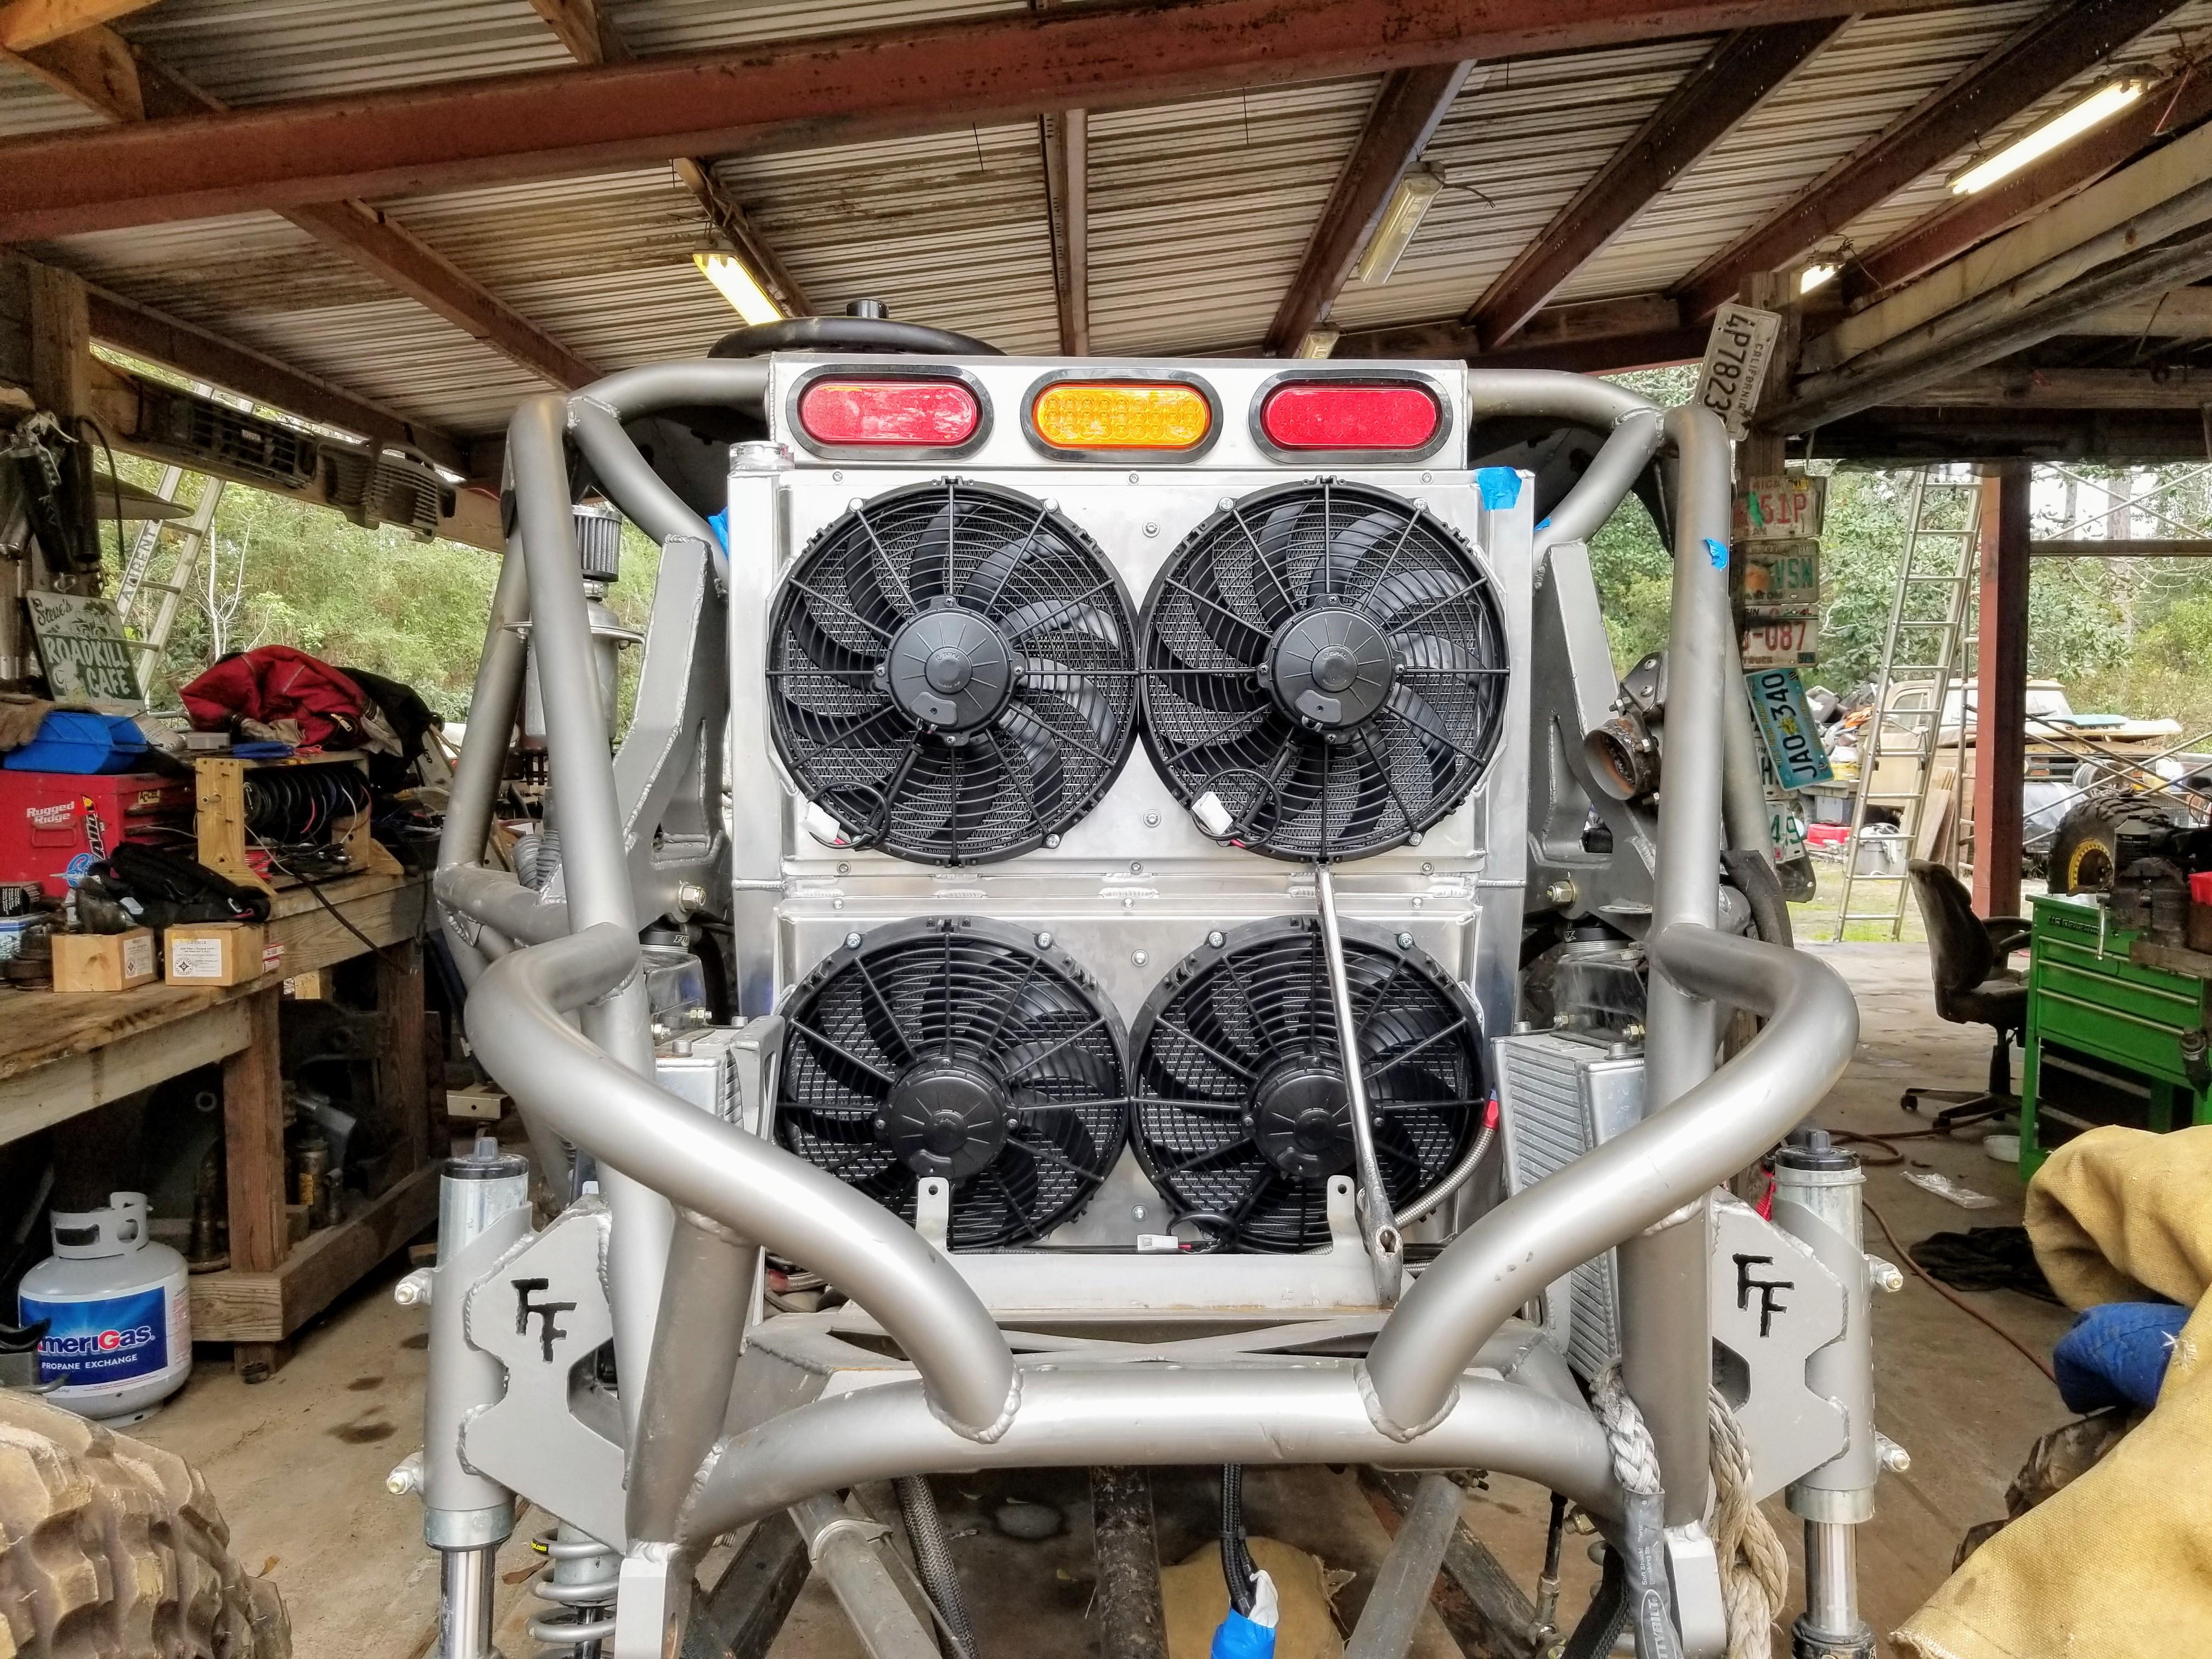
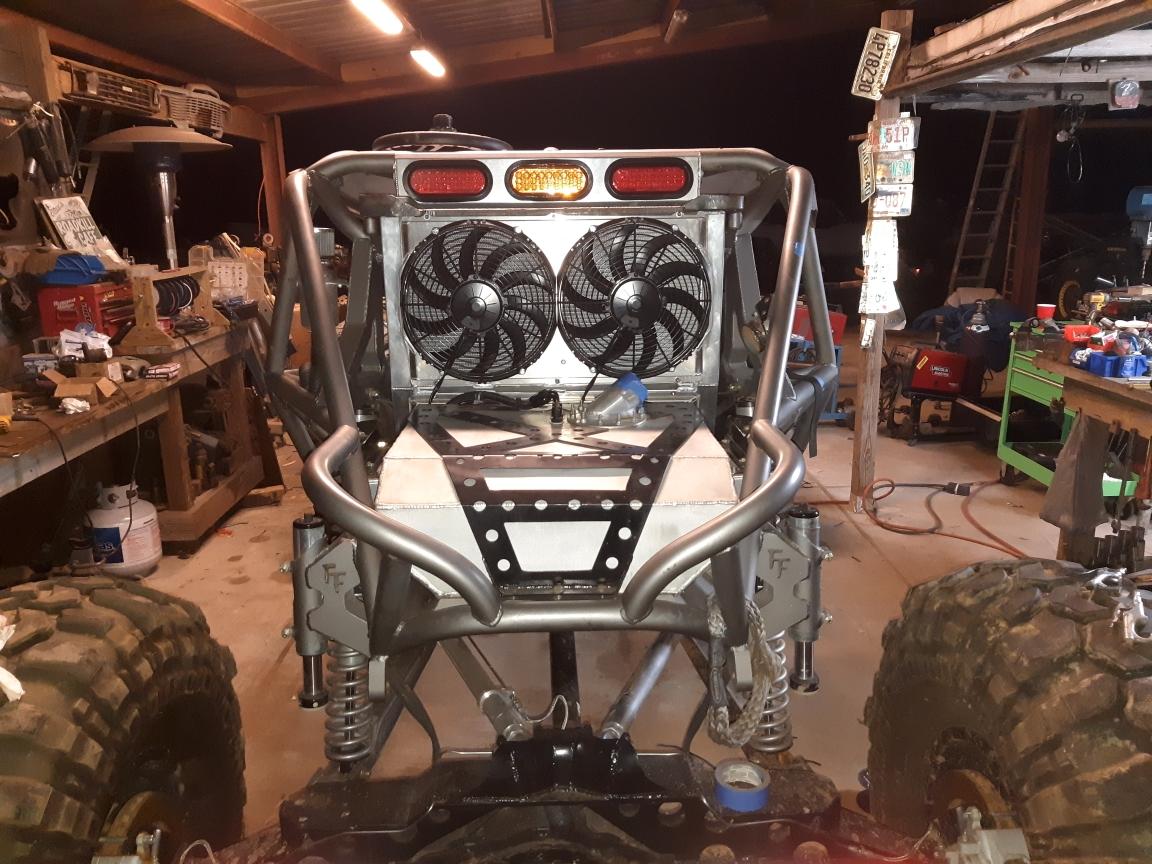
Update to the build...I got tired of having to pull off the trail to let the buggy cool on long rides and on hard beat downs, so Dillion called up CBR and had them build a custom radiator to fit the rear of the buggy. This should take care of the cooling issues....and allow me to put a real motor in this thing one day lol.
Attachments
extremetownie
Well-Known Member
- Joined
- Apr 7, 2009
- Messages
- 711
- Reaction score
- 204
Bygod if that dont cool it, there are other issues for sure.
crzyamerican
Member
I agree. I was telling him the other day, when my steering gets hot, I’ll just pull up next to him.
1tonyj
Well-Known Member
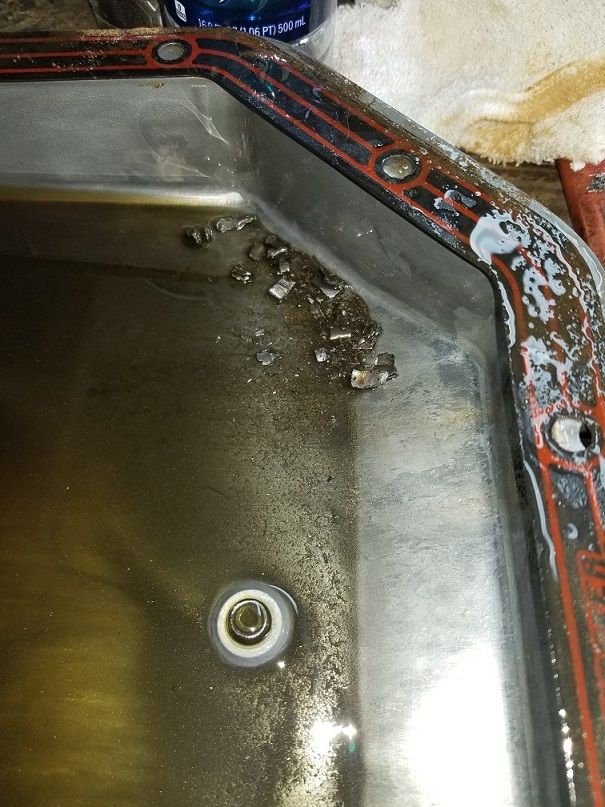
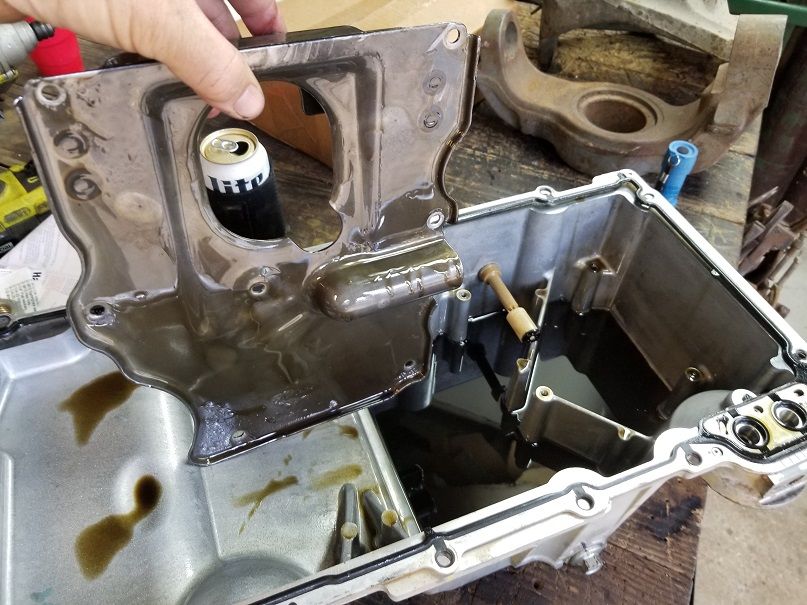
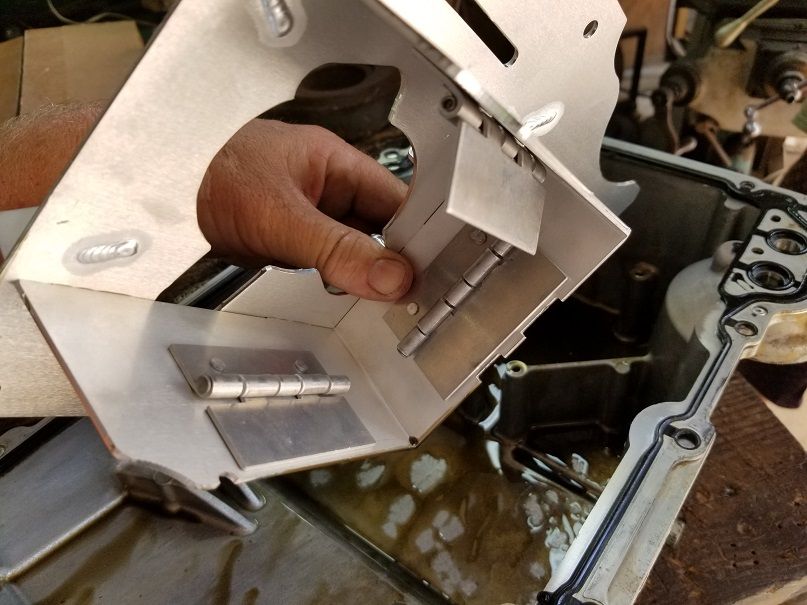
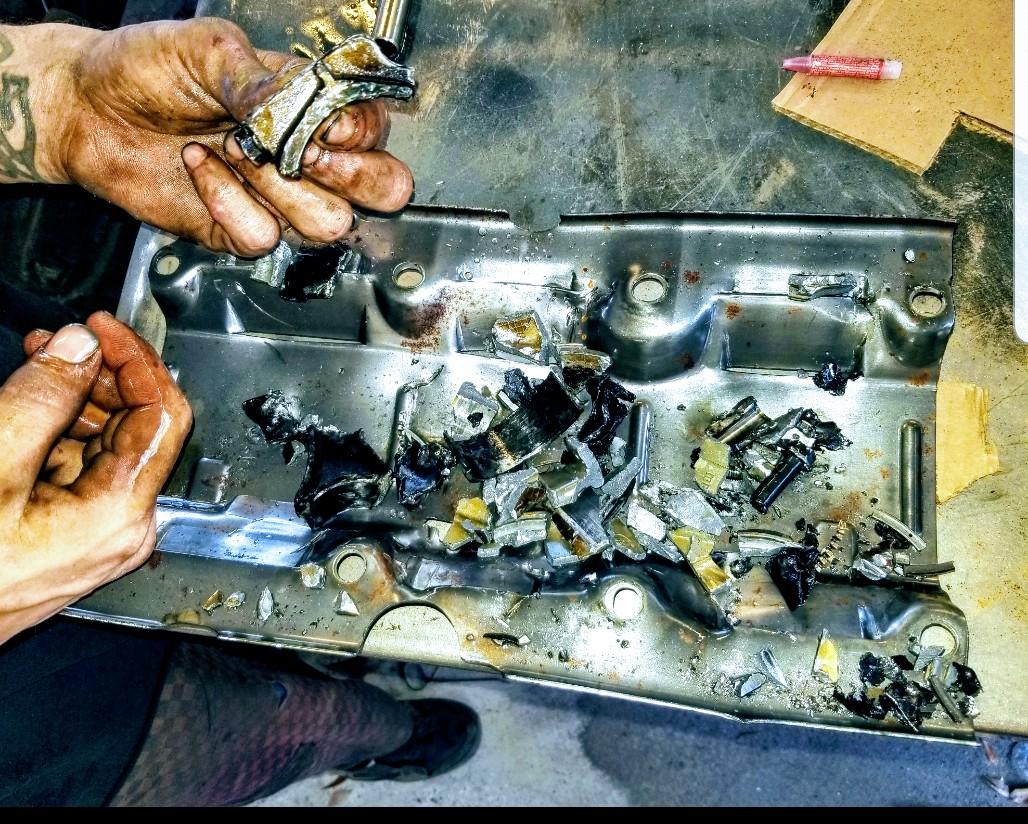
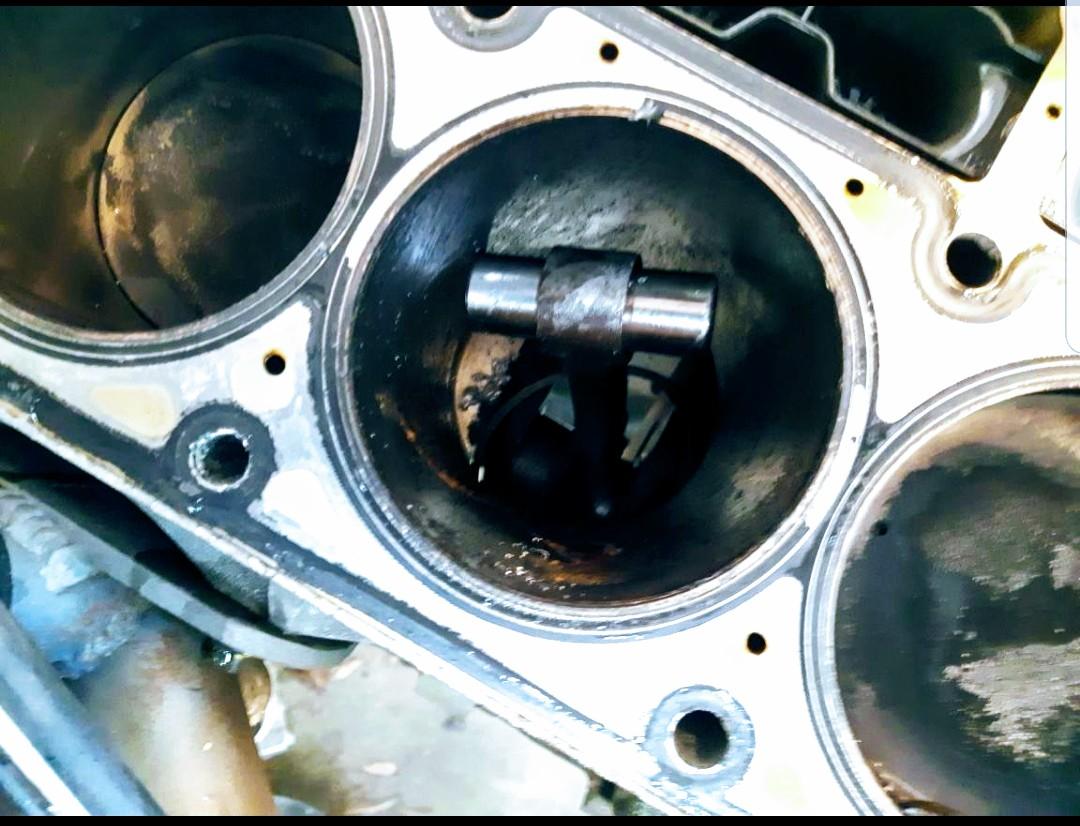
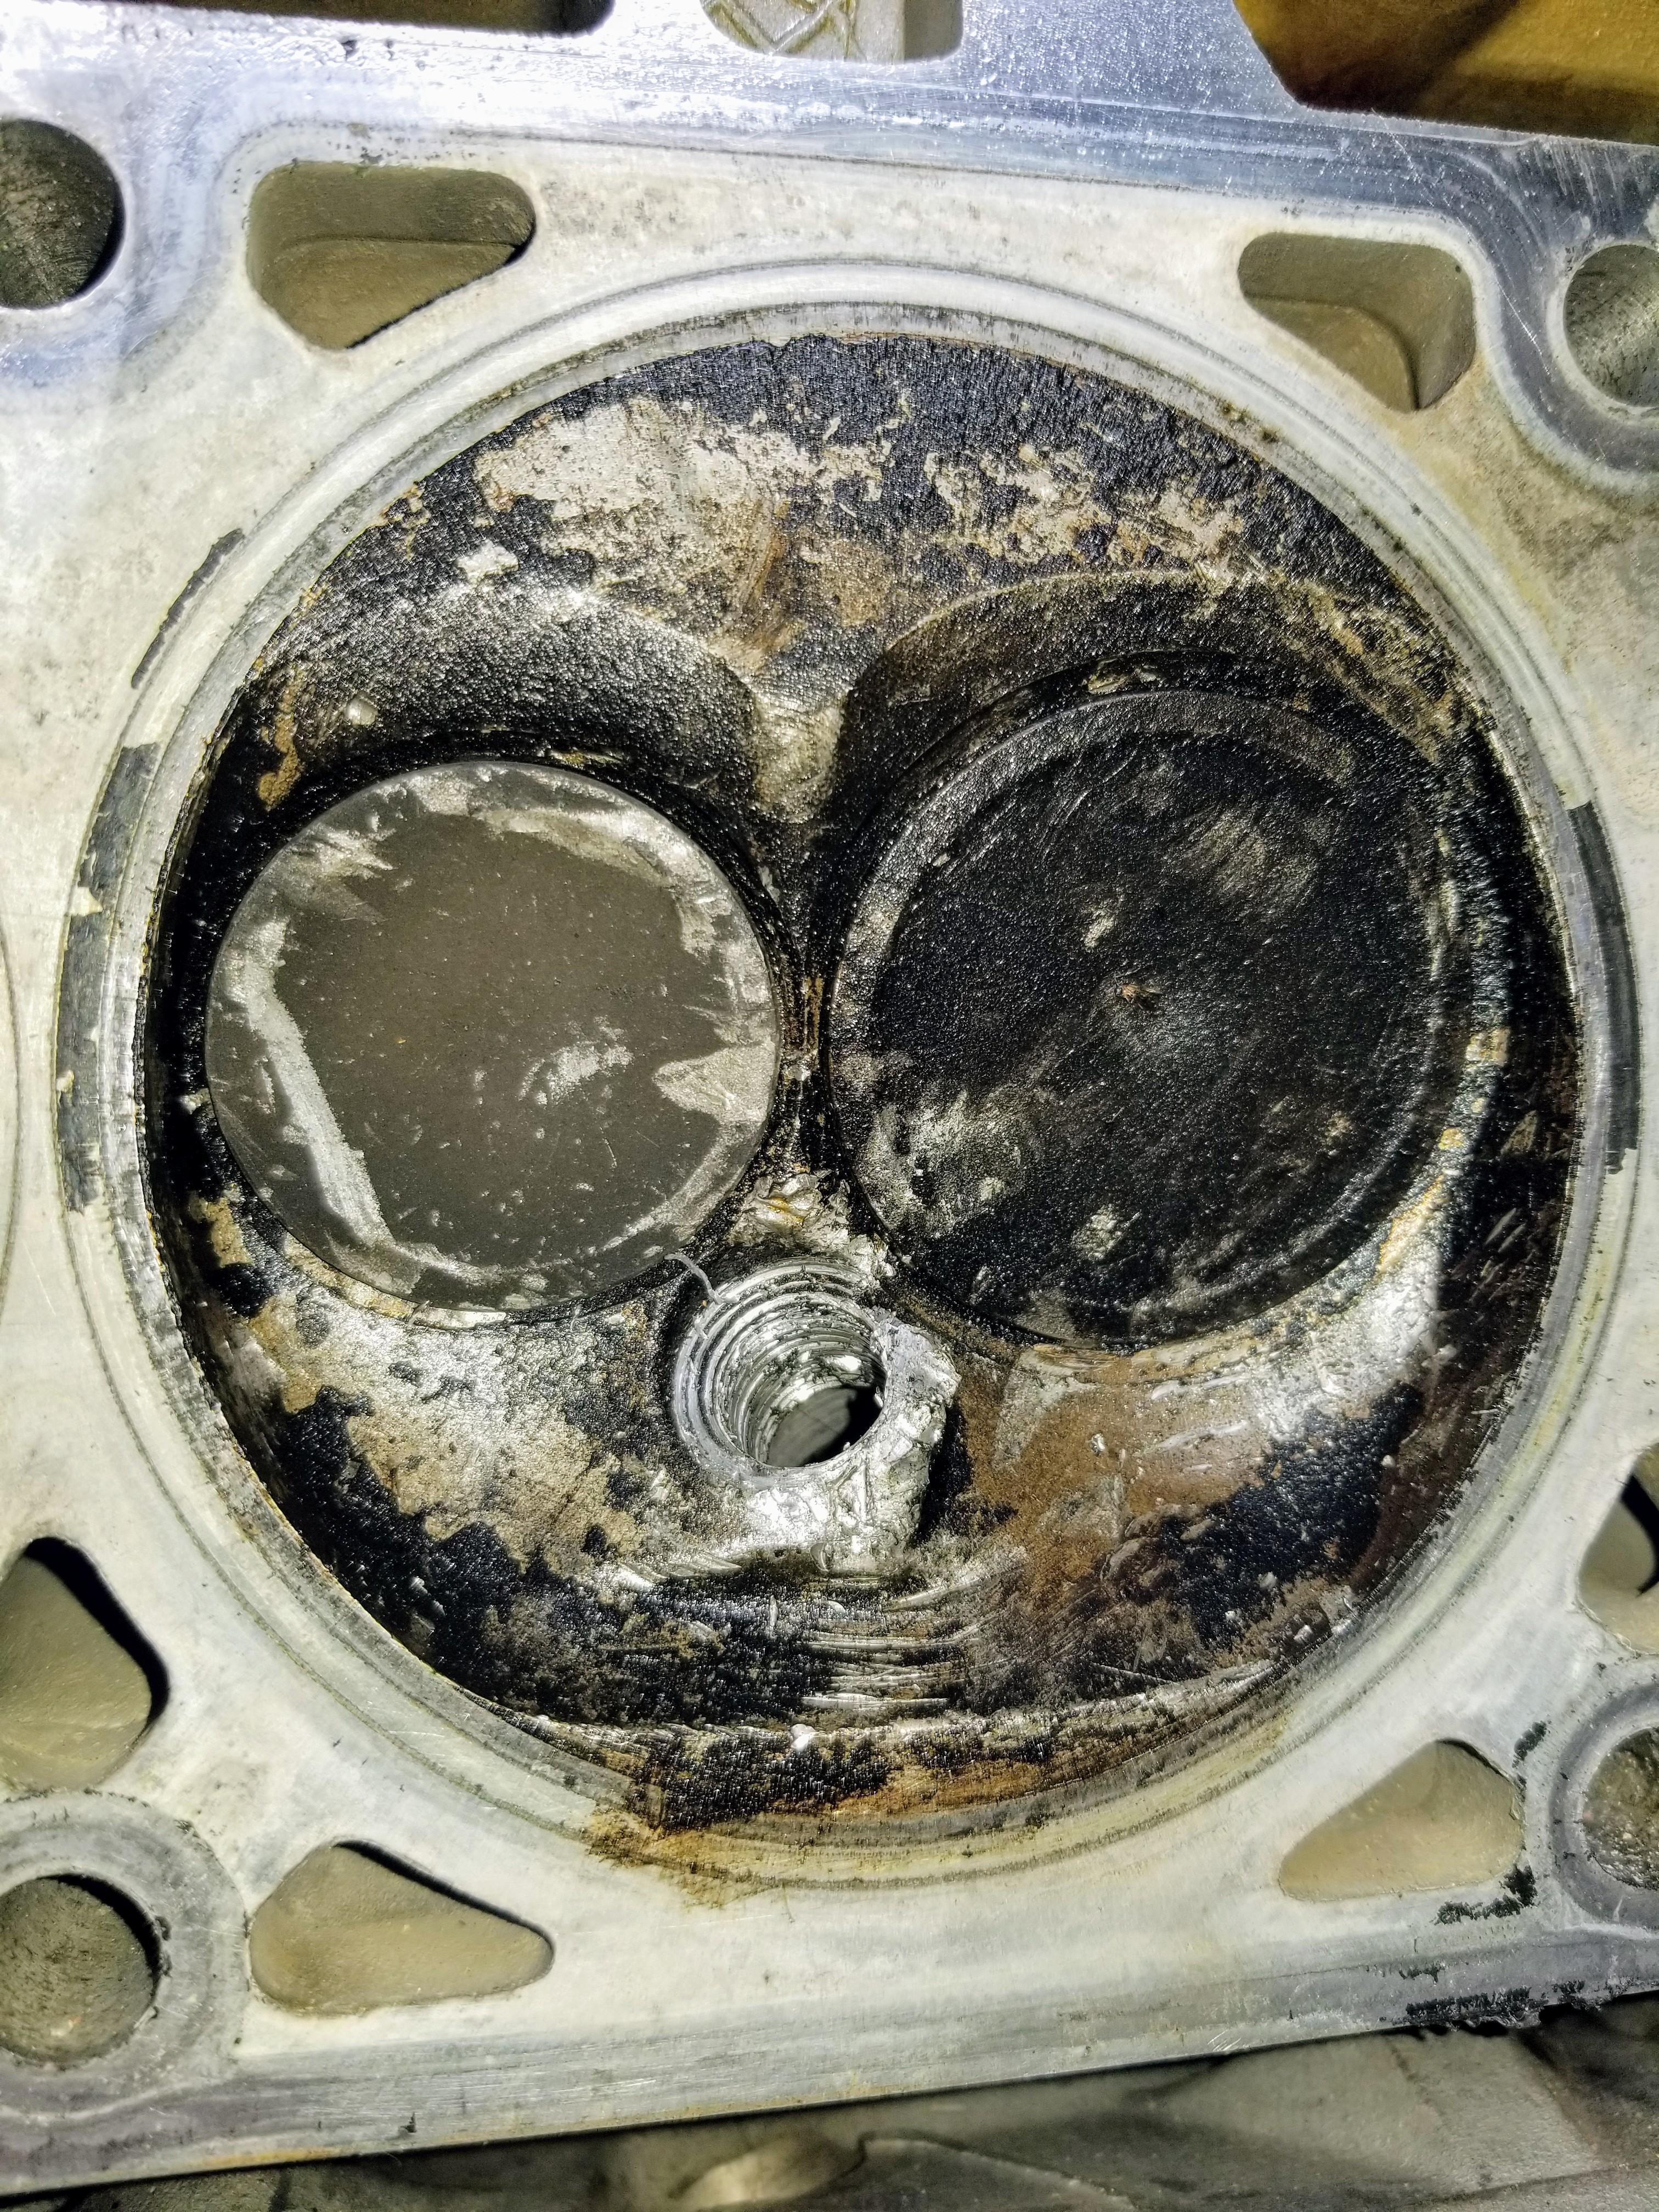
So just a little update...not long after the install of the new radiator (which is awesome) I proceeded to pretty much destroy my motor...#6 piston broke and #5 rod broke in half causing two nice holes in my aluminum block along with some other damage. In the pics you can see all the parts that were on top of the windage tray when we dropped it along with a pic of the driver head lol. This motor has always had lower oil pressure than id like and we knew it was suspect when we put it in but money was tight after just building the buggy and I was just trying to get it on the trail.. so the outcome wasn't surprising.
Attachments
1tonyj
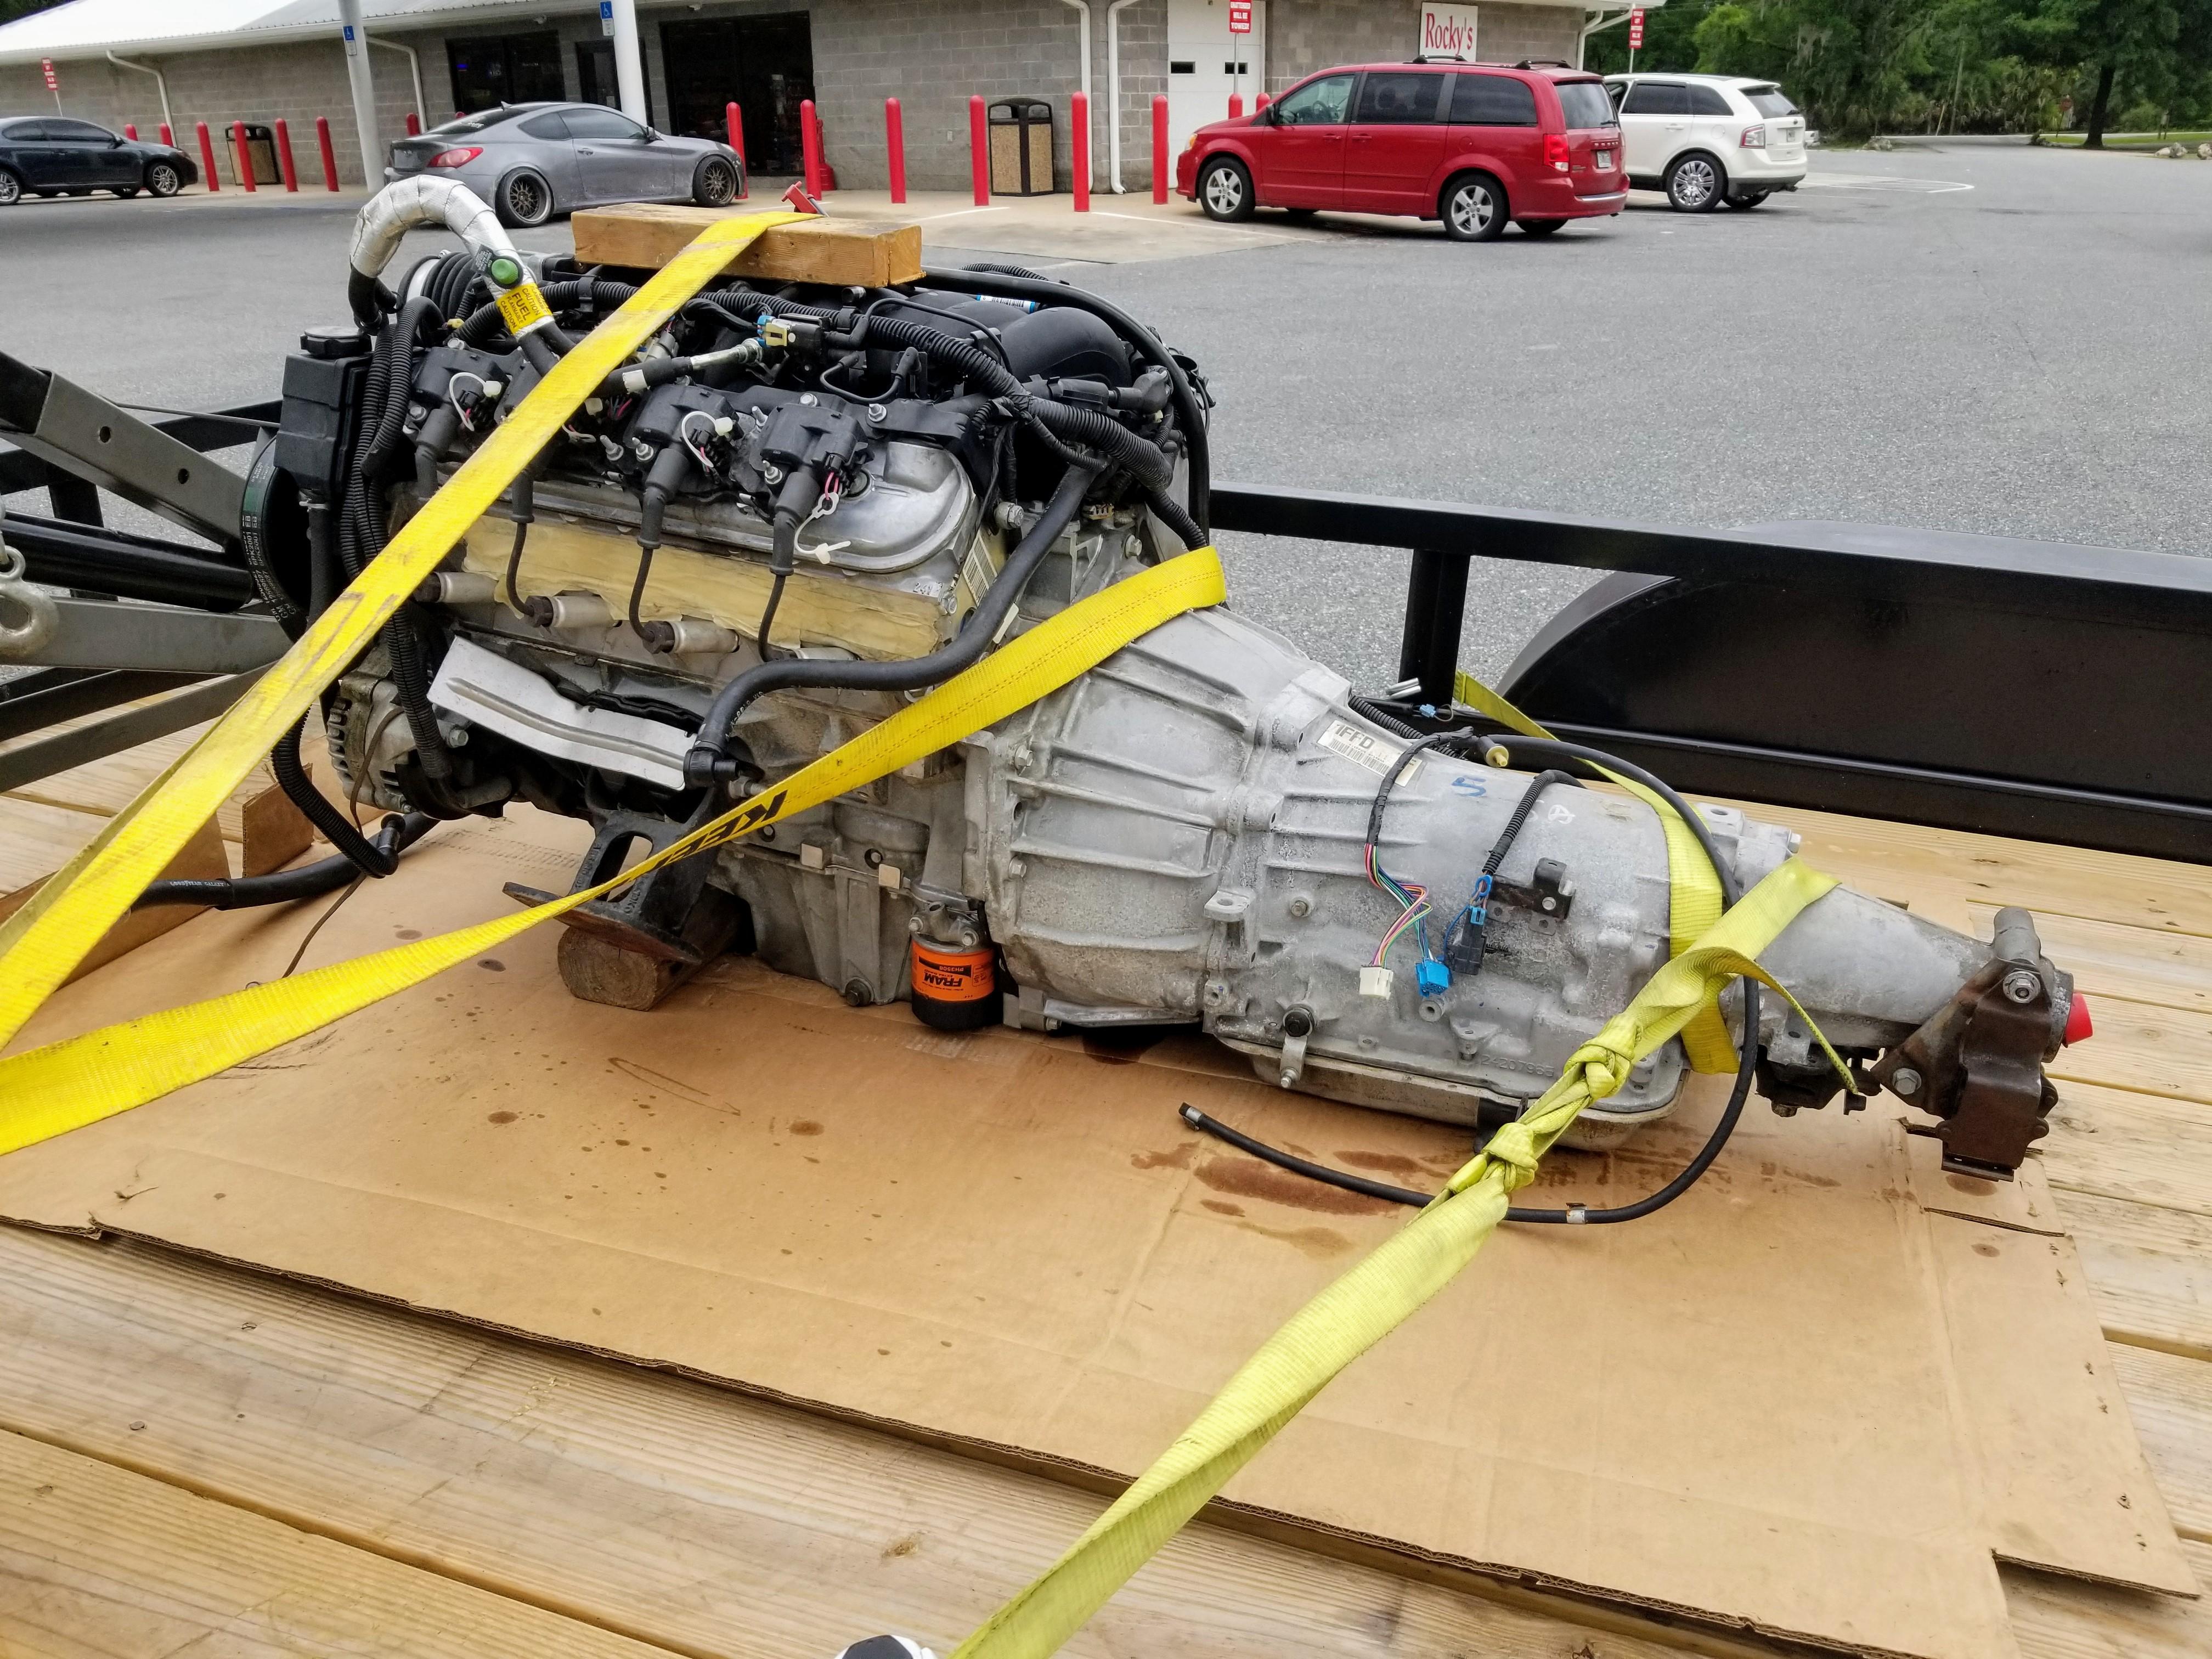
Well-Known Member
So I found another pull out from a 2001 Firebird Firehawk that only had 58k miles on it and looked really clean. Unfortunately the motor was out when I bought it so I didnt get to hear it run.....last time I will ever do that. We put the motor in the buggy and after 15mins of run time you could hear the bearings in it squealing. Pulled the motor out, tore it down and sure enough the cam bearings were toast and there was evidence that the motor had been super hot in the past.
Attachments
1tonyj
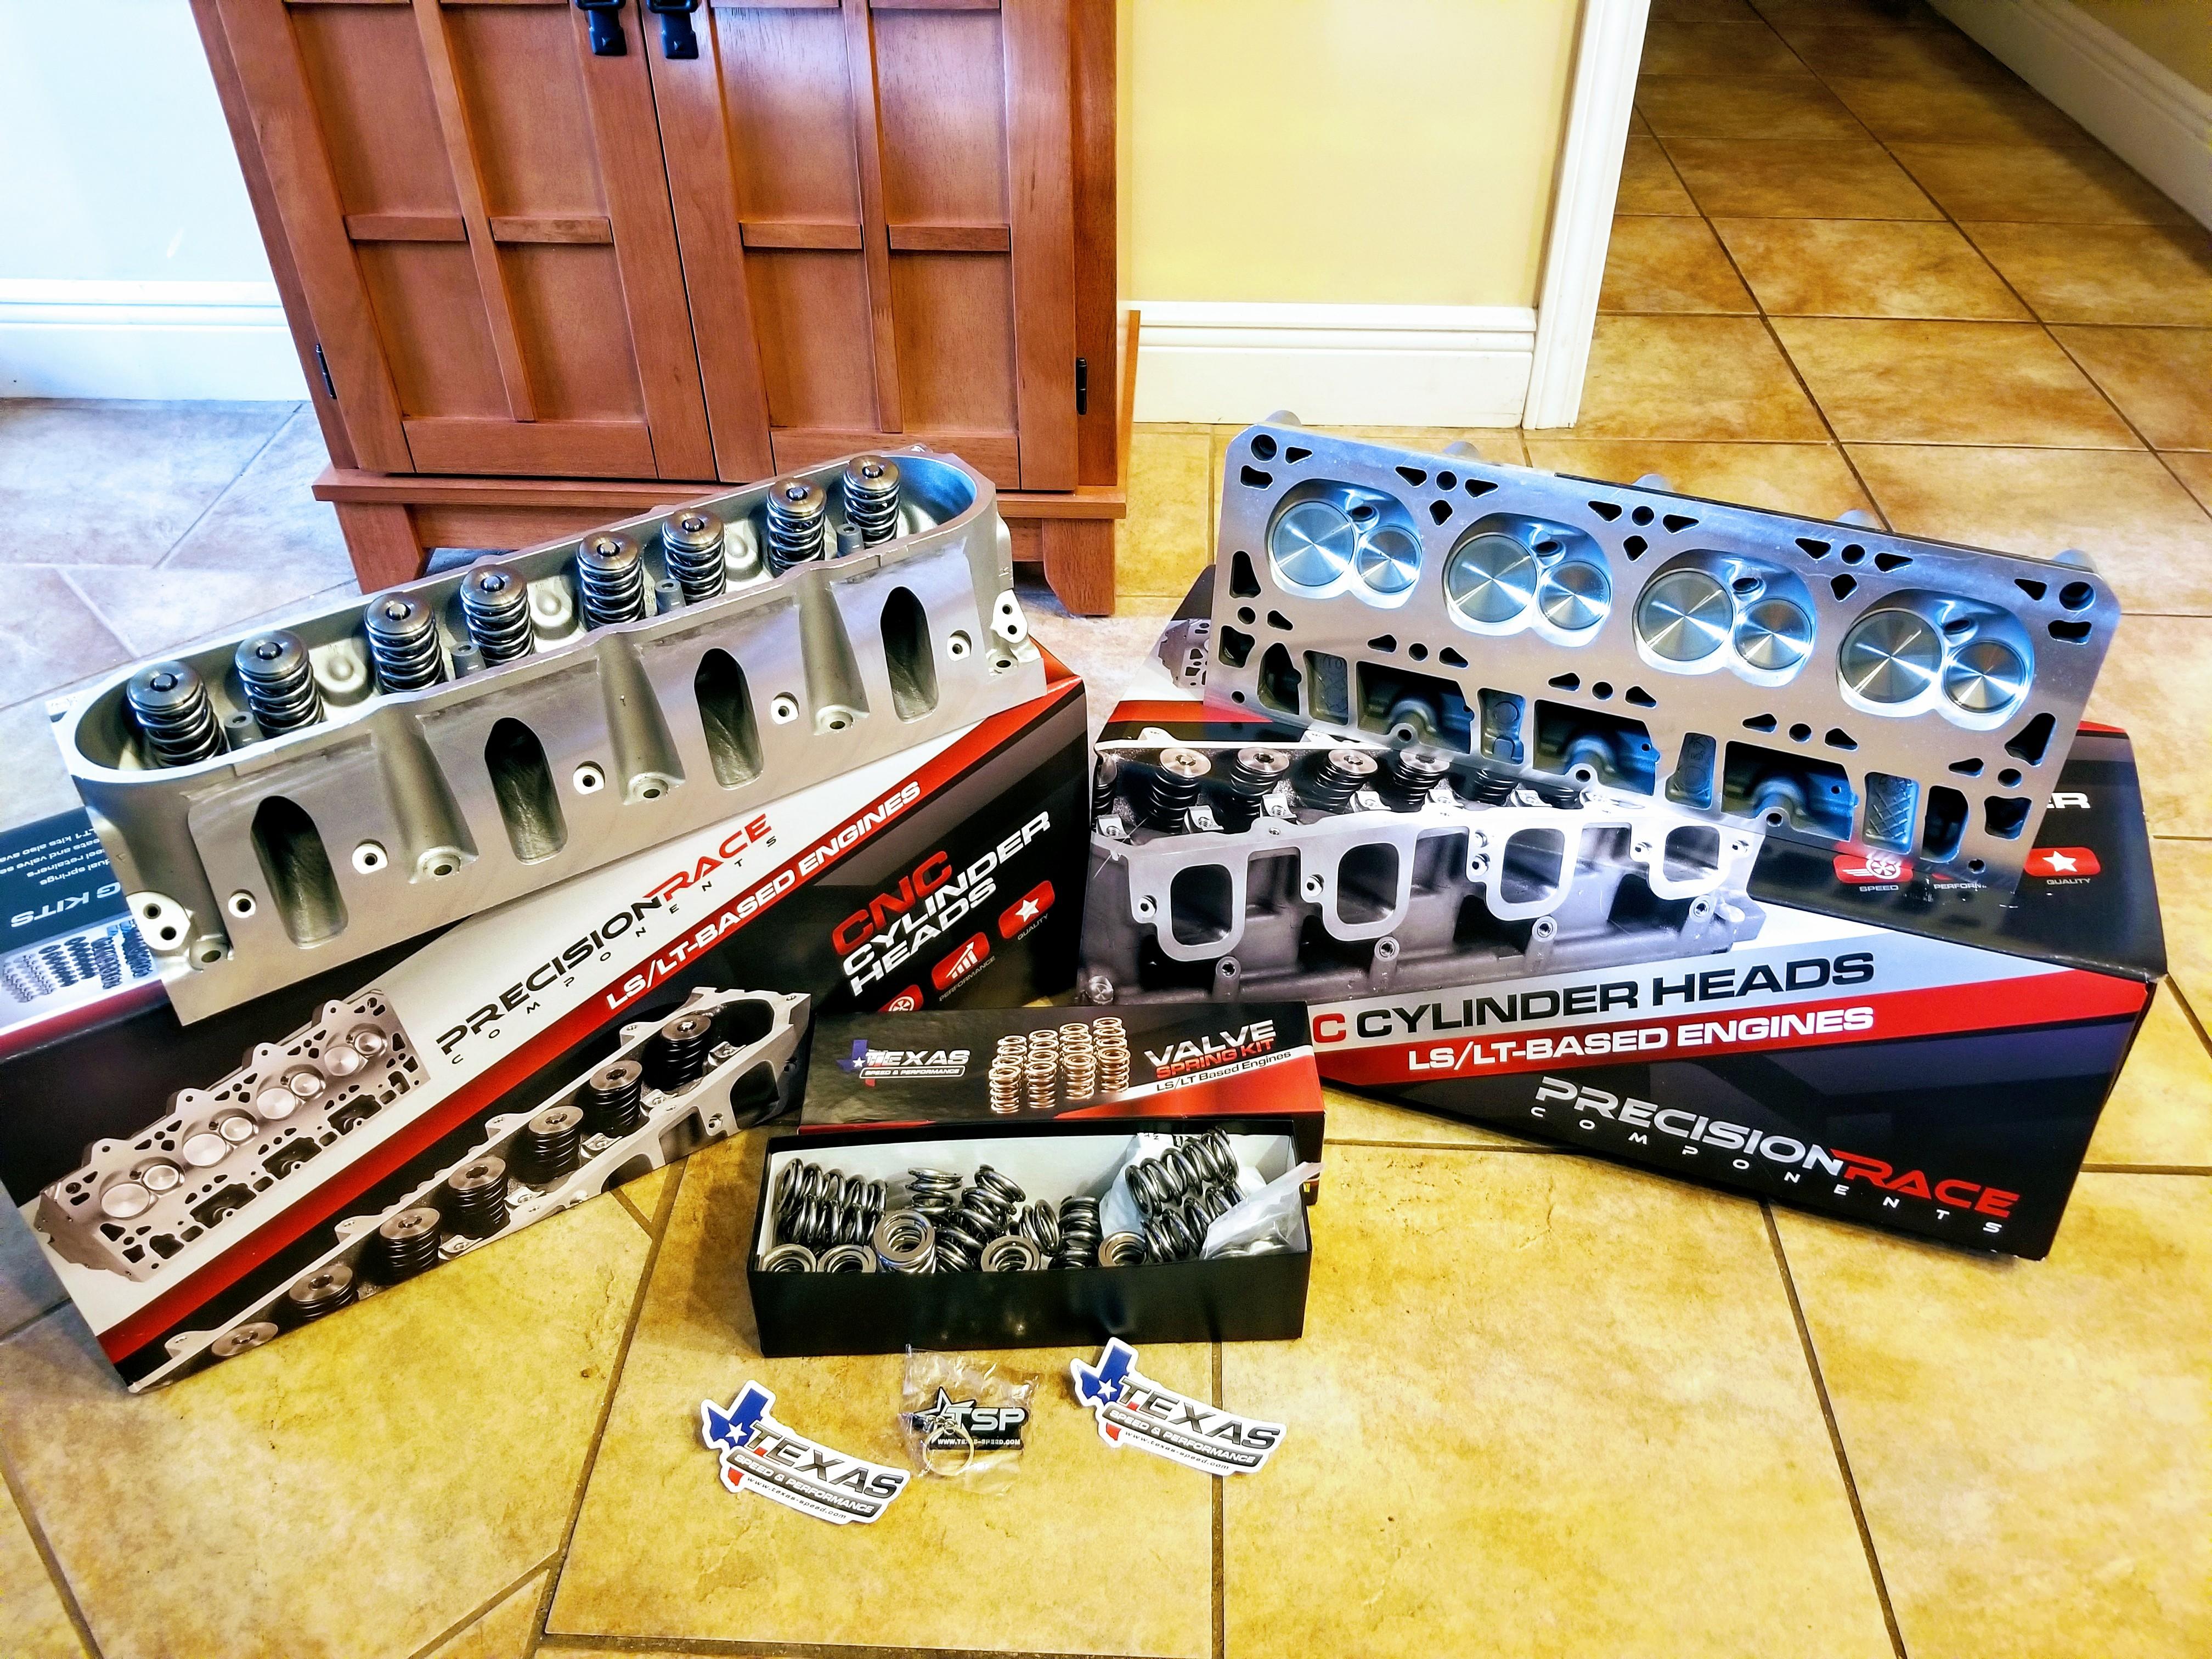
Well-Known Member
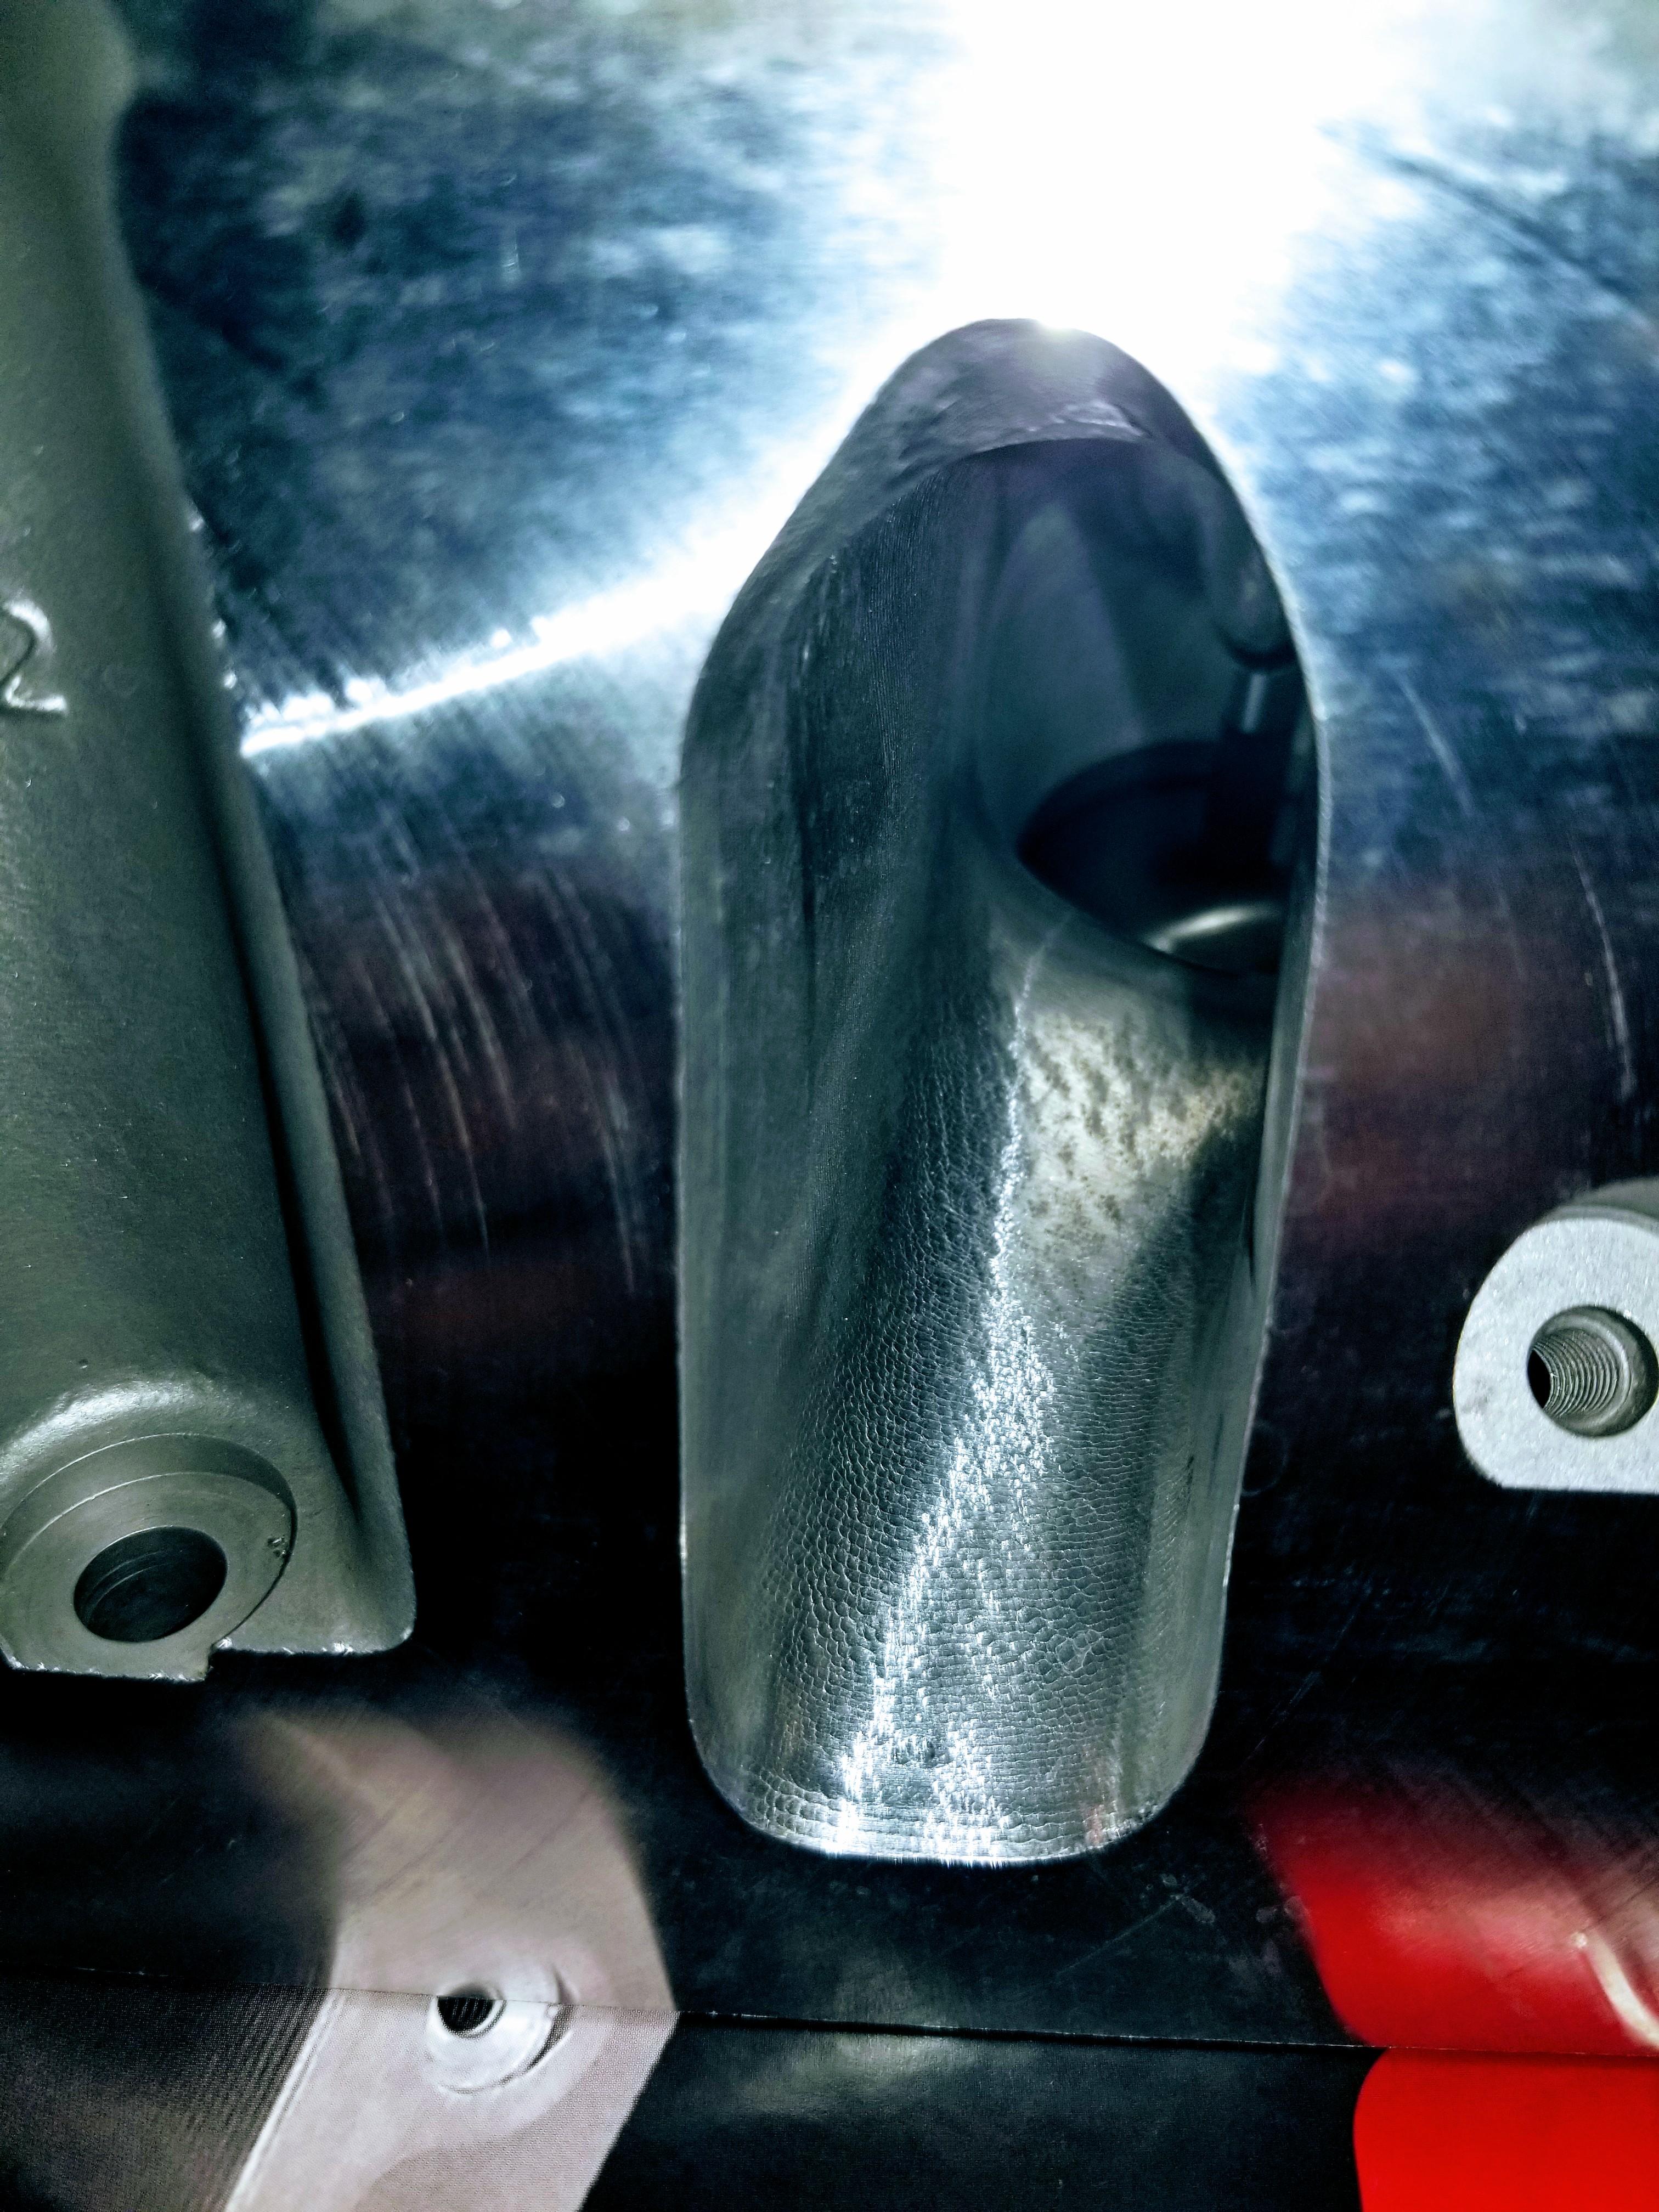
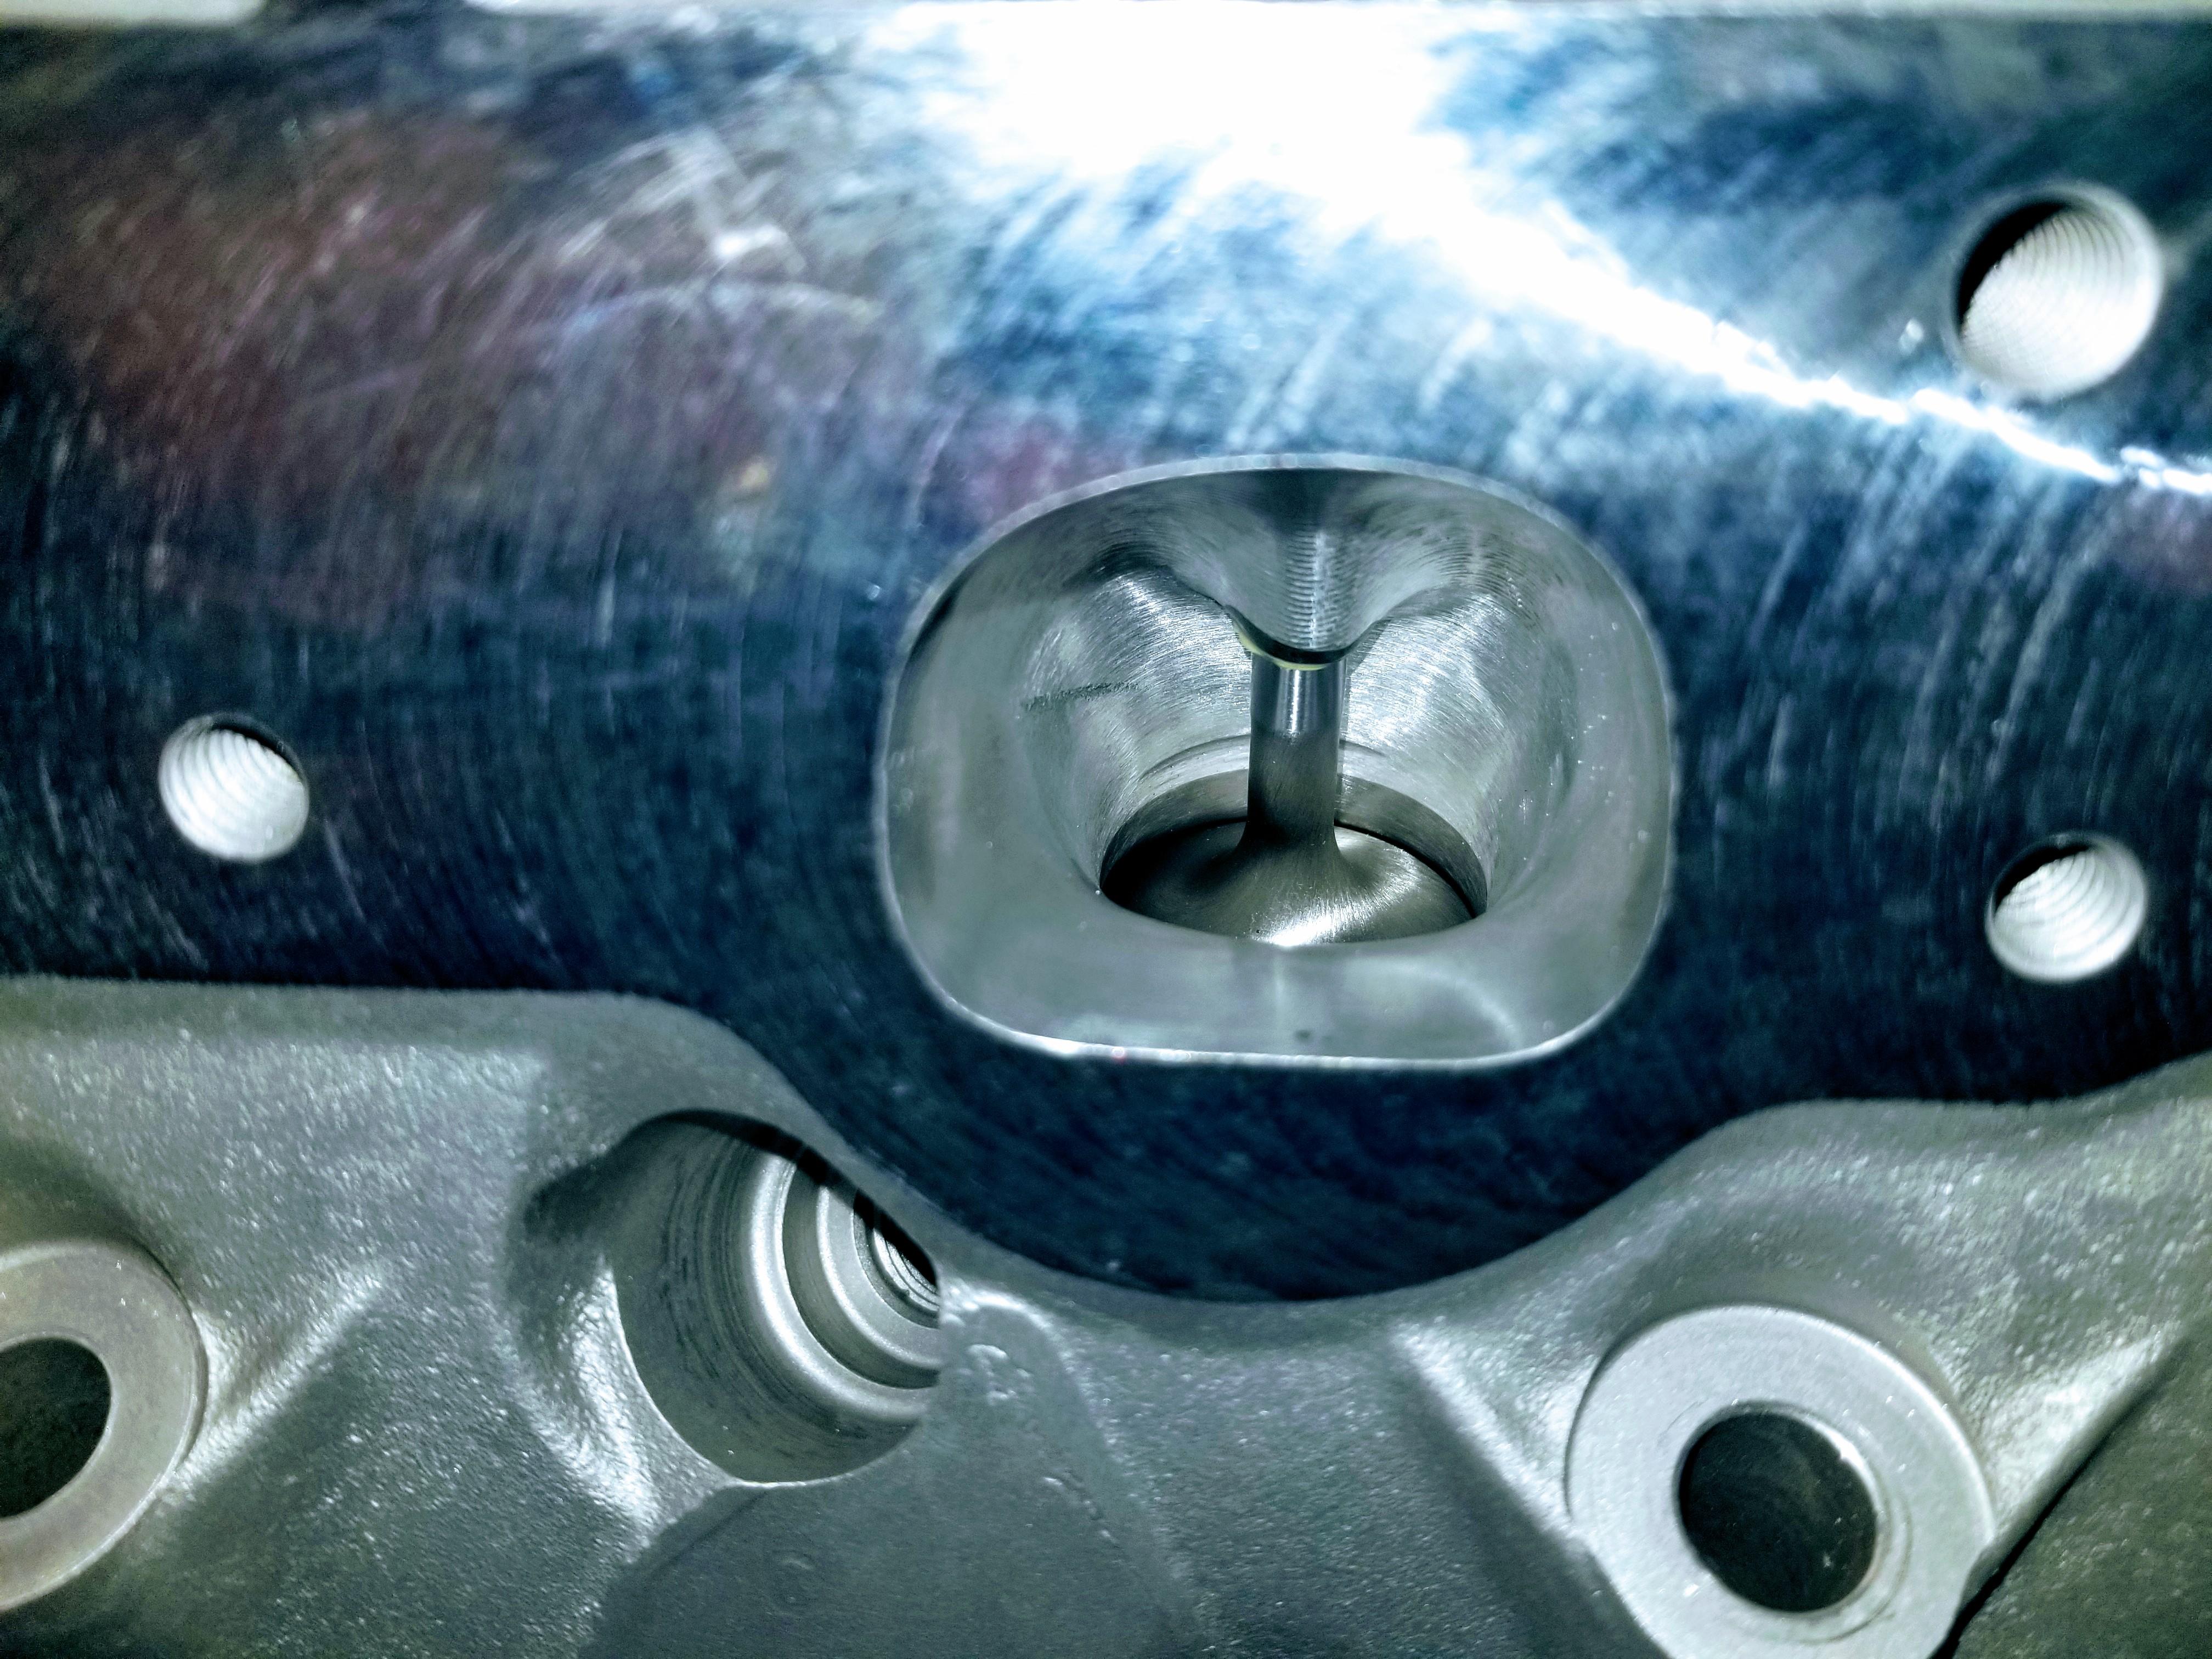
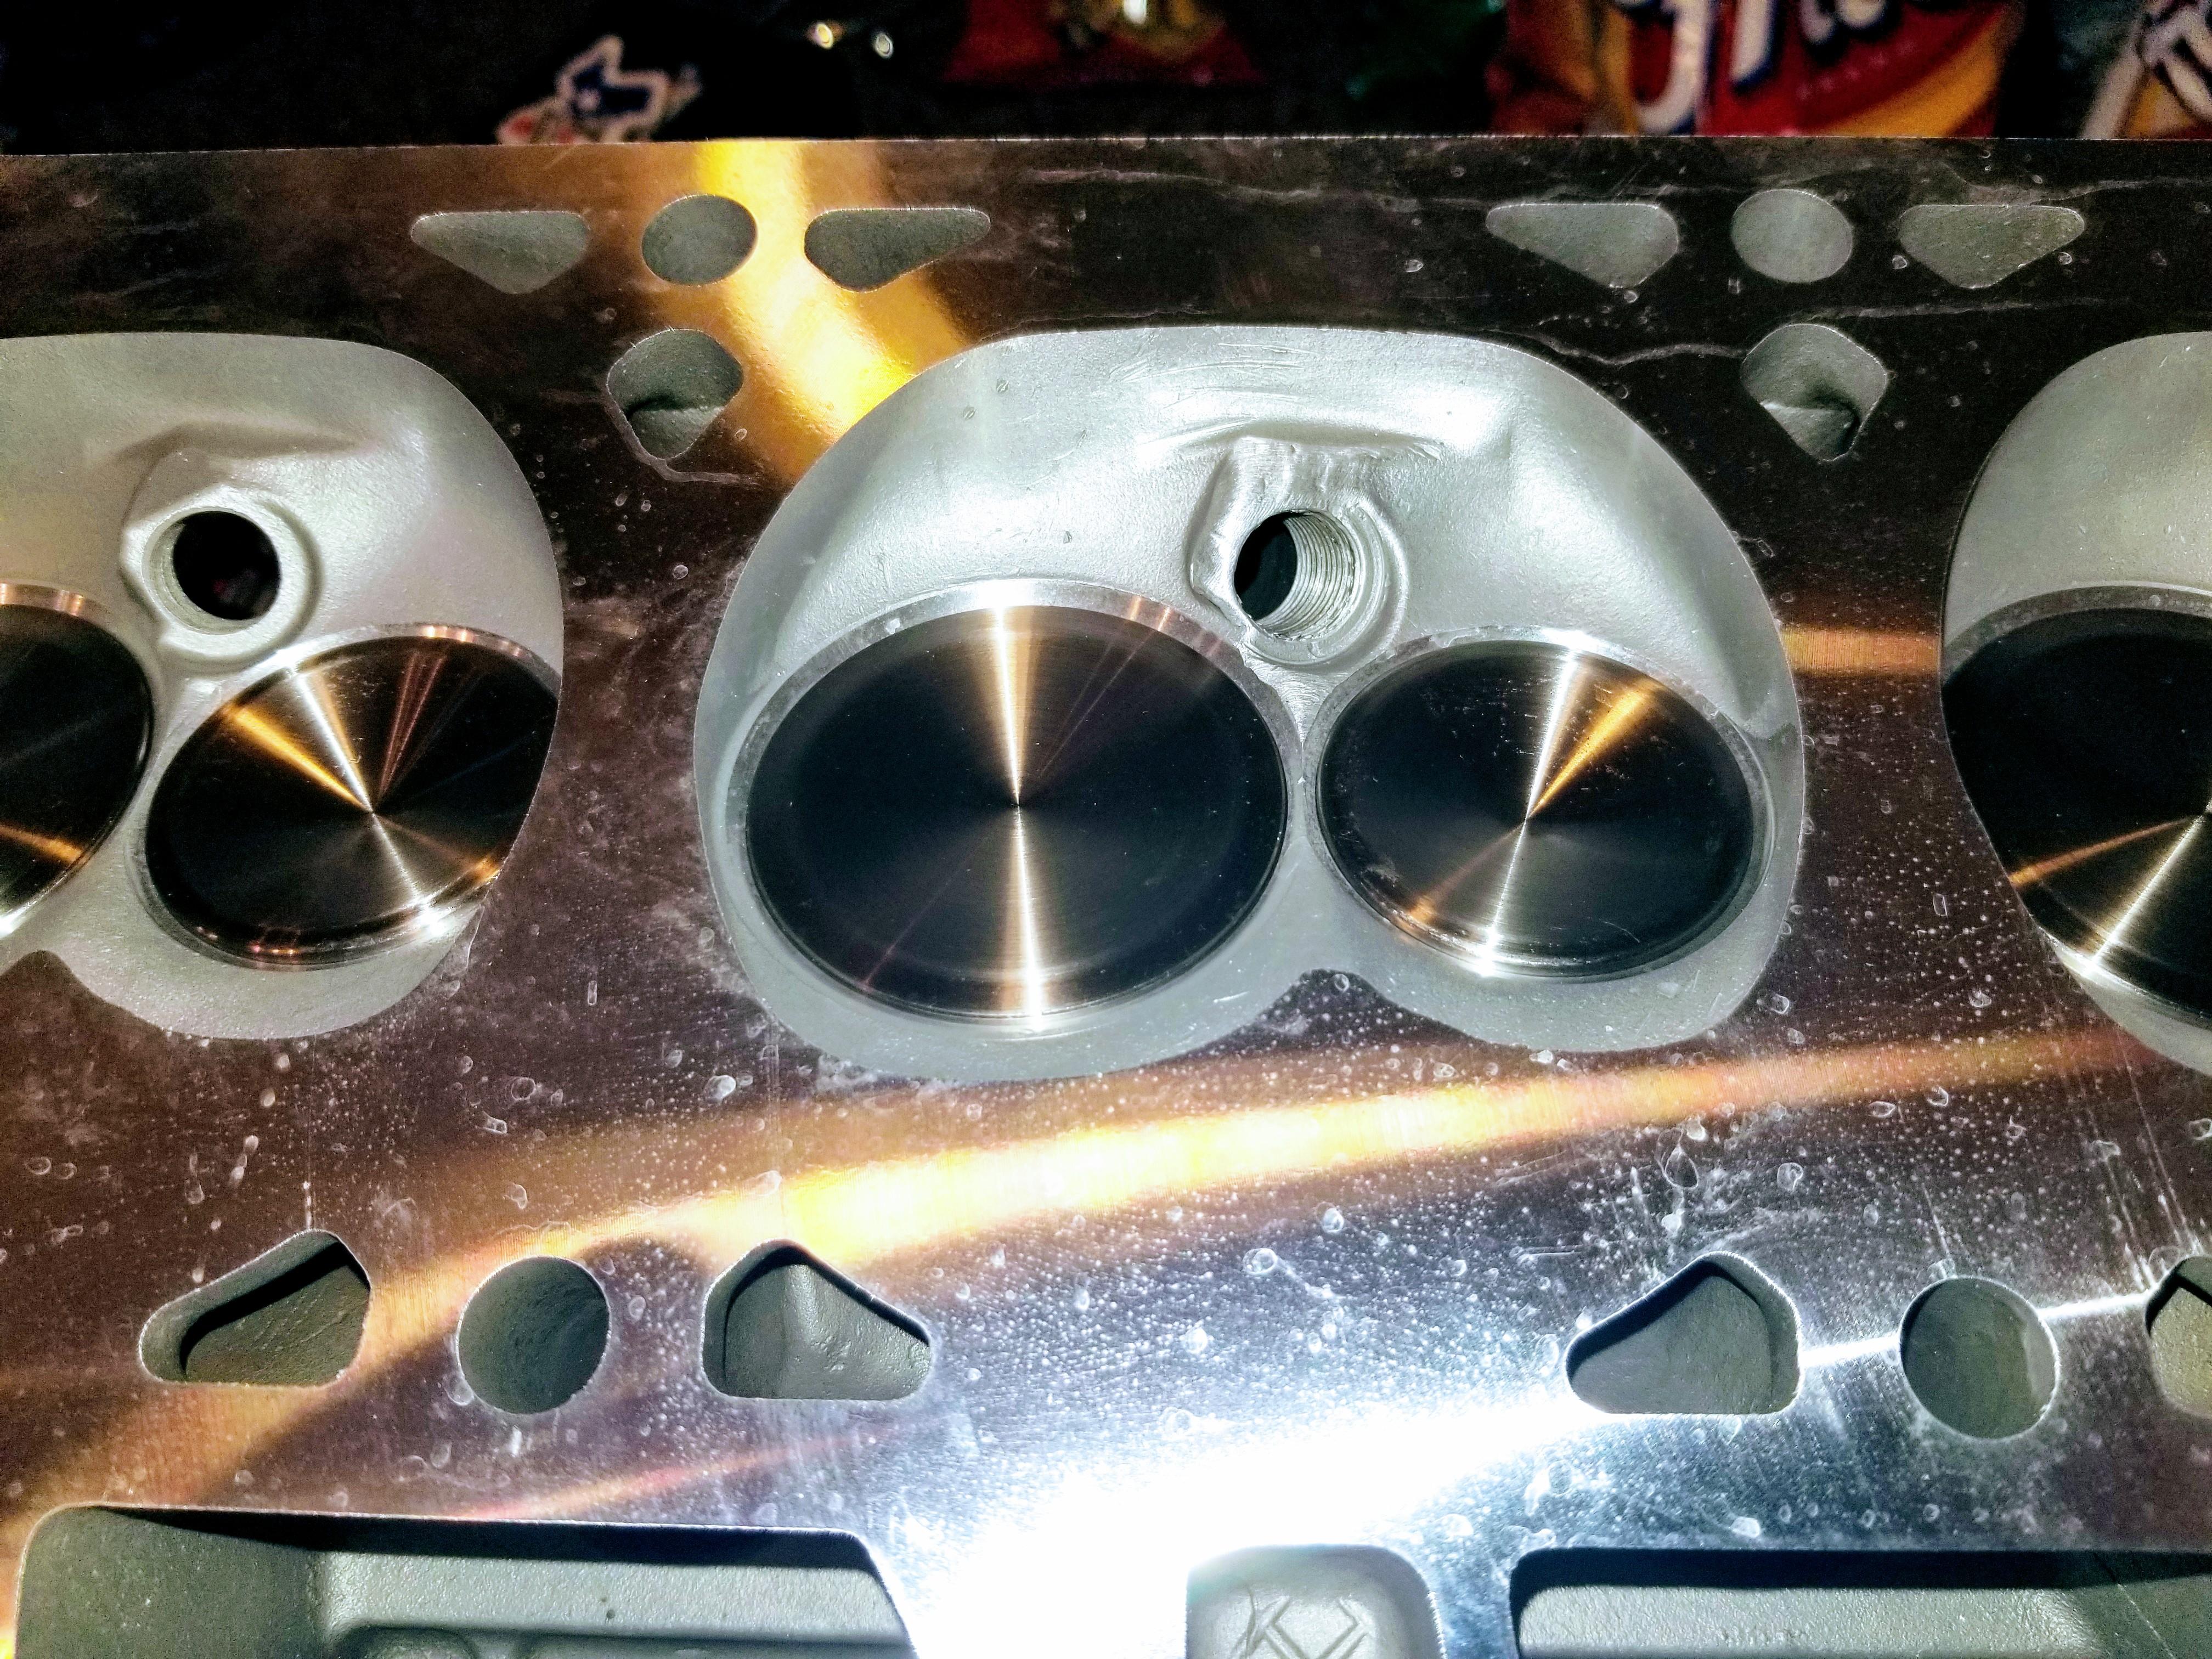
So at this point Im pretty exhausted with it and just decided to have it built all brand new. The motor went to the builder and the only thing we re-used was the block and the crank... my 243 heads went to Texas Speed for their 2.5 CNC port job and bigger valves. I should get the motor back this week so I hope to have a report soon.
Block bored .005 over
Block decked .007
Crank polished
Eagle forged rods
Wiesco 2618 forged pistons
rotating assembly balanced
New rockers with upgraded trunions
Morel lifters
Melling high flow/high volume pump
Billet double row timing chain
BTR stage 2 cam
TSP heads milled .015 with dual springs and chromo rods
Attachments
extremetownie
Well-Known Member
- Joined
- Apr 7, 2009
- Messages
- 711
- Reaction score
- 204
All that and you did not stroke it. What the hell.
1tonyj
Well-Known Member
All that and you did not stroke it. What the hell.
Oh I know.......
Bummer on scattering the old motor. True LS aluminum block motors have a cool factor to me so nice to see you going that route. Will be interesting to see how the cam and head work helps. Any compression change?
So can you bore an aluminum LS block like you would a cast block? Sorry for my ignorance, but I am not a motor guru unfortunately.
1tonyj
Well-Known Member
You can but not much, .010 Is maxSo can you bore an aluminum LS block like you would a cast block? Sorry for my ignorance, but I am not a motor guru unfortunately.
1tonyj
Well-Known Member
Bummer on scattering the old motor. True LS aluminum block motors have a cool factor to me so nice to see you going that route. Will be interesting to see how the cam and head work helps. Any compression change?
Yeah should get a bump in compression...will know the number when I learn what thickness head gasket the builder used.
The-Boss
Well-Known Member
- Joined
- May 20, 2010
- Messages
- 708
- Reaction score
- 55
I am no motor guru either. Google says early LS1s have paper thin lingers, later ones like Ray has are as he stated. LS2 and beyond have a different configuration and allow for more. Then there is lots of potential if someone got into boring and resleaving.So can you bore an aluminum LS block like you would a cast block? Sorry for my ignorance, but I am not a motor guru unfortunately.
The-Boss
Well-Known Member
- Joined
- May 20, 2010
- Messages
- 708
- Reaction score
- 55
Yeah, I was curious if he was going to make up with a larger gasket and if not what it might be.Yeah should get a bump in compression...will know the number when I learn what thickness head gasket the builder used.
We are looking to plan some rides so let me know if yall get some in mind.
Latest posts
-
-

-
-
-
-
-
-

-
-
-
For Sale First Generation 4Runner Rock Crawler for sale or trade
- Latest: FirstGenFunRunner
-
-
-
Withdrawn First Generation 4Runner Rock Crawler for sale or trade
- Latest: FirstGenFunRunner
-


![IMG_2740[1].jpg](https://cdn.hardlinecrawlers.com/xfmg/thumbnail/17/17613-b39c0f5b7ea6b25ec3c4ece1fe82ddb7.jpg?1782993741)
