Jay W
Well-Known Member
Ya onto a CJ7 but ya still gotta do a few things to the YJ tub to fit the CJ8 stuff..
:hi: funny Toyota guy.
Ya onto a CJ7 but ya still gotta do a few things to the YJ tub to fit the CJ8 stuff..
:hi: funny Toyota guy.
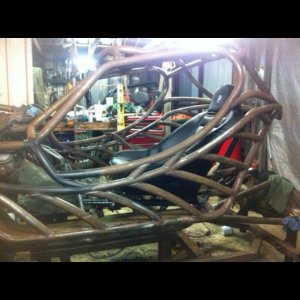
:awesomework: Looking good as usual Crash!!!
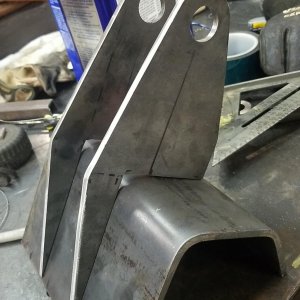
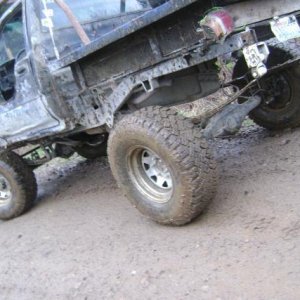
on the shock mounts on the spring plates... On all my builds, I generally just touch that inner nut with a tack to keep it on the plate.
sometimes they have a tendency to get loose after some use...
and I use a small enough tack that I can still easily cut it out easily enough if it ever needs to be replaced down the road.
Just a thought...