• Help Support Hardline Crawlers :

Tig welding tips

The main key to walking the cup is getting your amperage right.

You have to have the puddle solidify when waving the arc from one side of the weave to the other. If the puddle stays liquid across both sides too hot.

If the puddle doesn't follow with you as you move from one side to the other too cold.

If you are walking over the lay wire technique and you keep running out of wire at the arc, you need bigger wire.

If the puddle is building tall and you are almost walking the tungsten into the end of it, you need smaller wire.

Cup size has everything to do with the width of the weave as it controls the travel amount of how far your wrist can roll back and forth.

While practicing, focus on really swinging the lead side to side.

Another tip is to practice in the vertical position. It allows you to see the puddle much better than flat, and is less prone to the cup sliding on the hot base metal.
Practice walking without any wire to learn the heat control and movement technique, then add your wire and increase your amperage slight to get the puddle to respond correctly.
 
I was messing around with some alum tonight. My dad had done something earlier in the day and I said hell I'll mess with it. After a few failed attempts and blowing through once or twice i was finally able to lay a nice bead. After that I set it up for steel and tried that. Long story short I can weld alum better than steel. I didn't take any pictures but i have to head back up there tomorrow so i will get some then. Thanks for the info guys i'll have to try the cup and phone book.
 
So far the biggest thing I've found with steel is that it needs to be almost as clean, if not as clean, as aluminum would be. I'm so used to welding over crap with the MIG machine that for a long time I didn't even realize what was "mill scale" and what wasn't. If the steel isn't shiny its not clean enough.

I still suck at steel compared to aluminum though.
 
Re:

Here's one of our welders walking the cup. Kinda hard to see thru the lens but gives you the idea.
http://youtu.be/C5M5XTRJsoI
 
I just hate when the filler touches the tungsten and it "wicks" right up it and back to the grinder you go lol. I'm with patooyee I started on aluminum first and then went to steel. Steel is so much easier This new project may end up with a lot of tig welding. Gonna have to get a chiller. I've done melted 2 torch heads off


Sent from my iPhone using Tapatalk
 
wont work said:
Without someone to sit down with you this guy is good.

As walking the cup goes you dont have to do that and can make it look like dimes by dipping your rod or pulsing with the pedal. I would suggest just welding without filler rod for a bit just to get the hang of holding the tig torch at the proper angle then start dipping your rod.

X3 on this Jodie. Check his forum out as well, there are a lot of talented guys on there as well. Watching his weekly videos has helped my welding a lot.
 
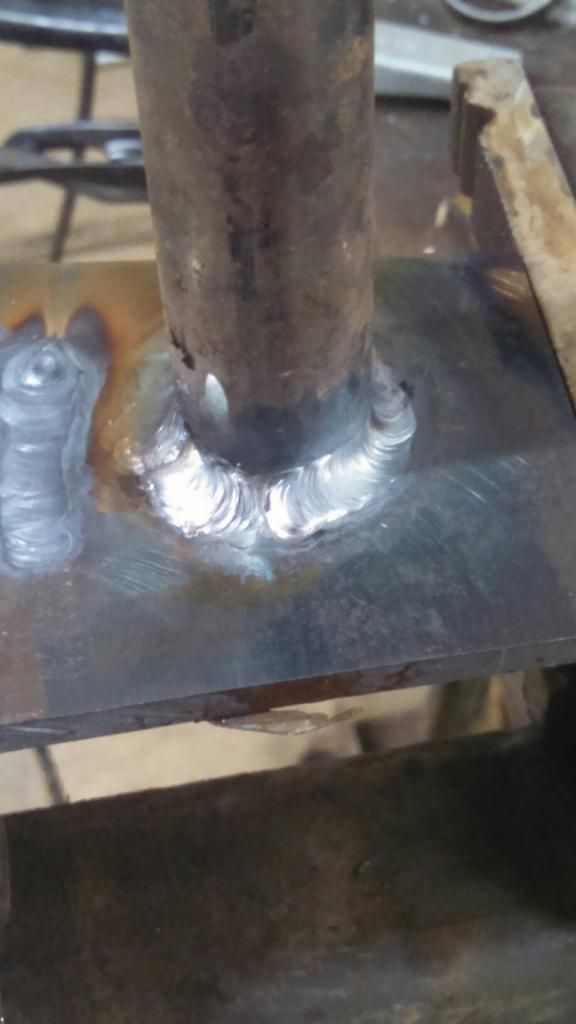
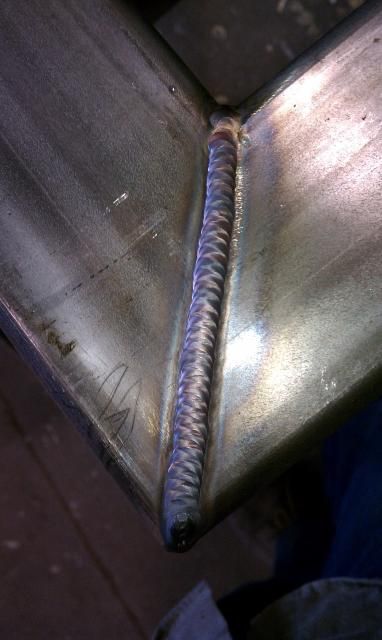
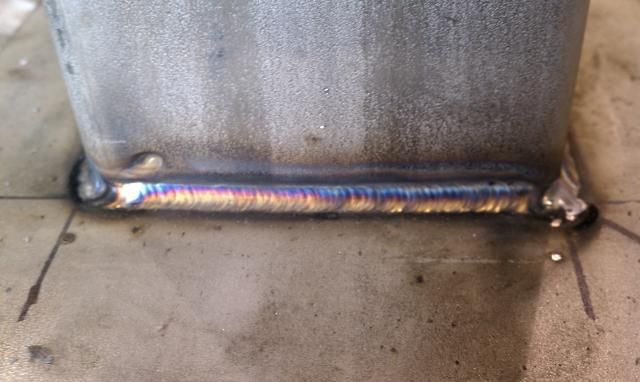
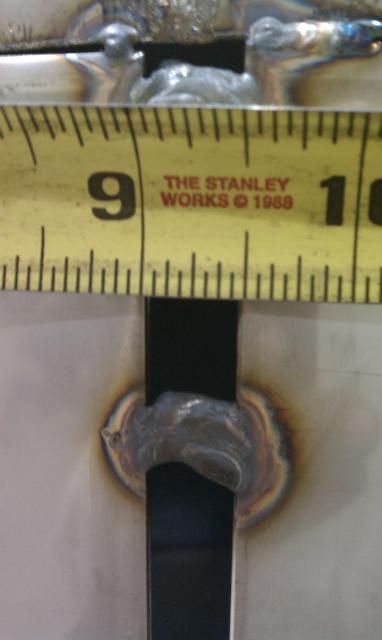
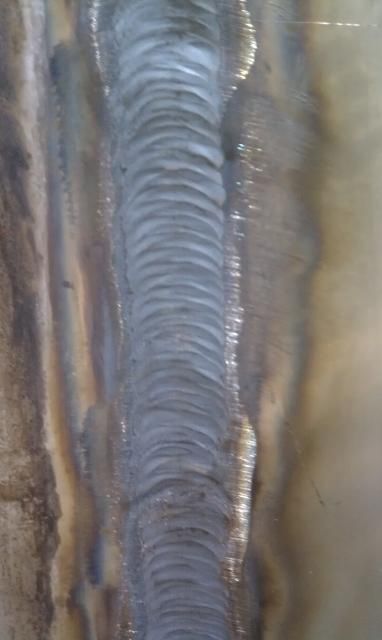
Well a little update. I have been messing with it off and on over the last few weeks. Finally got decent at laying a nice bead. We had a small piece of 1" laying around so i decided to try and weld it to a shim. I'm proud of this one guys not going to lie. I did go back in after I did my first pass and smoothed it up a little bit and I think it turned out pretty good. What do y'all think?

 
stuftmunky2k said:
there are 3 main rules when it comes to tig welding aluminum. Clean, Clean, and Clean. the cleaner the material the better the weld. granted machine settings like frequency and balance do make a difference on penetration and cleaning action. The best pointer I can tell someone on welding aluminum is hot and fast. Need to have good peddle control and be able to read a puddle. Best advice for people starting out would be grab a piece of 1/2'' thick plate mild or stainless and sit down and weld bead after bead after bead until the plate is filled up. then after its filled up flip it over and do it again, by doing that it makes you aware of how the puddle reacts to different factors like torch angle heat input and such. I look at tig welding like I giant game of manipulation. need to understand what the puddle is going to do by what you are doing with the torch. Walking the cup is pointless in my eyes unless its a vertical T joint or a beveled pipe. The easiest way to learn how to walk the cup is on a piece of 6'' sch 40 pipe with a 70 degree included bevel so 35 degrees on both ends. That way the cup sits down in the pipe and is like a track for it to follow. this will allow you to get the motion down of the wrist and or of your arm. I weld stainless steel process piping and do 90 percent of stainless at work. On the process piping the tubing is .065 wall thickness, it is butted up with no gap, pipe is back purged with argon and then the joint is welded. When the weld is complete you look inside and have a nice weld inside and outside with just one pass. I will post some pictures of my welds at work just messing around. Once you get efficient enough at tig anything or any gap is possible. As for pulse my personal opinion I hate it, but it does help with heat input. I look at it like a person cheating because they cant flow a puddle so they dumb it down. but that's just me. Any way enough rambling I will post some pics later tonight so you guys can see that the machine has nothing to do with weld output, its the person using the welder. Not trying to show off but this is what I do for a living so always willing to help anyone and show them what to look at.


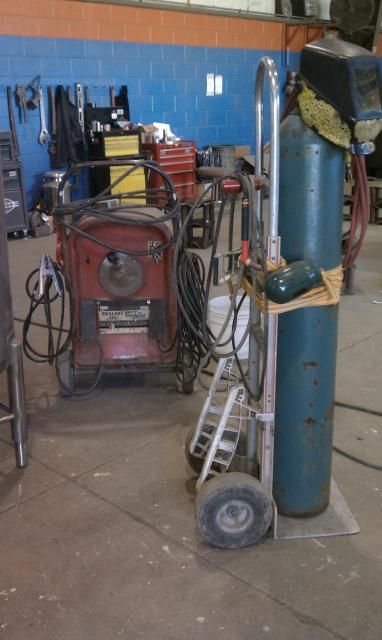
this is the machine all these welds were done with. old stick welder converted to tig. all these are on 304 stainless steel and lift arc


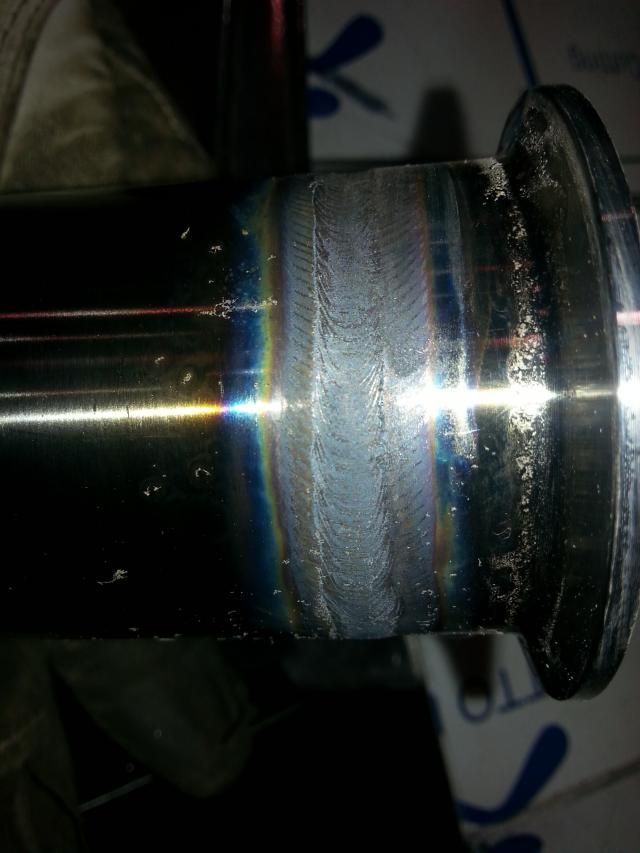
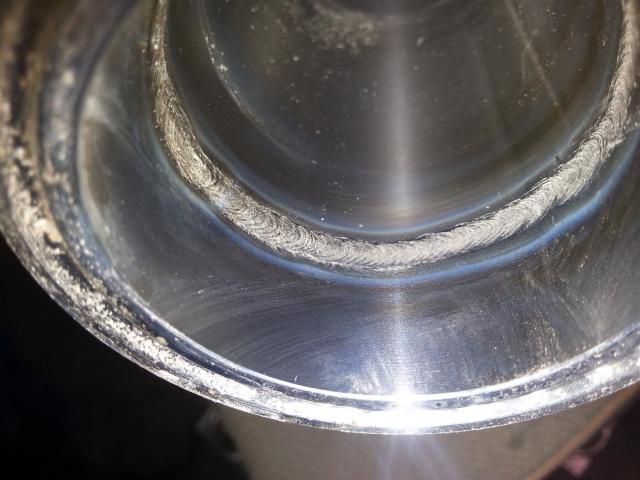
here is walking the cup on tubing first one is outside picture second is of inside with 100% penetration


some random ones.


I know this is a old thread but I am very interested in the setup on this old welder for TIG, I have this same welder and cannot find much on what to but to convert over Thanks
 
Need a argon bottle, an argon regulator, hose from regulator to power adapter, power adapter, and an air cooled tig torch with a gas valve. the power adapter just gets the stinger from the stick welder clamped to it and the gas hose from regulator goes in one side, then the tig torch is screwed in the other side. simple as that. just make sure you switch the machine over to electrode negative.

power adapter http://store.cyberweld.com/tigtopoad10.html

tig torch http://store.cyberweld.com/weavatigtopa.html

simple as that.
 
Thanks man for the info greatly appreciated. Wasn't sure if it needed to have a converter box or anything thanks again
 
Re: Re: Re: Tig welding tips

stuftmunky2k said:
another good source is weldingtipsandtricks.com look him up on youtube he has some awesome videos can learn a lot from him.
Jodie was one of our instructors at Delta Airlines, he is a incredible weldet..
 
Top