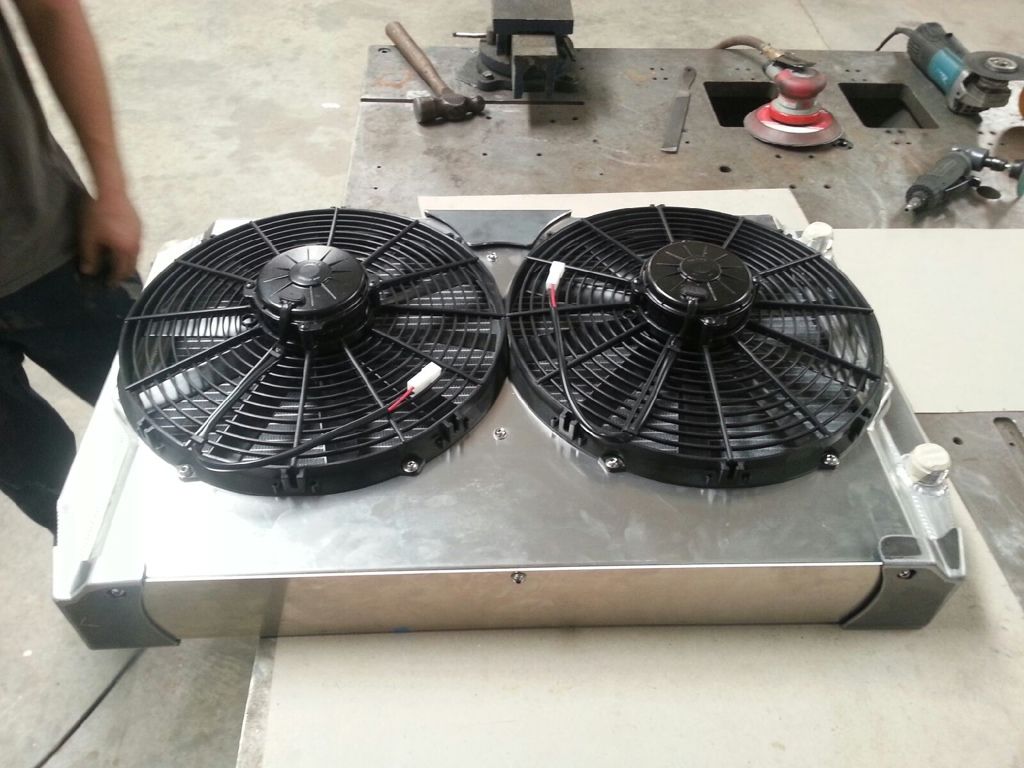
I decided to change a few things.
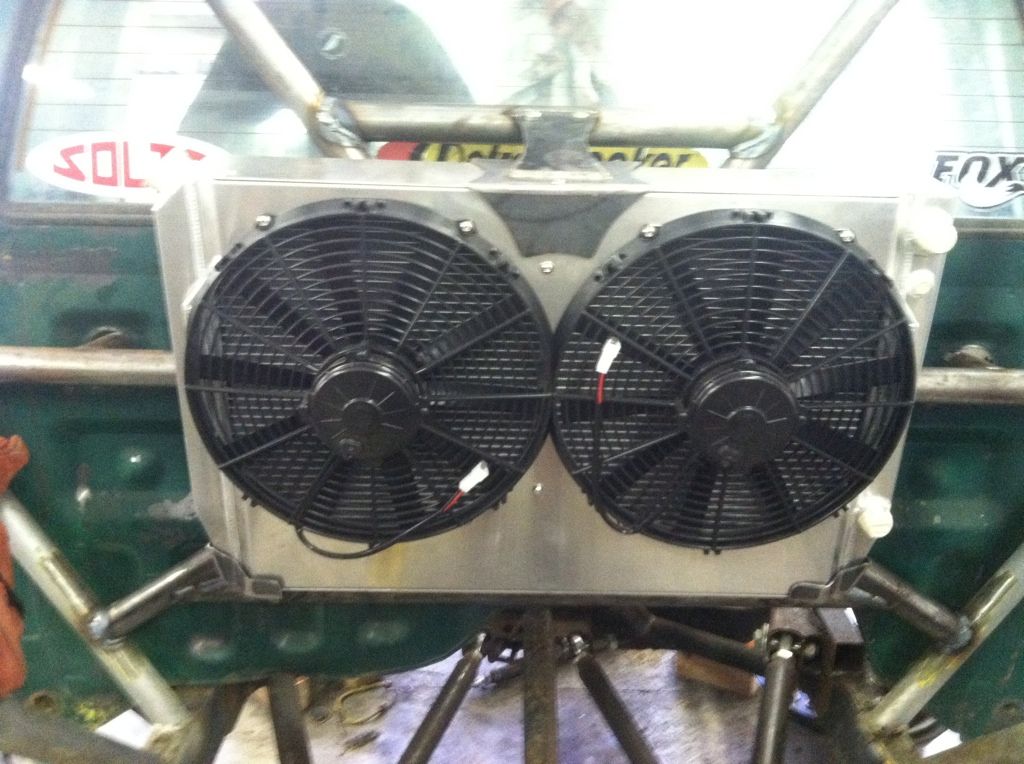
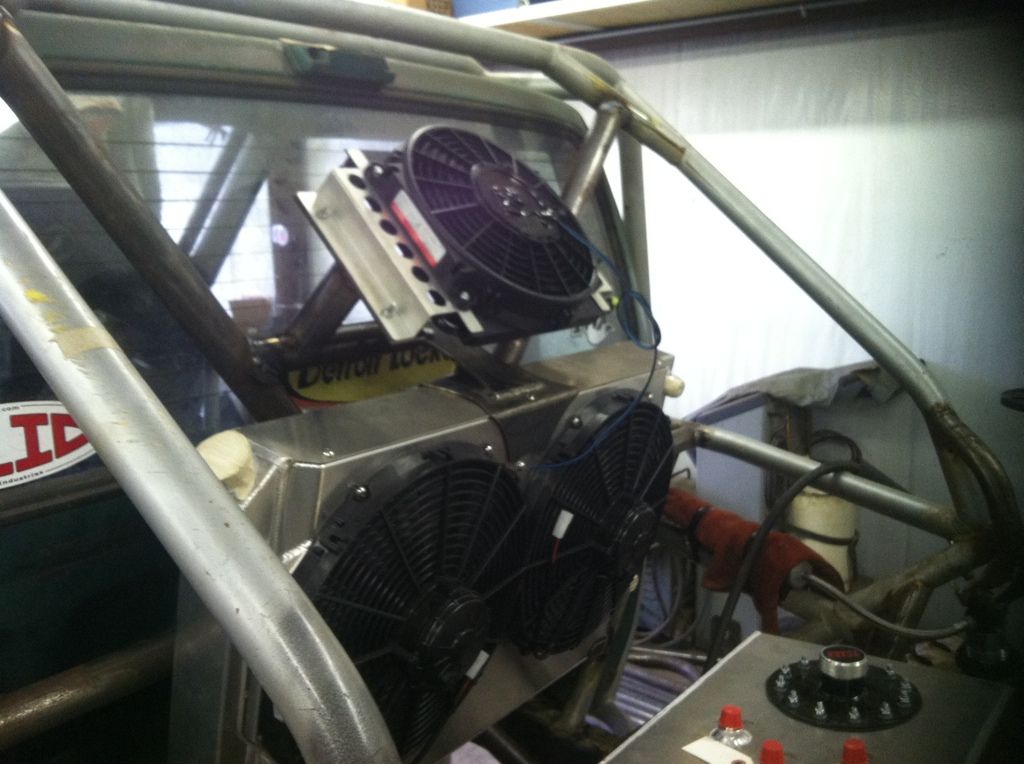
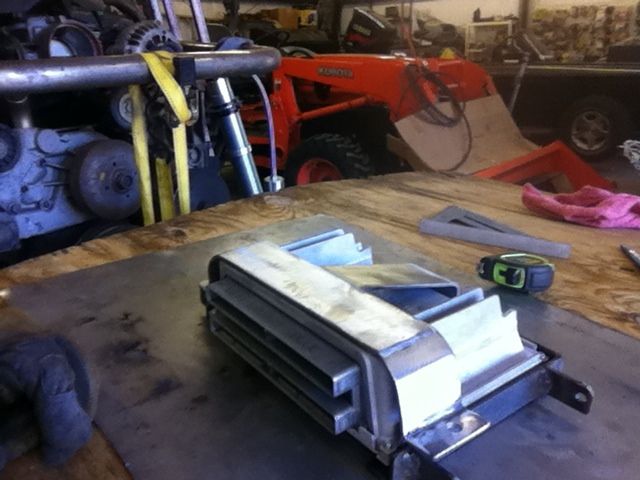
The computer mount I made the first go round was stupid so I changed it up. Its over kill for the application but its the thinest material I had and im not worried about weight anyways.
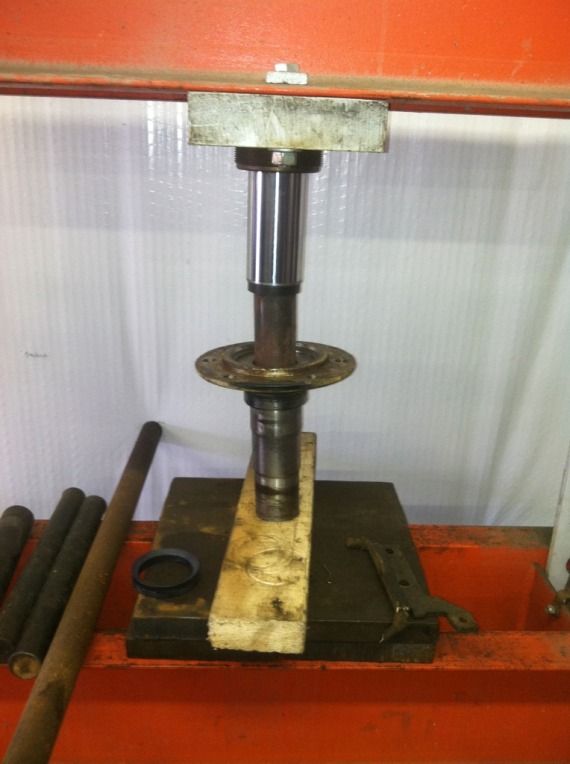
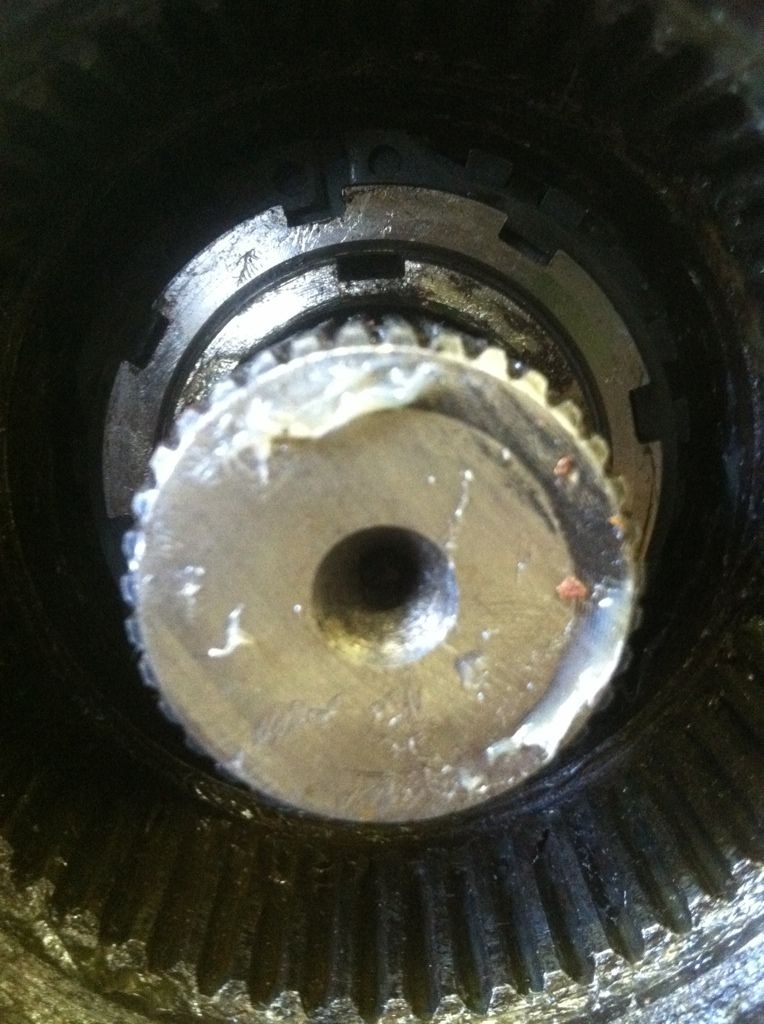
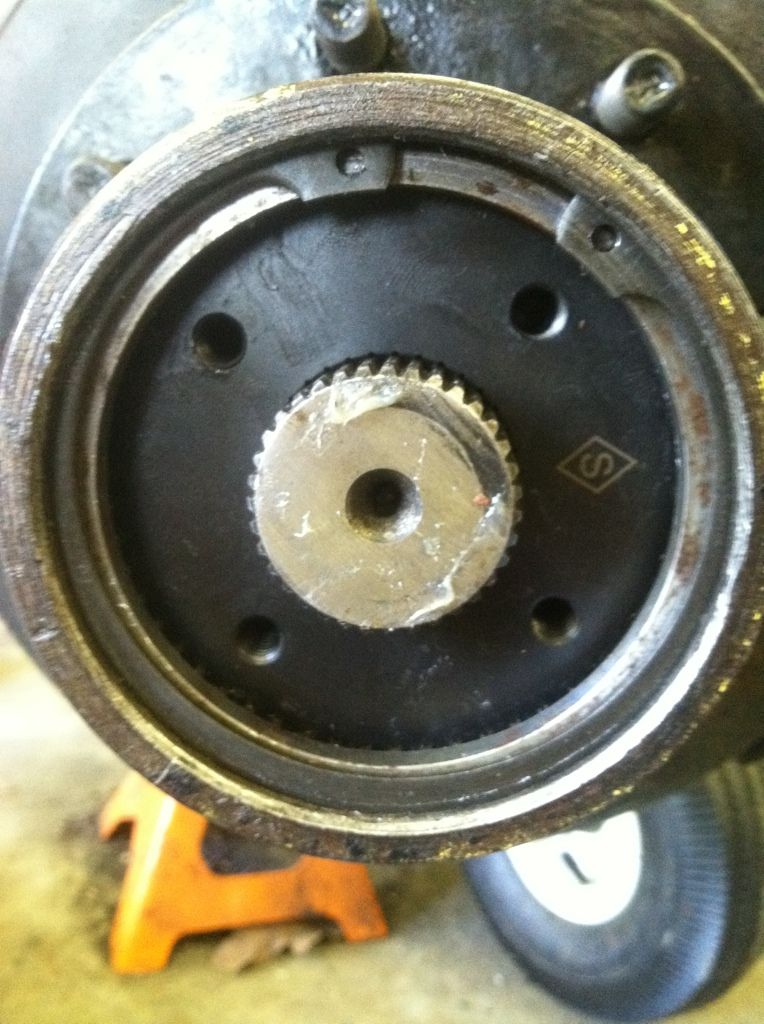
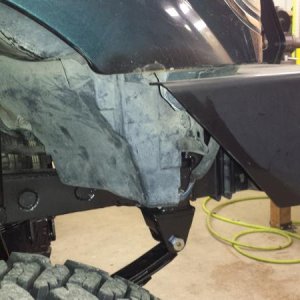
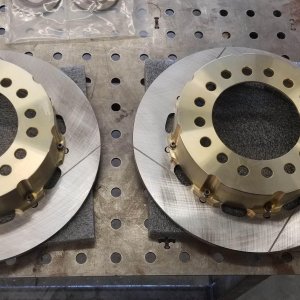
Decided to take apart the front axle to service it and upgrade parts in the process. I'm doing a king pin rebuild and also need some inner axle seals.
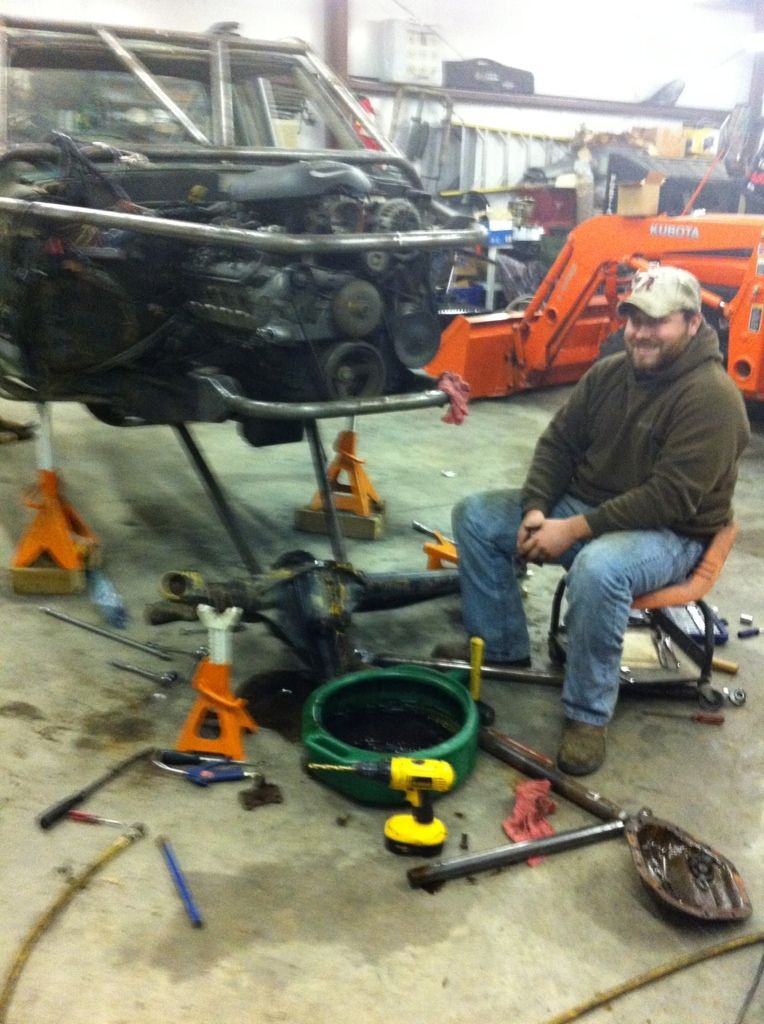
A little bloopers moment in the shop
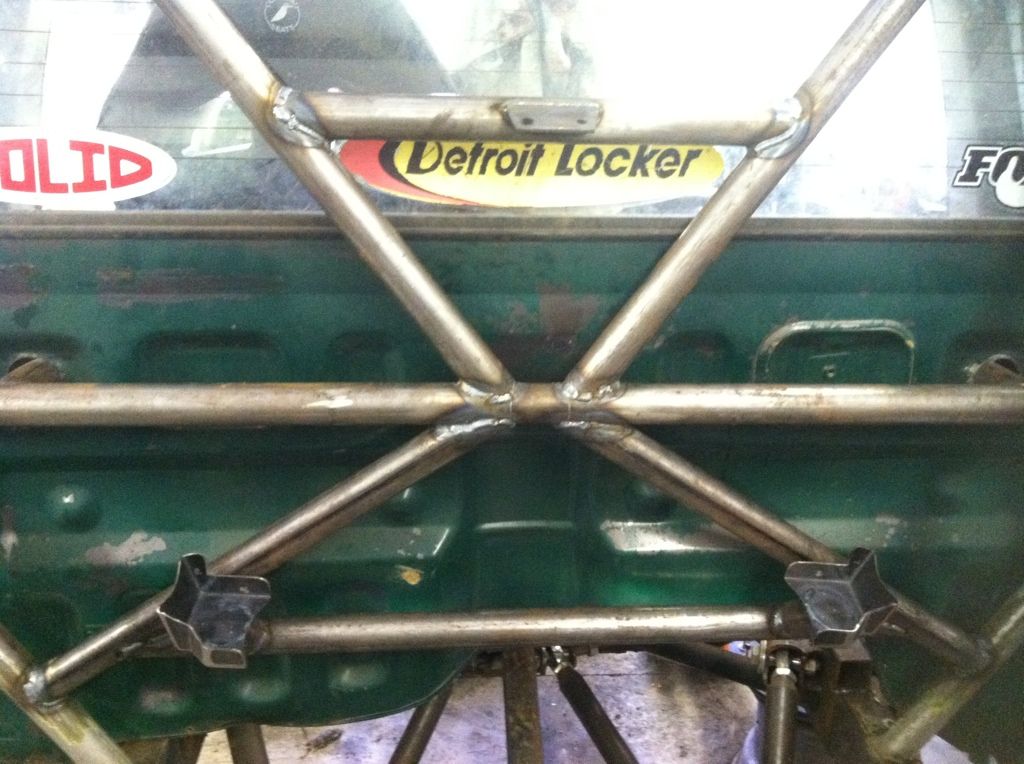
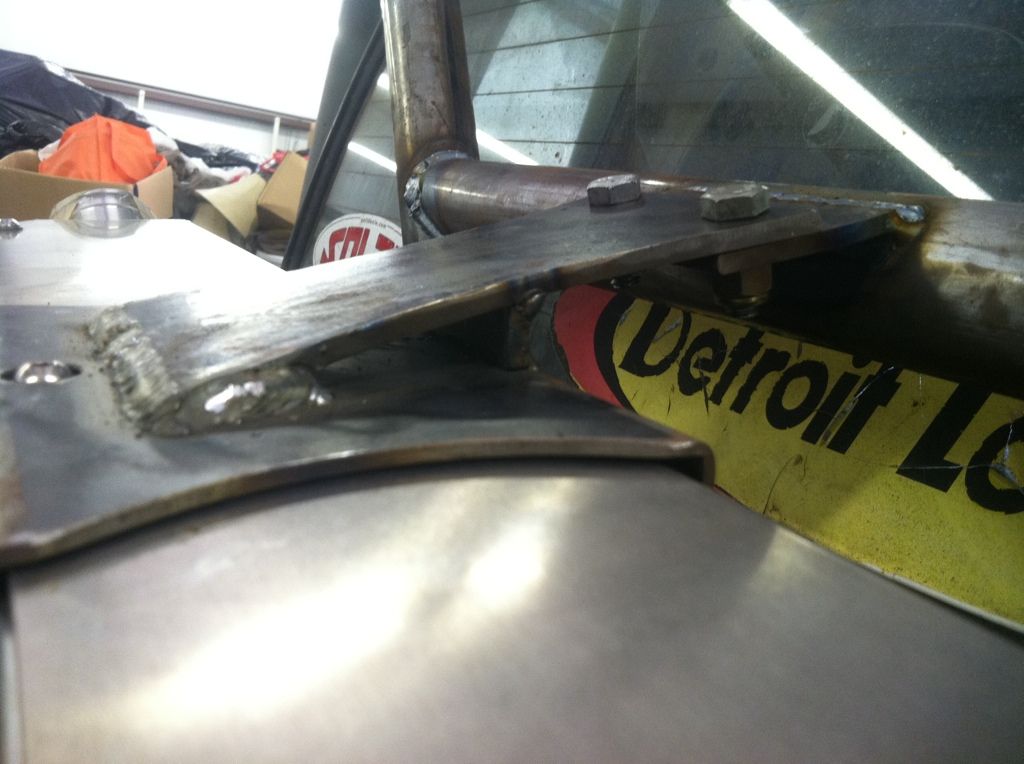
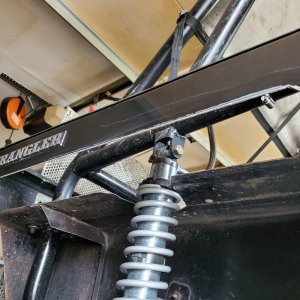
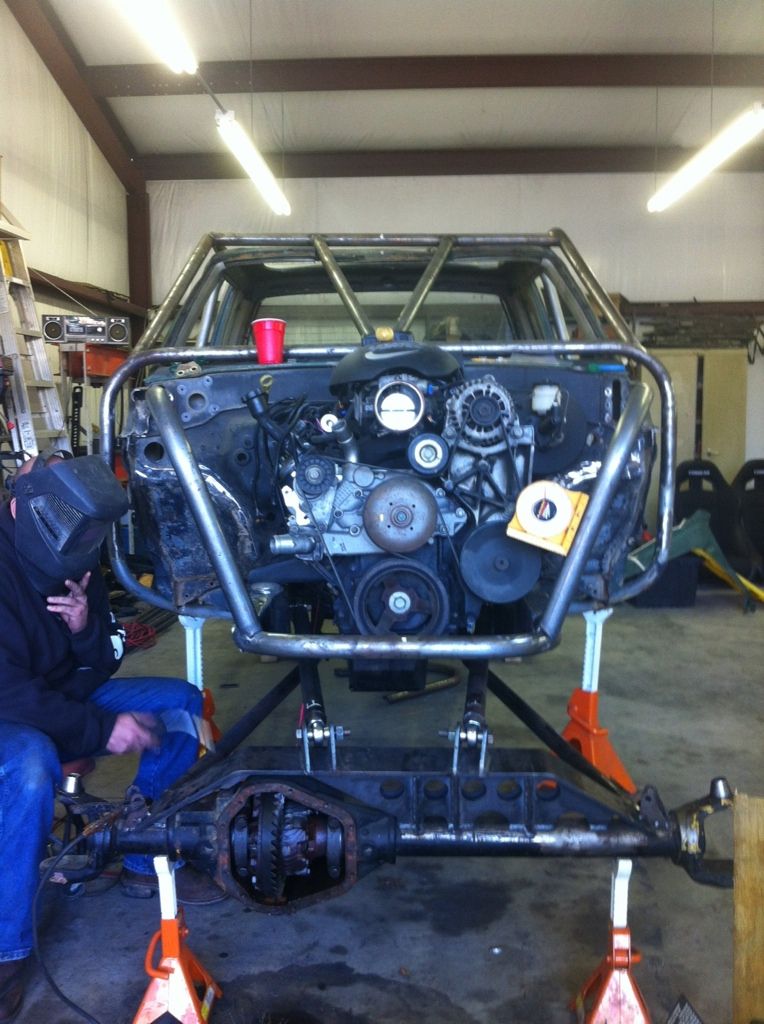
I didnt feel like the front coilover mounts were going to be strong enough mounted on the hood bar so it came off. I think I like the new look better.


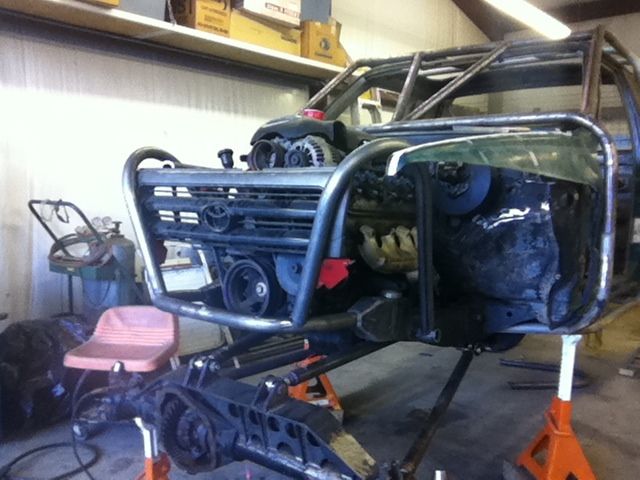
 Get this thing going, I'm ready to see it

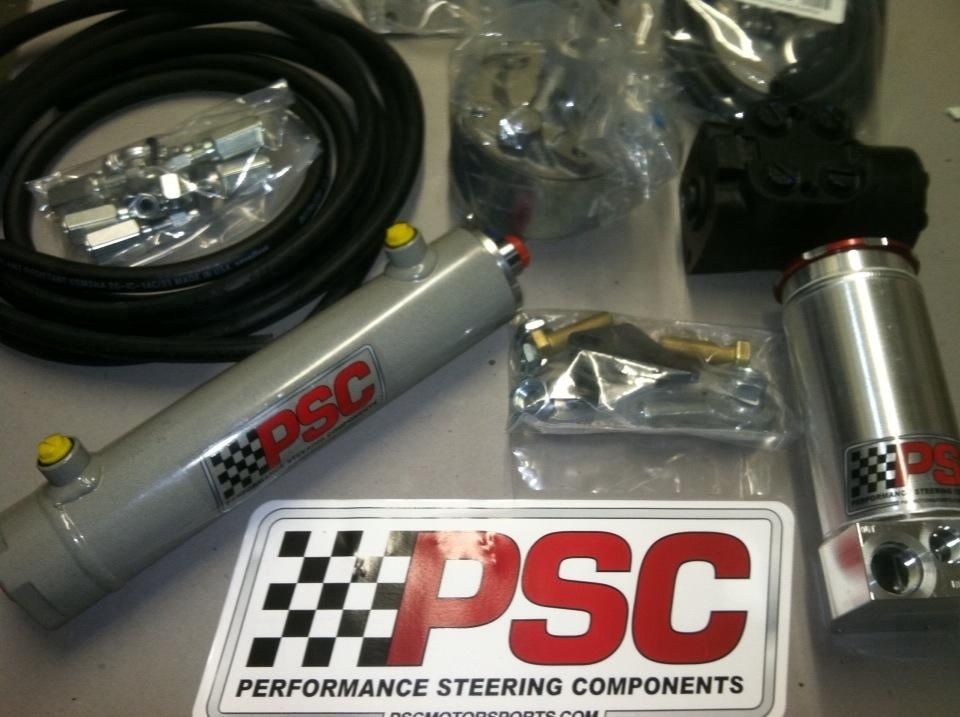


 I might as well replace the spindle nuts while I'm at it. What type do y'all prefer? Stock, lock pin type or stage 8?