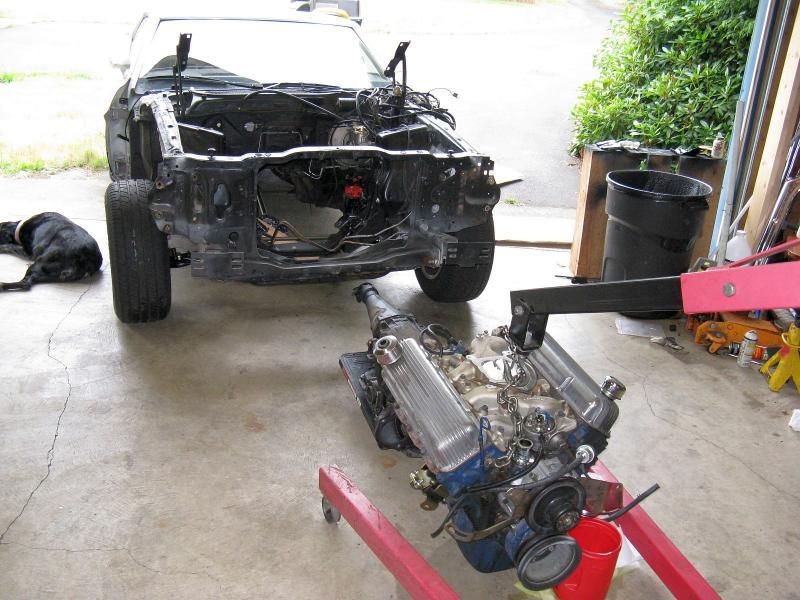
• Help Support Hardline Crawlers :

Dad's Mach 1

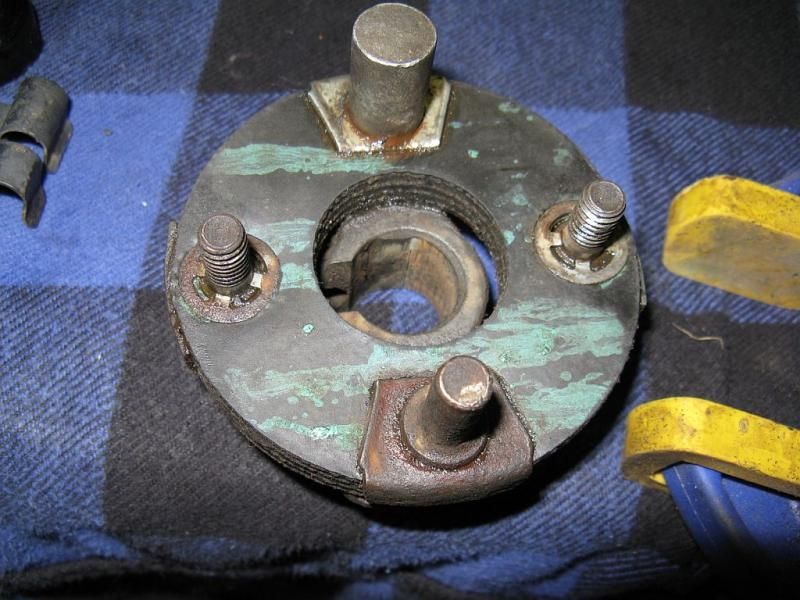
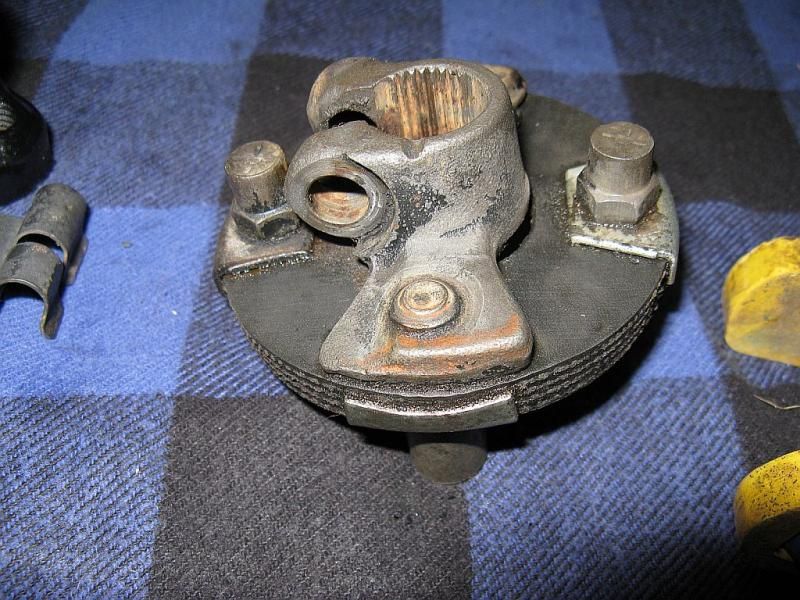
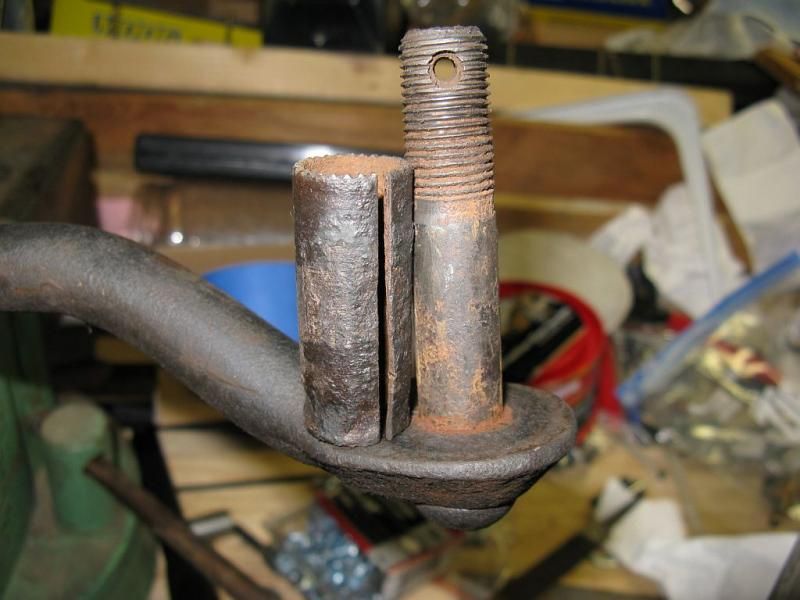
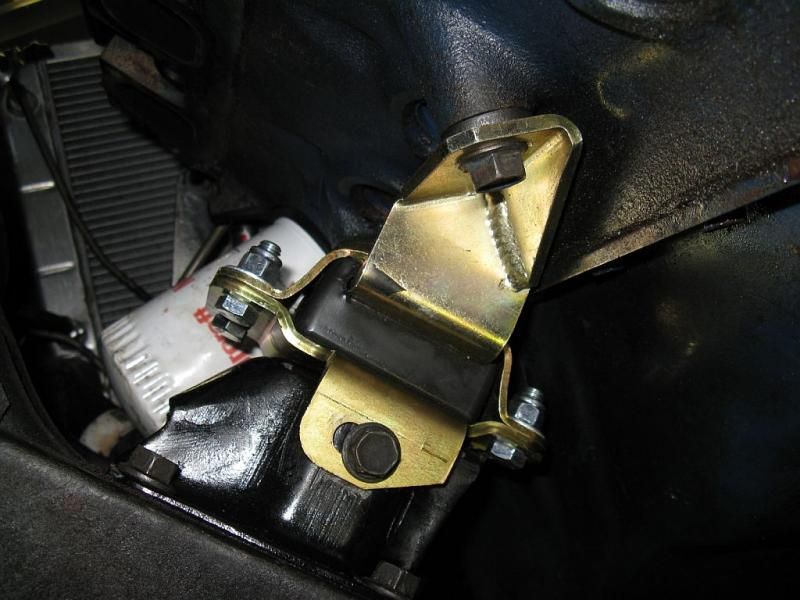
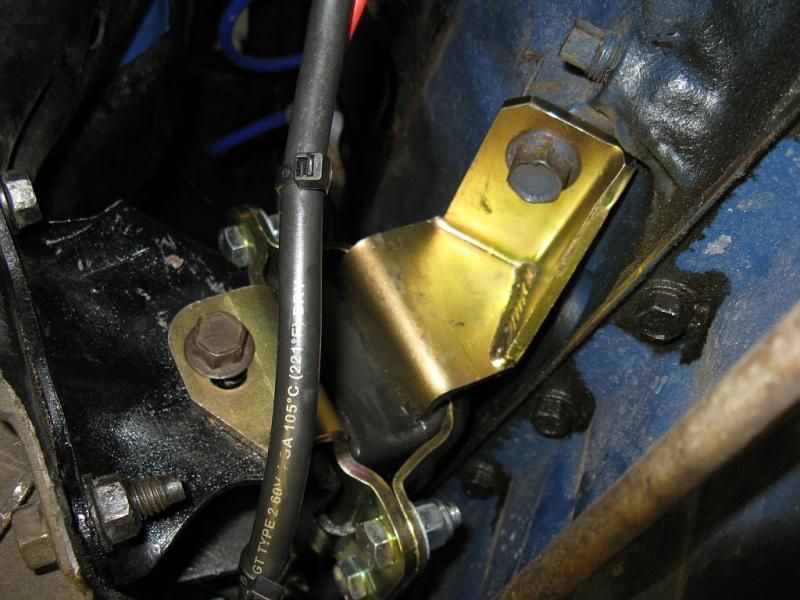
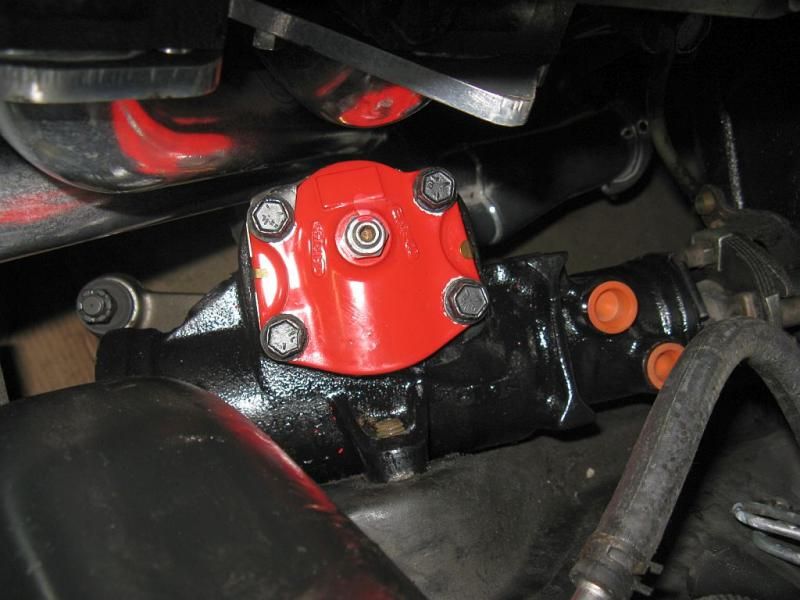
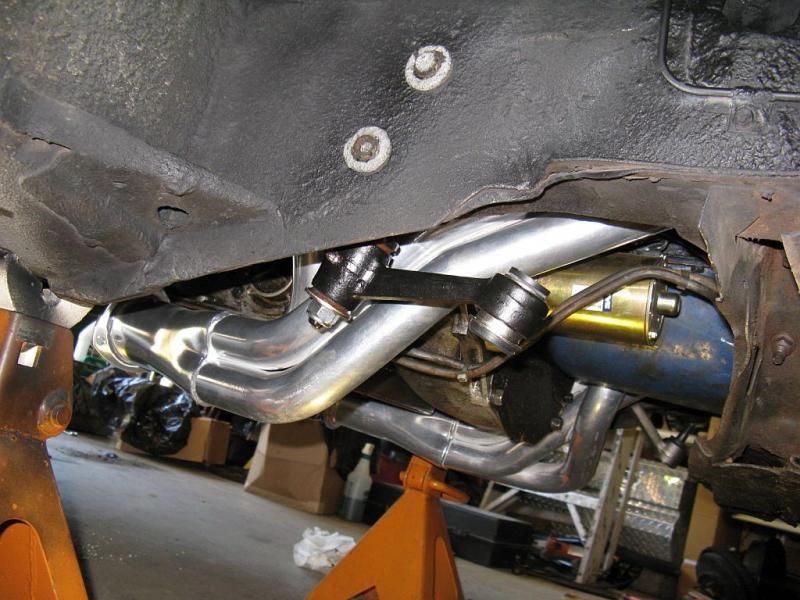
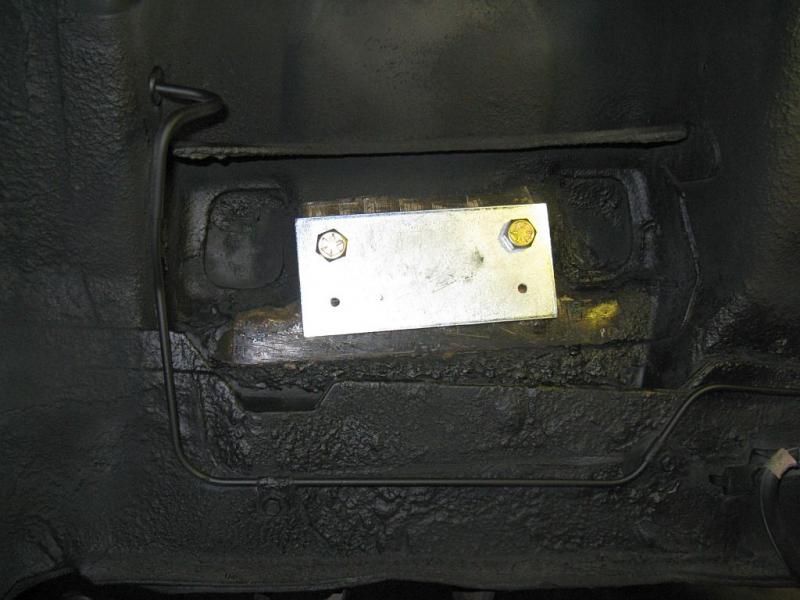
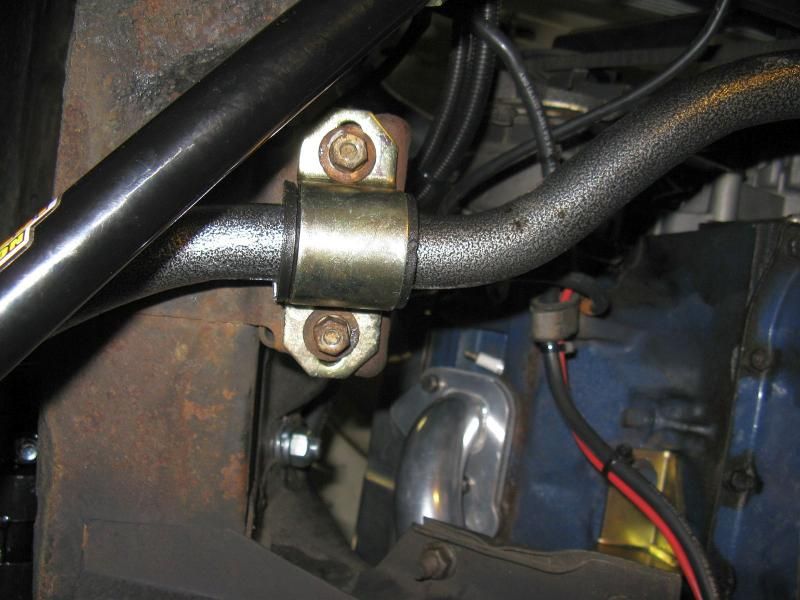
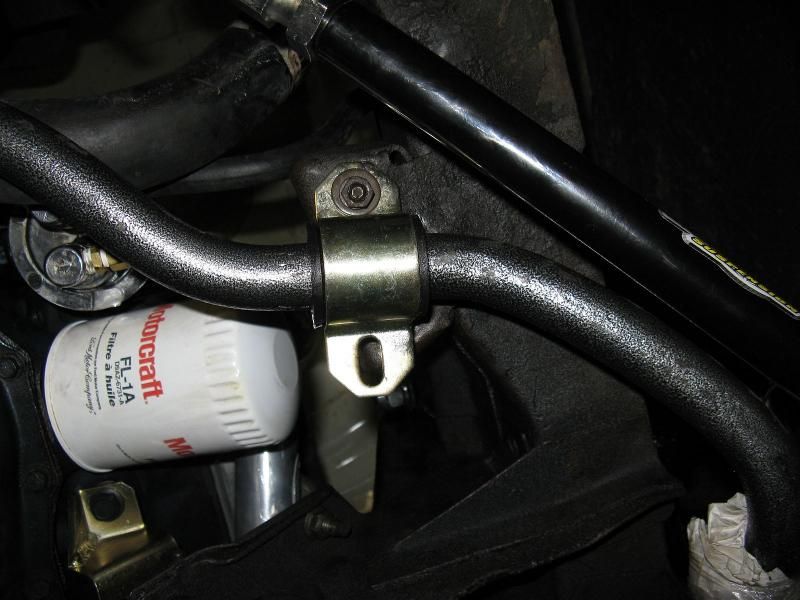
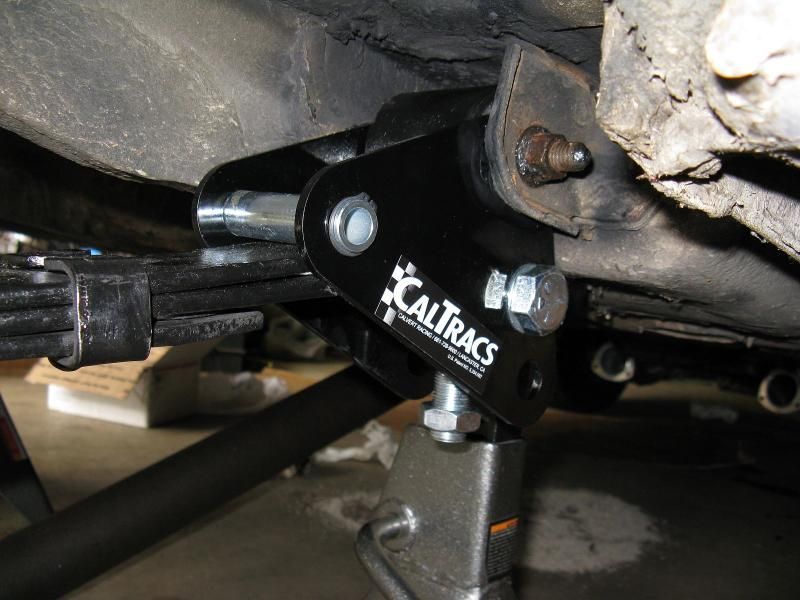
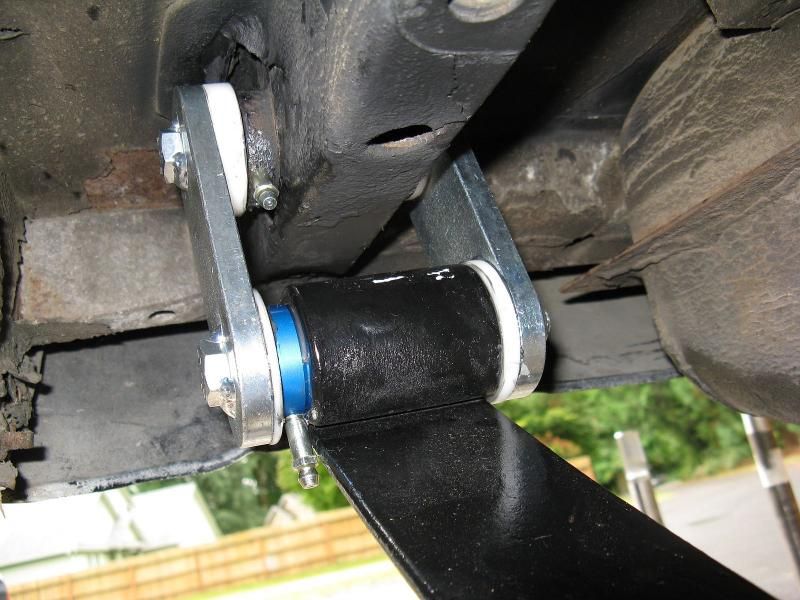
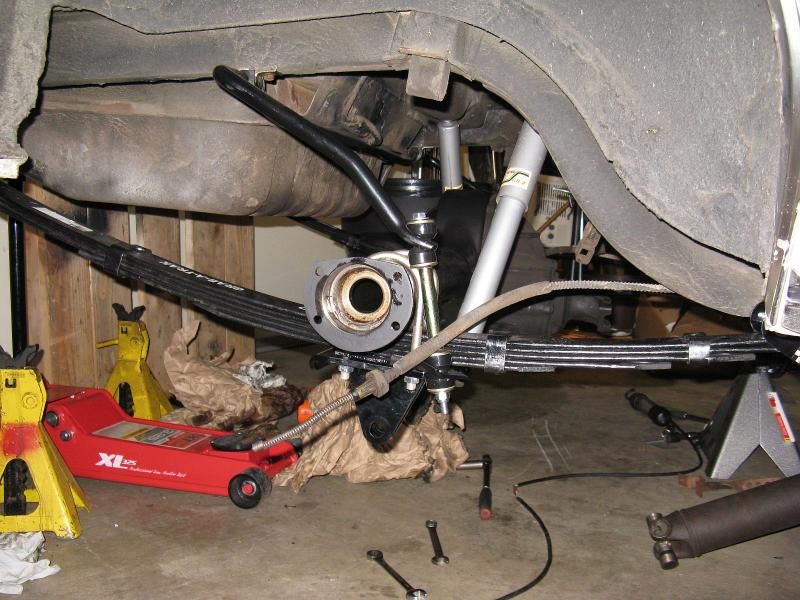
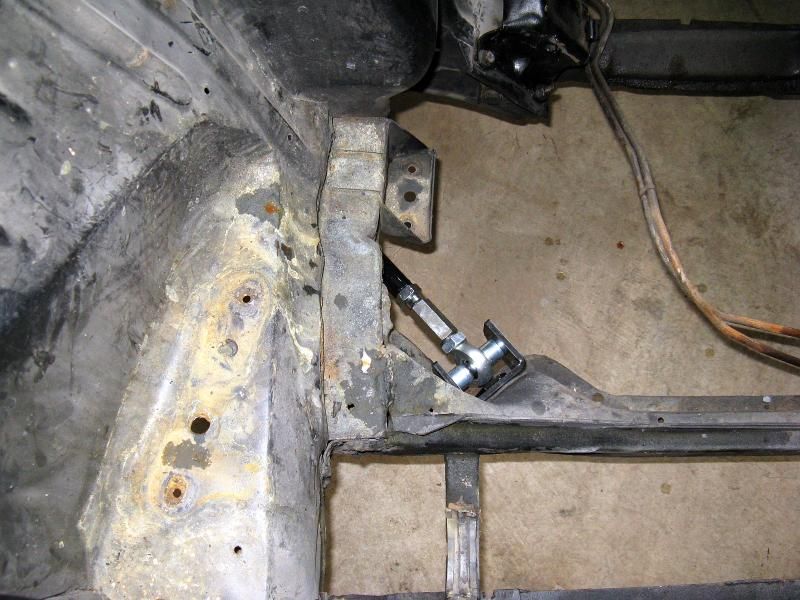
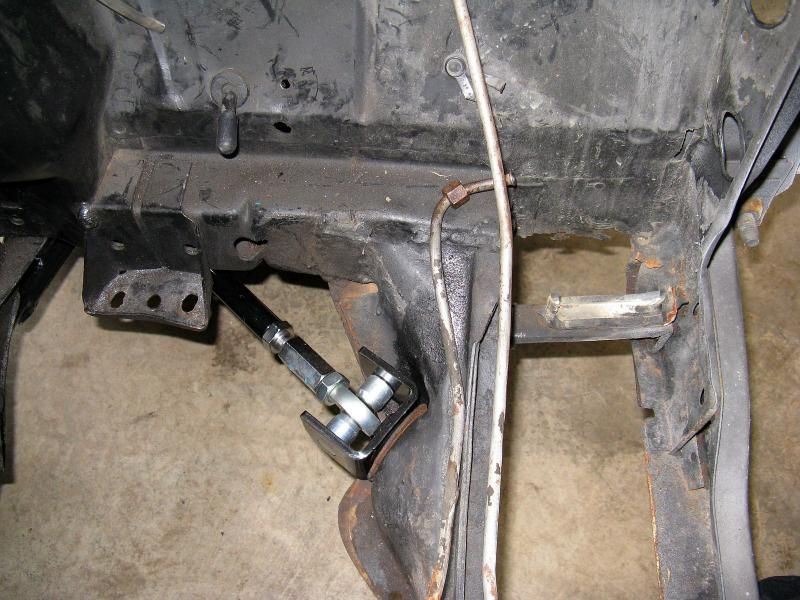
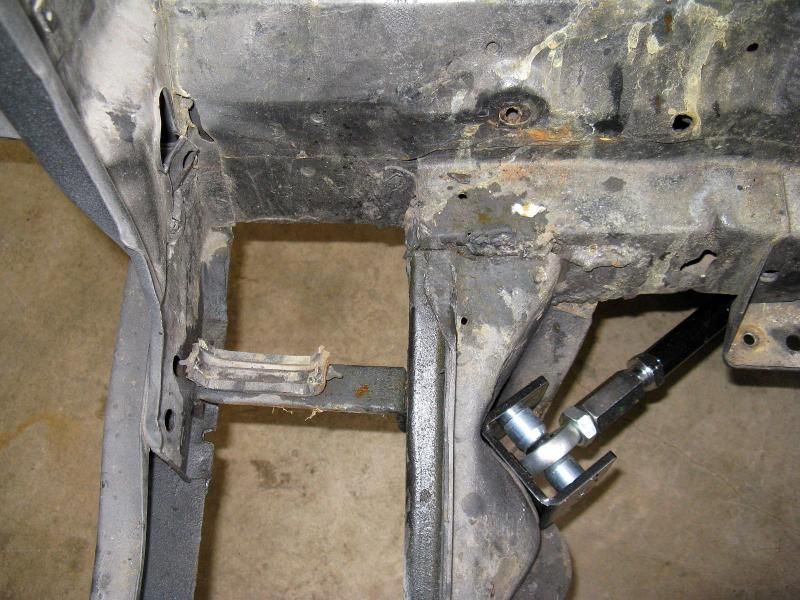
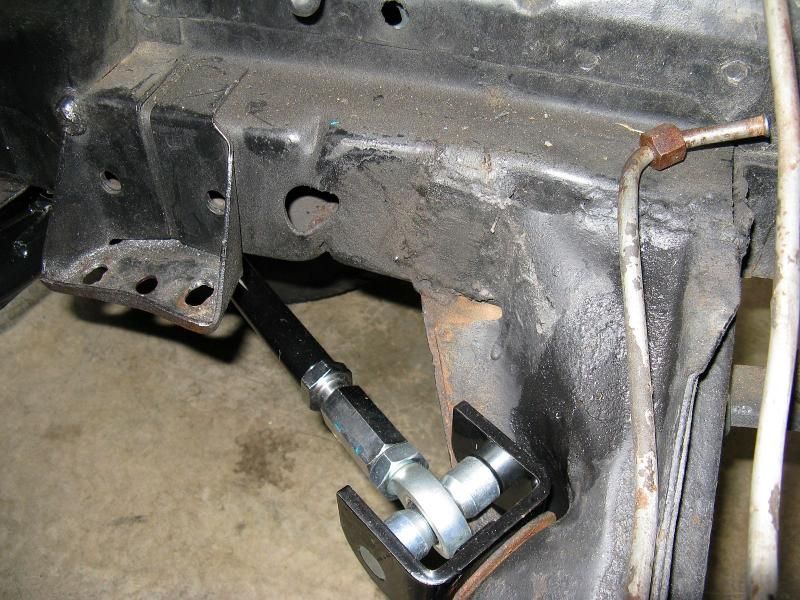
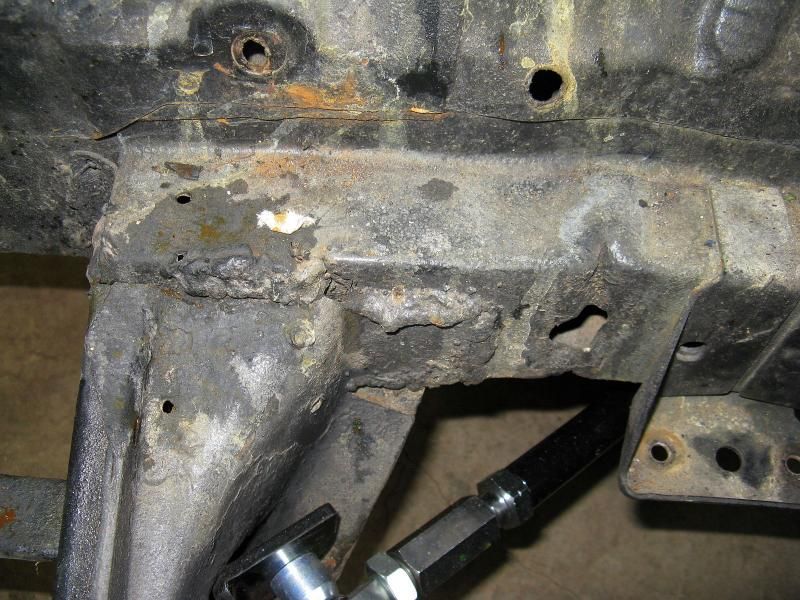
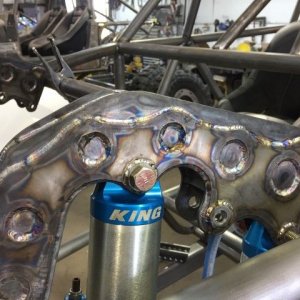
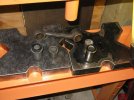
hard to tell for sure in the pic, but looks like you can unbolt the halves of the poly, flip it and reassemble with the slotted hole moved

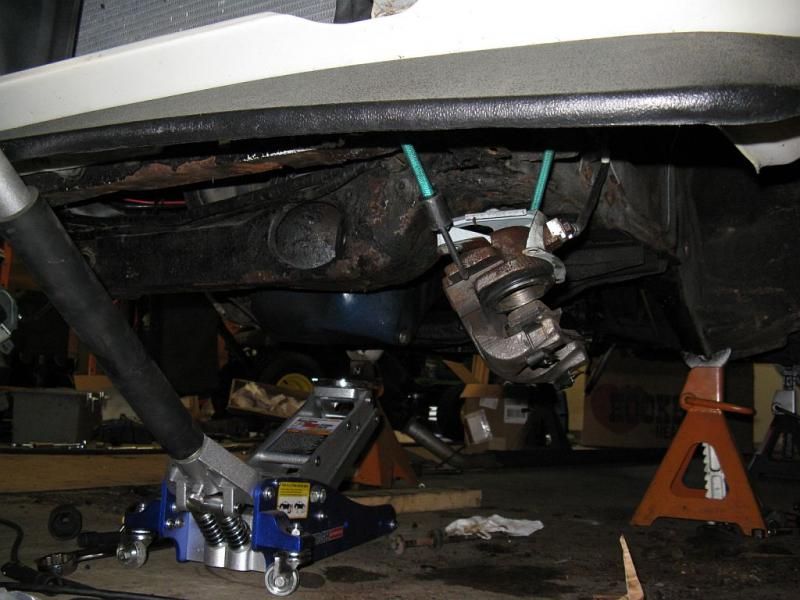
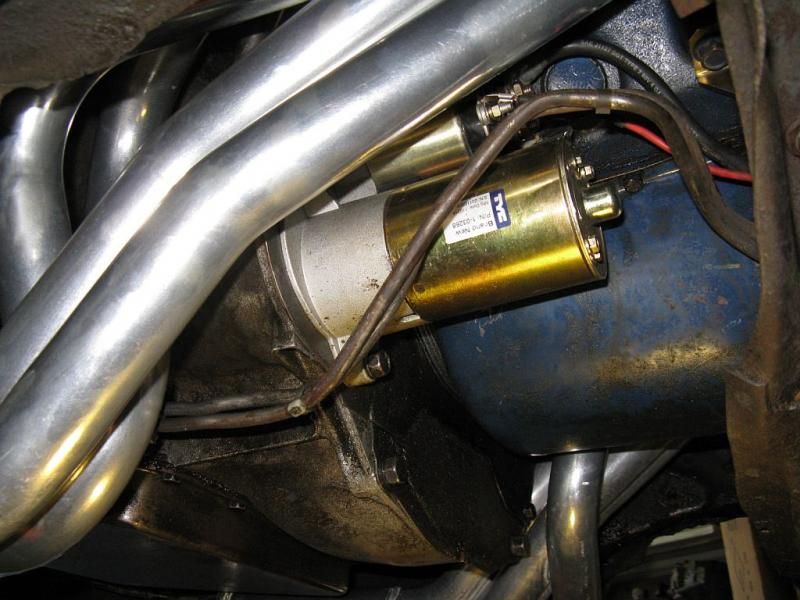
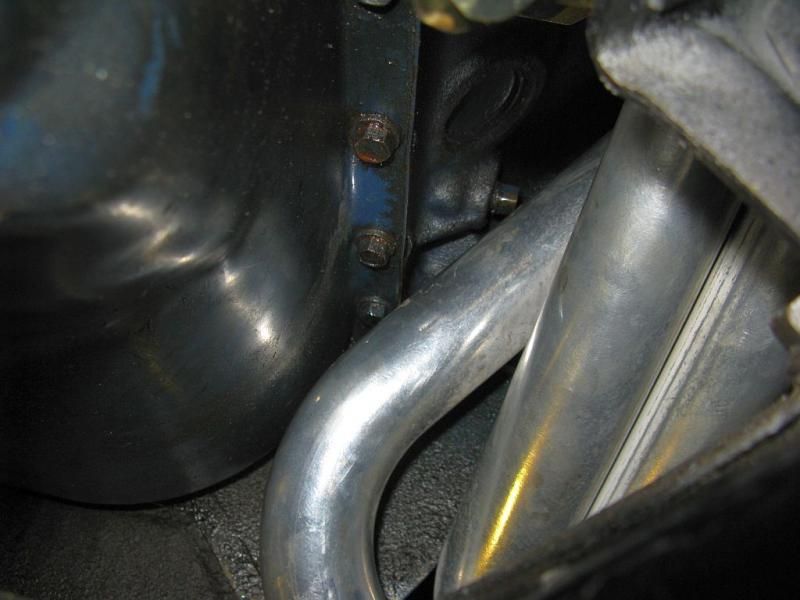
It looks to me like it would move the hole further away... But I'll try it tomorrow. I have to flip the bolts anyway to clear a header tube, since they hit when I did a mockup today.

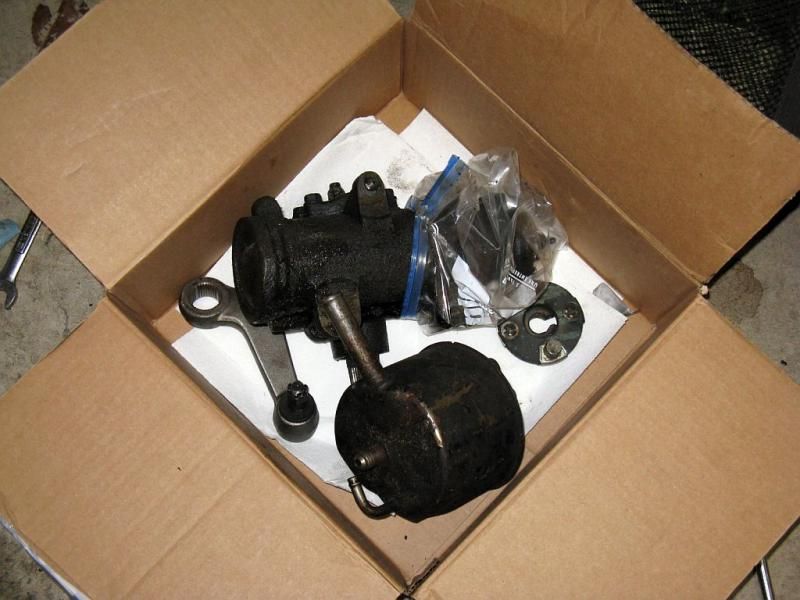
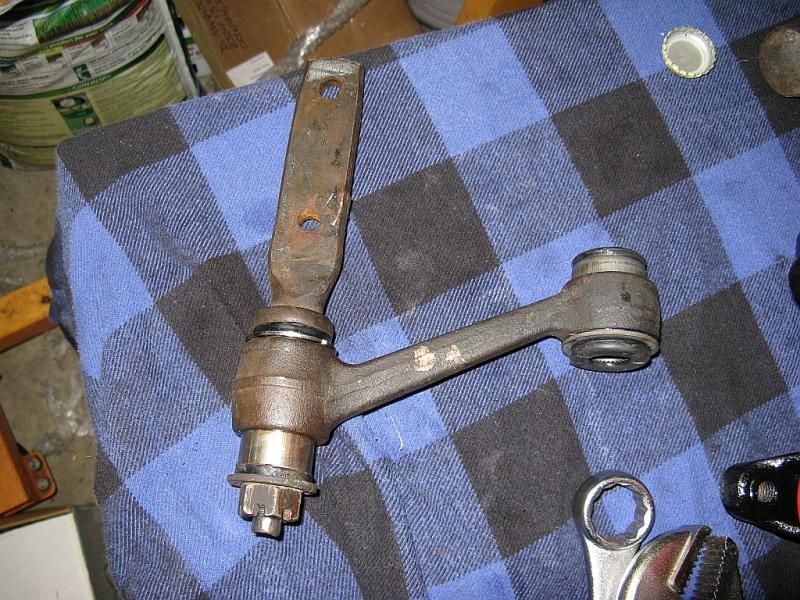
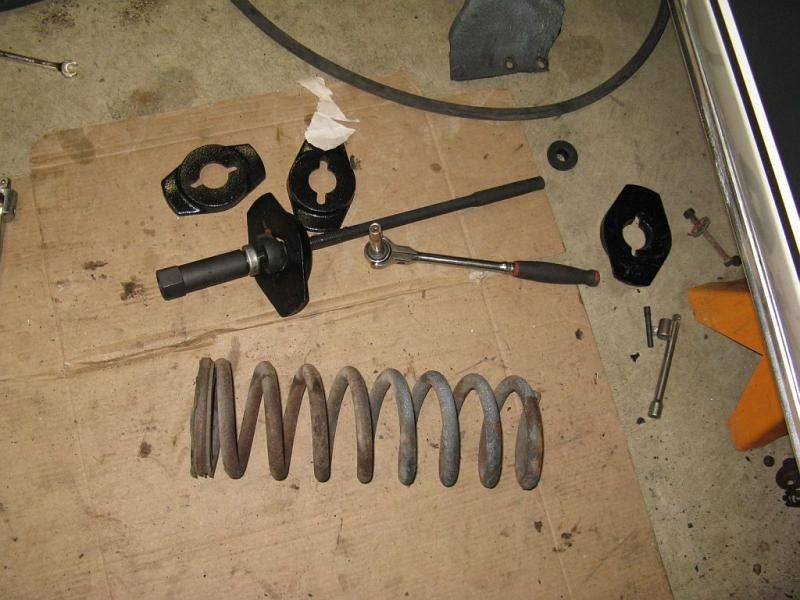
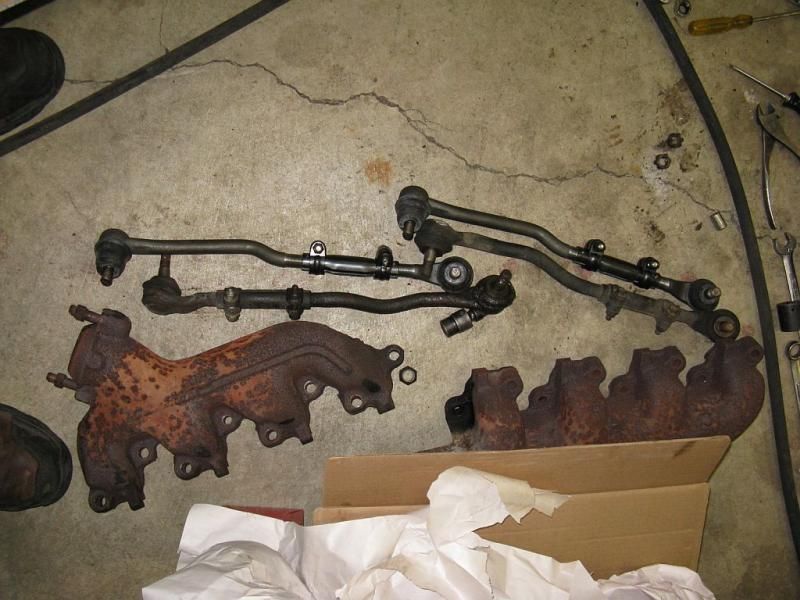
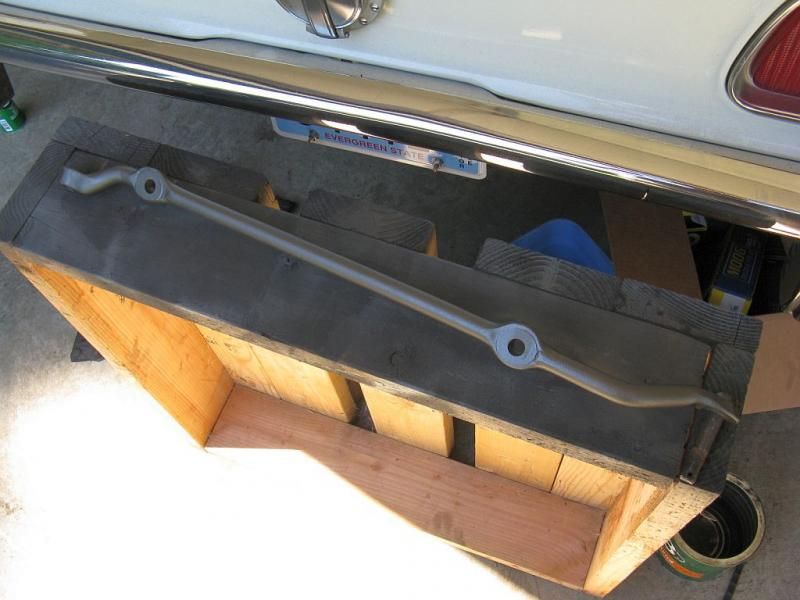
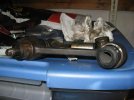
Wasted a couple hours trying to rebuild the idler arm tonight, only to have one of the bushings be incorrect.. :shaking:
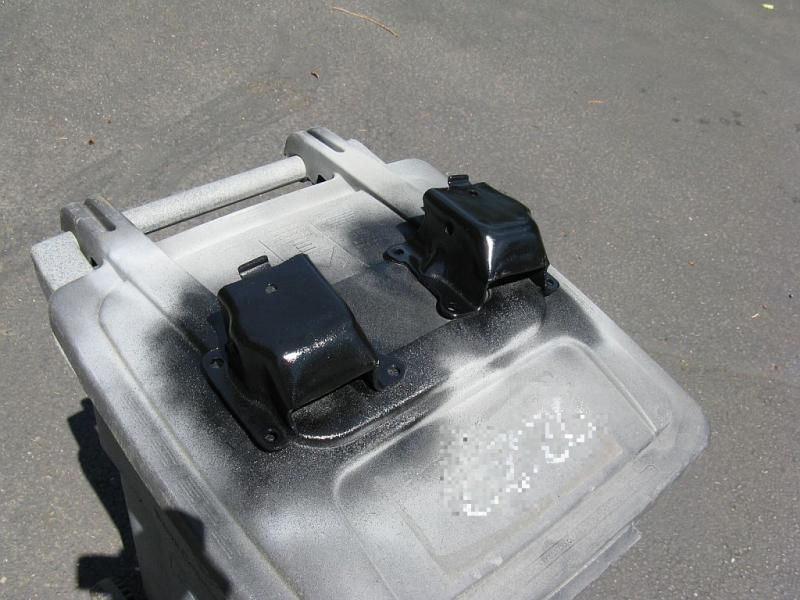
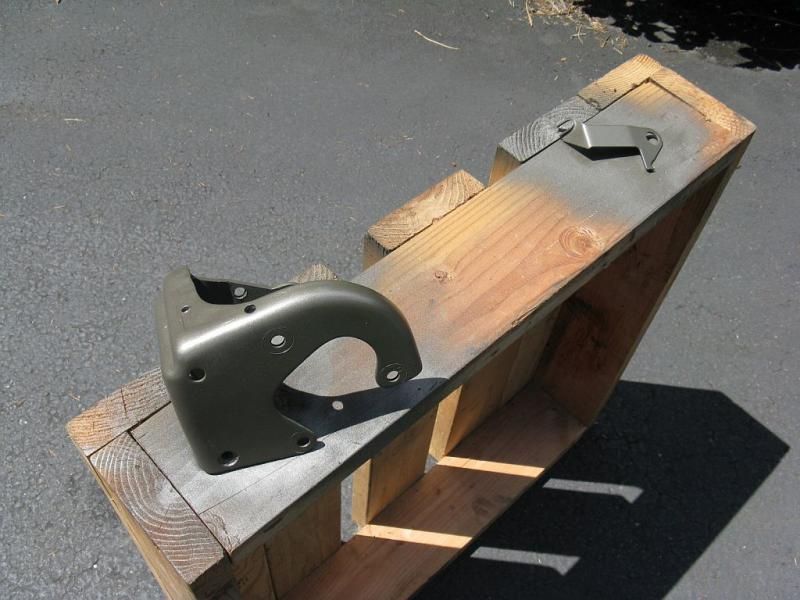
:rolleyes:
 

Attachments

  • IMG_0102.jpg
    IMG_0102.jpg
    61.7 KB · Views: 247
  • IMG_0103.jpg
    IMG_0103.jpg
    52.9 KB · Views: 254
Last edited:
yeah it looks like they assembled them wrong.... or you could loosen the mounts and jack the engine up a bit to get the bolt in then set the engine back on the mounts and tighten them back up.
 
:awesomework::corn::beer:

Please continue.

Ill be restoring mine again soon, once i get moved.
 
Got the steering box out. Off to Red Head Steering in Seattle tomorrow. Also have an idler arm on the way from West Coast Classic Cougar. Got the correct bushing for the original, since it was cheap. Will finish it and keep it around.

IMG_0106_zps6b511cc5.jpg


IMG_00107_zps3035c269.jpg
 
Got my new steering gear from Red Head in Seattle. Put my factory tag on it. It's just over 3 turns lock to lock, like the original. Also cleaned up the original rag joint. Still has some of the factory paint markings on it. Pulled the power steering pump and started cleaning the bracket up. Also finished the original idler arm in case the one I ordered doesn't work out.

IMG_0109_zpsd2fb6879.jpg


IMG_0110_zps1ac4efe3.jpg


IMG_00111_zps5b37cfce.jpg


IMG_0112_zps0aea7031.jpg


IMG_0113_zps031fc9c5.jpg
 
Blew apart the rear end to swap lockers and axles.

IMG_0133_zps8cb04776.jpg


Then the damn front suspension fell out of the car.

IMG_0120_zps14797cda.jpg


The caliper bracket bolts and the strut rod studs were drilled and safety wired..?

IMG_0121_zpsdd12974e.jpg


IMG_0122_zpse6fe7519.jpg


There was a half inch thick layer of this tar/rubber stuff in the control arm pocket on the frame rail... Factory sealant, or overenthusiastic undercoating job?

IMG_0123_zps8cfd724f.jpg


IMG_0124_zps69fe4b06.jpg


This OTC spring compressor made quick and easy work of removing the spring.

IMG_0125_zps12c489a8.jpg


It was fun getting the old bushing sleeve off of the stud.

IMG_0128_zps9205738c.jpg


New Moog tie rods are standing by.

IMG_0129_zps60c66726.jpg
 
Ive got a nice summit racing hat up for sale if your interested:haha::haha: Just kidding, Found your hat in the driveway after you left.
 
I cleaned up the frame rails under the control arm pocket and sprayed rust converter on the bare spots. Currently, the car is suspension-less.

IMG_0137_zps8b6d3e18.jpg


IMG_0139_zps74033a00.jpg


Thanks to Mike, I have motor mounts mounting my engine now. :D

IMG_0154_zpsee4984d0.jpg


IMG_0156_zps81762c19.jpg


I used duplicolor "cast iron" to try to duplicate the "natural" finish of the power steering bracket. It's a little on the bronze side.. but I think it'll look good.

IMG_0143_zps3ae99ef4.jpg


Got the headers mocked in. The clearance is decent. I'm sure I could do even a standard starter without pulling the header... Tons of room with my late model one. One tube is tight to the oil pan on the driver's side.

IMG_0157_zpsaef7844f.jpg


IMG_0158_zps29c11182.jpg


IMG_0159_zpsa66cc4ea.jpg


IMG_0160_zpsc26d75c7.jpg


IMG_0163_zps67440af7.jpg


IMG_0161_zps124b3c82.jpg
 
6-29-13
Got the shock towers painted, cleaned some other things, prepped the new PS hoses. Got the new box installed before giving up at 3pm from the heat. Not as hot as some of you, but the shop was 90 degrees, and that was enough for me.

IMG_0175_zps64bcbab0.jpg


6-30-13
I had to pull both headers from mockup to re drill three bolt holes to allow the bolts to slip in past the tubes. Got the headers in finally for the last time, with all bolts and gaskets.

IMG_0179_zps97d37eed.jpg


IMG_0180_zps4223136b.jpg


Shock towers are painted and sealed up.

IMG_0176_zpse0fa6e05.jpg


Cleaned and painted the center link. I used the same "cast iron" paint I tried on the PS pump brackets. Also got the new repro idler arm from west coast classic cougars in.

IMG_0178_zps1babebef.jpg


IMG_0181_zpsb3af0179.jpg


This thermometer is in the shop on the wall in front of the mustang. I hung it up at 3pm.

IMG_0182_zpsc5fcf941.jpg


Updates will slow down as I am back to work, and will be working weekends on this project.
 
Back on it this weekend. Got the passenger side in. Went to put the front swaybar in, and something is wrong. It either was bent in shipping, or it wasn't bent correctly when it was made. It's been almost 2 years since I bought it. Guess I'll contact the vendor to see if they can do anything, or if I'm gonna have to re-bend it myself...

IMG_0197_zps2390dd65.jpg


IMG_0198_zpsaf12f1ea.jpg


IMG_0201_zpsf9ed7cc6.jpg


IMG_0200_zpsb6938176.jpg
 
Yeah, it wasn't the swaybar.. It was wrecked, and it's not square. Got a spot coming up on the frame rack. Working to make it a roller.

Got the rear end housing stripped and today, painted.

IMG_0229_zpsdaf9ea51.jpg


IMG_0230_zps7b58224f.jpg
 
8-17-13:

Lunch break progress:

IMG_0240_zps8b18ca83.jpg


IMG_0241_zps10613bd1.jpg


IMG_0242_zpsc51c53f7.jpg


The moser axles I ordered are an inch too short. Of course, I found this out after pressing in wheel studs and bearings onto them. The Summit rep is going to contact Moser to see what they have to say... I hope I don't end up with a $400 paper weight set.

It's almost a roller.

IMG_0243_zps068577d6.jpg


IMG_0250_zps251e0bb0.jpg


IMG_0252_zpsaa4a2476.jpg


8-18-13
Got it on the ground for the first time in months... Only to start tearing it apart to go to the body shop. Oh well.

IMG_0253_zps2a1e1102.jpg


This is where I stopped for the day:

IMG_0256_zps26369f16.jpg


IMG_0257_zps00fb7289.jpg
 
Top