dobber
Well-Known Member
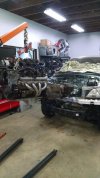
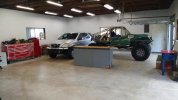
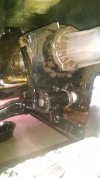
I've spent the last 4 years wheeling solo and leaving my family at home. It's time for a change. Time for a light duty family rig. Would like to keep it street legal but we will see. This will be a 2 stage build, first stage is to get chosen rig running and driving as a stock rig with motor swap. Second step, build a unique rock crawler out of it.
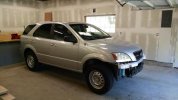
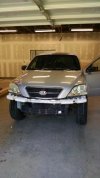
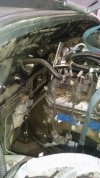
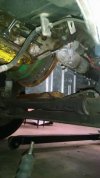
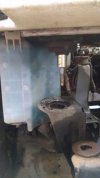
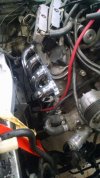
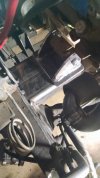
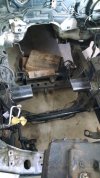
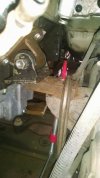
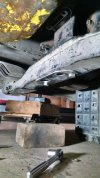
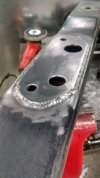
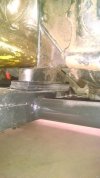
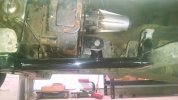
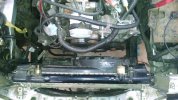
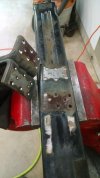
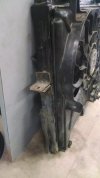
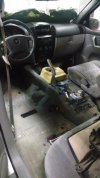
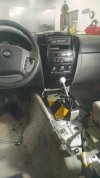
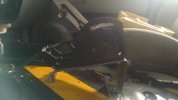
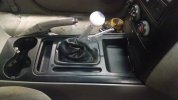
Enter the 2wd 2005 Kia Sorento. Wanted to do something different than the normal 4runner or Cherokee. Picked up my Kia for $500 with a blown engine. Sorentos have a full frame so if will be nice to work with.
Final product plans
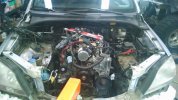
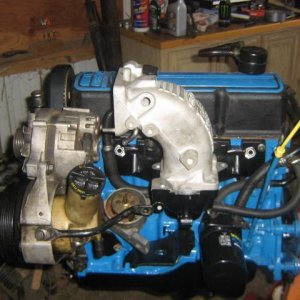
-5.3/th350/205 swap
-One ton or custom 9in axles
-bumpers/sliders/cage
-Undecided on 37-42in tire
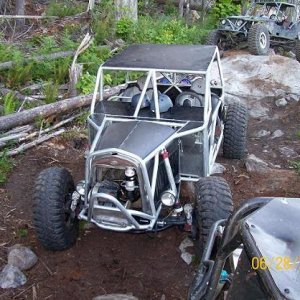
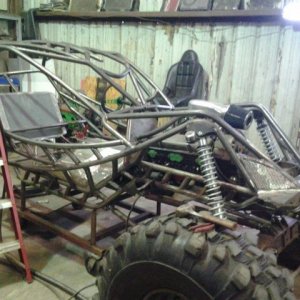
Future Kia-rawler
View attachment 60524
View attachment 60525
Enter the 2wd 2005 Kia Sorento. Wanted to do something different than the normal 4runner or Cherokee. Picked up my Kia for $500 with a blown engine. Sorentos have a full frame so if will be nice to work with.
Final product plans
-5.3/th350/205 swap
-One ton or custom 9in axles
-bumpers/sliders/cage
-Undecided on 37-42in tire
Future Kia-rawler
View attachment 60524
View attachment 60525