Ryanclimbs
Well-Known Member
- Joined
- Sep 11, 2013
- Messages
- 144
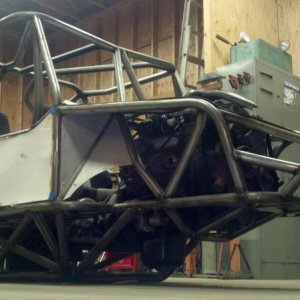
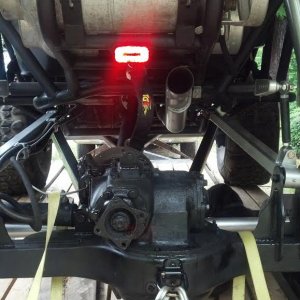
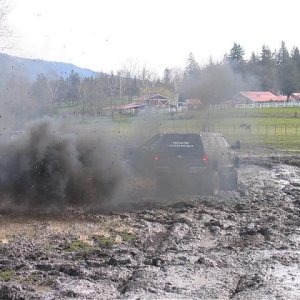
Ok Here goes Jeep/juggy build number 6 for this year... however it will mostly be done in 2014... I bought a Jeep LJ that was fairly well built as a sleeper jeep. It looked like a fairly stock LJ but had alot of great mods. It had a professionally installed Chevy 5.3 crate engine backed by a rebuilt TH350 and lomax 300 twinstick 4:1... the Jeep has less than 20K and the engine is slightly less. It also has Teraflex CRD 60 axles with 5.13 gears and ARB's (luckily with 60 outers as well, alot of the CRD 60's have smaller outers.) The suspension is 5.5" lift with OME shocks. It also has 39.5 Irok Bias tire on TR beadlocks. So it is a well built jeep but my standards are high and I want this to perform on and off road very well. This is my personal Jeep that I will likely have for the next several years.
Here are the plans:
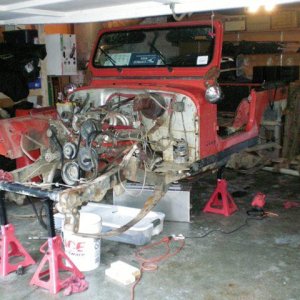
So the first thing I needed to do was trim the rear opening to get it ready to be skinned and open the wheel well slightly on the forward side. Then cut off the rockers that the previous owner had welded on... Here is the starting image:

One of the first things I did was trim the rear warn bumper making it a little slimmer, mostly for looks:

Next i lopped off the previously welded rockers with my plasma cutter and cleaned it up with a grinder:

Next i removed the front fenders and the diamond plate "rocker panel" and cleaned things up:

Here is an image of the back cut. I cut as high as I could still keeping the inner fender walls in tact:

Here are the plans:
- Boatside Rockers
- Raise front fenders 3" and cut the hood for a highline conversion, add metal fender liners
- Slightly comp cut the rear opening up wheel area and ad a skin
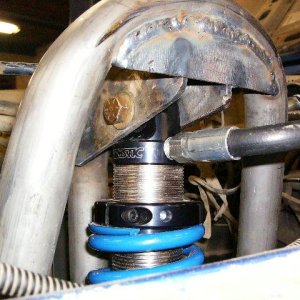
- 4link, with 14" coilovers and bypass shocks
- PSC Hydro assist ram and box
- Rebuild cage
- Probably trade the iroks out for a set of sticky's
- Truss the axles and do a slight rebuild and possibly extend the wheelbase slightly
So the first thing I needed to do was trim the rear opening to get it ready to be skinned and open the wheel well slightly on the forward side. Then cut off the rockers that the previous owner had welded on... Here is the starting image:
One of the first things I did was trim the rear warn bumper making it a little slimmer, mostly for looks:
Next i lopped off the previously welded rockers with my plasma cutter and cleaned it up with a grinder:
Next i removed the front fenders and the diamond plate "rocker panel" and cleaned things up:
Here is an image of the back cut. I cut as high as I could still keeping the inner fender walls in tact:


![IMG_3263[1].JPG](http://attachments.www.hardlinecrawlers.com/xfmg/thumbnail/4/4802-2e8f9be8cfb14ed789e1897f7ba51d03.jpg?1625928482)