Money Mark
Well-Known Member
- Joined
- May 19, 2006
- Messages
- 563
I'm sure it will, cause you never actaully wheel.:corn:
I'm sure it will, cause you never actaully wheel.:corn:
any new pics? :beer:


:cheer::cheer::hi:
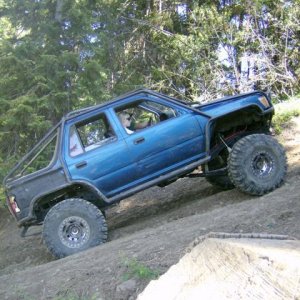
Sam will be out using it in no time :awesomework:

:cheer: good to see your rig getting some attention again sam, wish i still had a rig a could thrash on, oh well someday:stirpot:
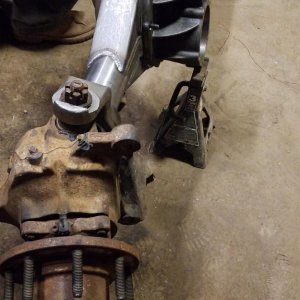
i just realized you had triple cases, any idea what your final ratio on triple low is?


Webcam no workie? I cant get my voyuerism goin.... :redneck:


![20180217_135718[1].jpg](http://attachments.www.hardlinecrawlers.com/xfmg/thumbnail/25/25891-00f51192efd55b8041ead6bab45d506f.jpg?1652262880)