OnedayB
Well-Known Member
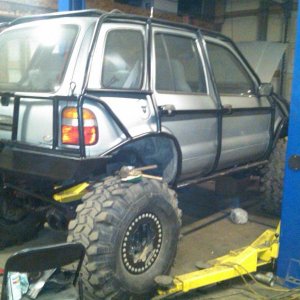
dang the runners looking good glad to see your putting some time, money and also effort it to it befor you go wheel it thats what it needed for sure!! Now you need to pull that old 22r out and find a 22re to put back in it:awesomework::corn:
 The 70s dodge D44s had studs for the inner ubolt.
 . We are getting it wheelable to start then i will find another motor after a while:awesomework:


 uke:
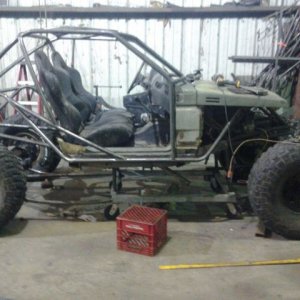
uke:") so sam shouldn't worry about anything ripping off it and the ring gear is also protected :awesomework: So threw some paint on it with grade 8 bolts and 2 Allen head bolts next to the U bolt for clearance.
so sam shouldn't worry about anything ripping off it and the ring gear is also protected :awesomework: So threw some paint on it with grade 8 bolts and 2 Allen head bolts next to the U bolt for clearance.