ChevyGuy
Well-Known Member
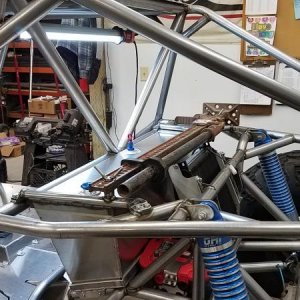
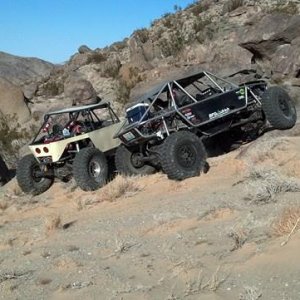
Crash this rig is just an awsome rig, you have done a great job! I love the wheels
Crash this rig is just an awsome rig, you have done a great job! I love the wheels


look's good mike. You gave me a few ideas i have'nt thought of :awesomework: