ROOKIE
Well-Known Member
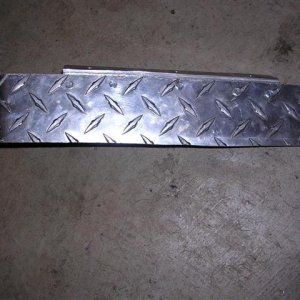
Looks good
Does it work good enough that you don't have to build a new one in a month hahaha


Does it work good enough that you don't have to build a new one in a month hahaha
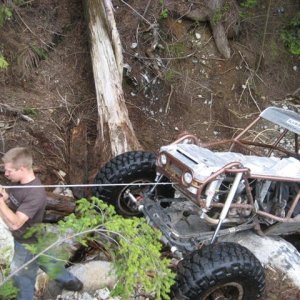
My shafty would tear it up out there:fawkdancesmiley:
What's your working theory driving the design on the new link geometry?
I was worried I would have way too much anti-squat but it seems very stable on climbs.
What's the advantage over your last chassis?