MORT1
Member
Hey mike, quick question. Factory thermostat in a vortec is 195
Hey mike, quick question. Factory thermostat in a vortec is 195


Very nice Mike!!!!Get that Biatch ready for some wheeling!!!!:awesomework::beer::beer:I got a bunch of boxes today with half being my electrical supplies to restock my inventory and the other parts Chris ordered for the truck.
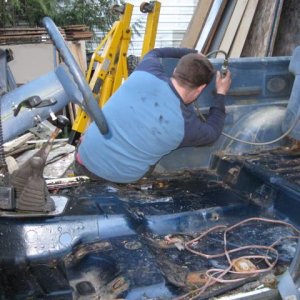
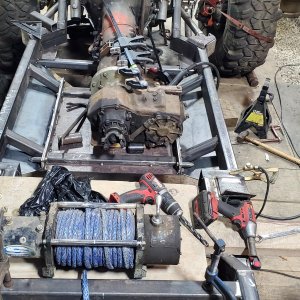
So since I had material to build the last cable to the starter.
So at this point all needed factors to make it run are there. I turned the (broken) ignition switch and no crank--damn. So I spent some time going back over the start system and found where I had made a mistake.
When I bypassed the clutch start switch I connected the wrong 2 wires. I had connected the Black/red to the Black/yellow. The correct way is the Black/red to the White/black. After that it cranked so I threw a gallon of fuel back in the tank and the damn thing started and ran.
Nope you are right on the $$.. Thats why you drop in a 180 thermostat and the temp will drop below the off temp of the switch. With this motor having heated O2's they will stay very hot and the motor will still stay efficient.

I got Dave from D&J working on some rear disk swap mounts if anyone has the Info on the brackets or one they spare so we can copy I would appreciate it


Still no shifter?

Did you figure out shock length yet Mike?