• Help Support Hardline Crawlers :

Project "Secret Squirrel"

I won't argu this but I have a reason for doing things how I do them--and i will explain them to ya the next time I see ya.. I work at 120% proficiancy easily....:awesomework:

I'm sure you do, but I like my vaccum filler, it find's forgotten plug's, caps, untightened hoses, and one time it found a cracked Hemi block in a samurai.
 
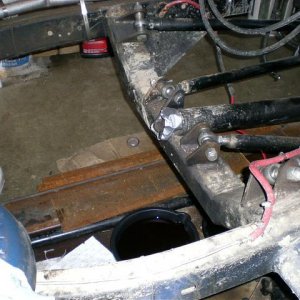
Ok--so since I got most of the air out of the system--I ran the engine hot and kept the cooling fan off--unfortunatly I forgot my laser temp reader so I had to go by feel. So I let the guage get above the middle and turned on the fan. I kept feeling the return line near the motor--and I could feel the tube getting cooler..

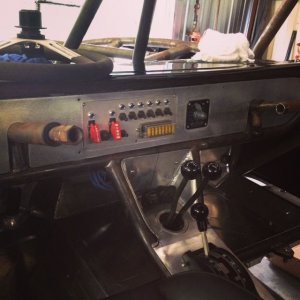
So now that I was able to have the rig run for any length of time I decided to start taking care of a few things. The first thing was the idle did not drop--stayed around 1200rpm's. So I checked the voltages at the idle control soloniod and the voltages seemed correct(or what I thought judging by the info I had). So I unplugged the soloniod and the idle speed did not change any. So at this point I figured it was time to remove the soloniod and inspect it since when we got the motor there was some signs of moisture in the throttle body. So I pulled it off and here is what I found inside the soloniod.

jack414.jpg


Yup--there was moisture inside it at one time. Now I have never messed with this particular style and origionally thought there was a pintle that went in and out.

jack415.jpg


After some playing with it--I found it actually rotates like 20 degrees. So I spayed down the part that sat on the intake and started rotating it. Then I fired off the motor and manualy moved it and yup--the idle changed--to the point to where it almost died. So I spayed some lube on the rotating part and reinstalled the soloniod--crossed my fingers and yup--now the idle comes down like it should...

So the next thing to do was correct the fuel pump control. One thing I found that I didn't think was right--was the fact that the fuel pump came on when the key was on--that didn't seem right since the fuel pumps never run on a toy unless the motor is cranked over. So I did some looking over the schematics and it looks like I messed up a circuit. So I added the terminal back into connector E6 and then ran it over to the fuel pump relay--and now it works like it should--the fuel pump won't run with just the key on..

Now another thing that didn't work(and I was pretty sure it did when I started the prodject) was the blower motor. wel I went thru the circuit and found there is a problem with the fan control switch--if you wiggle the switch the blower comes on....
 
So now we are starting to get some speed here. So the rig has an appointment on saturday to get the exhaust done...
 
Michael had that thing running half the night. I think I even heard it in my sleep.:haha: I was outcold before he even came inside.
 
I just passed Jack and trailer and green and black tube thingy drive by. It looks soooooooooooooo good moving down the road, out of the garage!!!!! :cheer: :cheer: :cheer: :cheer:
 
Yeehaw! I bet Jack's excited. :cheer:

Yeah i talked to him on the phone and asked if I needed to go clean the garage up..:haha: He said "nope, took care of that at home first." :haha:

It really looks good though. I wish I had seen him coming in time to get apic of it on the trailer.
 
:redneck:
 

Attachments

  • Heavenly.JPG
    Heavenly.JPG
    45 KB · Views: 474
  • hotass.JPG
    hotass.JPG
    48.9 KB · Views: 519
  • trucksami1.JPG
    trucksami1.JPG
    45.1 KB · Views: 511
  • trucksami2.JPG
    trucksami2.JPG
    45.4 KB · Views: 473
That thing looks awesome jack!!!! i bet you feel like christmas came early this year!

O hey you gonna have that thing out at the work party tomorow?
 
That thing looks awesome jack!!!! i bet you feel like christmas came early this year!

O hey you gonna have that thing out at the work party tomorow?

Its not quite that ready, but SOOOOOOOOOOOOOO Close I can taste the dust.
 
So jack finally made it back with the rig--and of course randy did yet another awsome job on the exhaust(I will get pics of it later on)...

So since that task was done--it was time to get the front bump stops done--but first we wanted to run it up the ramp just to see what happened.....

And as I suspected-----the rear WAY out does the front.... But granted the shocks are not charged either but in the pics the shocks are maxed out both ways--and the compressed shock does rub the tire. But for now we are going to run it and see exactly how it does on the trail but I am thinking the rates are a little light--but I am not sure of that either but I am pretty sure the rig is lighter than I had thought...

jack420.jpg


jack421.jpg


jack422.jpg


I did nail the clearance on the rear...

jack423.jpg
 
Wow just wow!!!!! You do amazing work Mike!!!! I am speachless right now for sure. . . . I should a freind before and after pics and he doesn't believe me that somebody built that thing pretty much from scratch.

That thing is beautifull congrats!!!
 
So I have preppep/plated the frame in readyness for the shock hoops..

jack424.jpg


Bump stops for the front are done.

jack425.jpg


And here are a couple pics of the exhaust

jack426.jpg


jack427.jpg
 

Latest posts

Top