Woodlee
Well-Known Member
Well guys it has been a while since I've posted a build thread, and I figured it was time to give every one a few updates of what has been happening around the shop over the past couple of months.
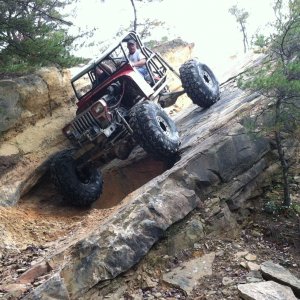
Bj Allen came to me with the idea of wanting to get into some of the new Southern Rock Racing Series action and having a trail rig that would take some abuse that is getting insane here in the south east. Seeing as how I am a huge fan of the series and I have been wanting to build another hill killing buggy for a while I jumped at the chance to do the project. Bj came to us with a good idea of what he was looking for in a buggy that was tough as nails, plenty of power and had to look good as well.
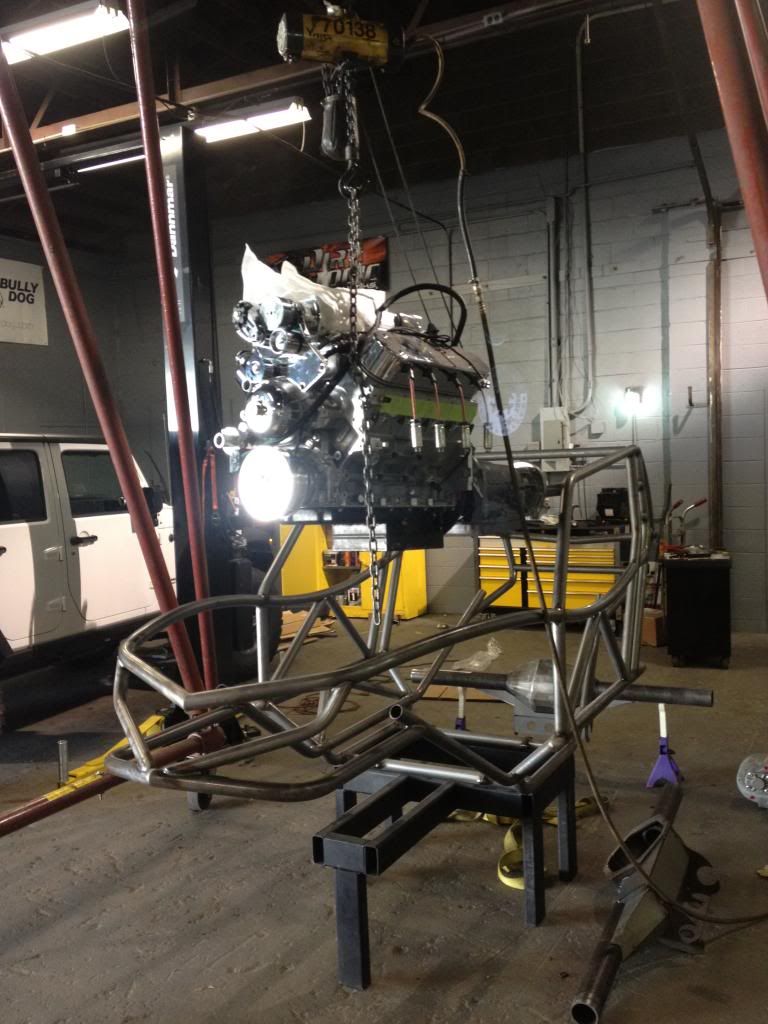
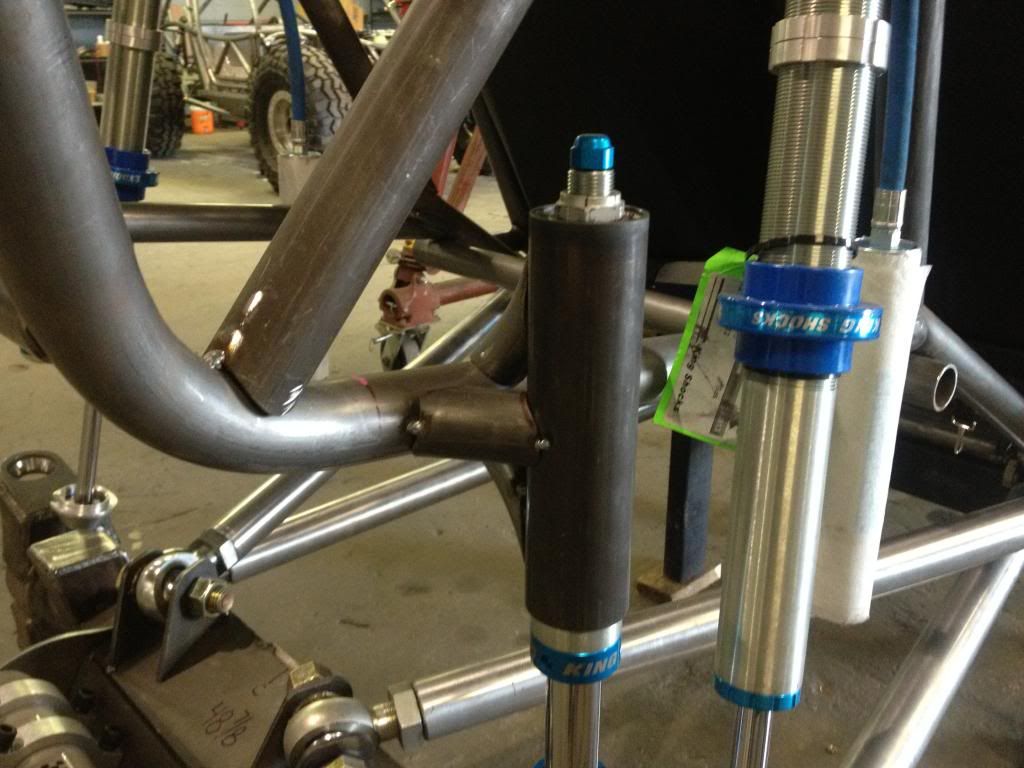
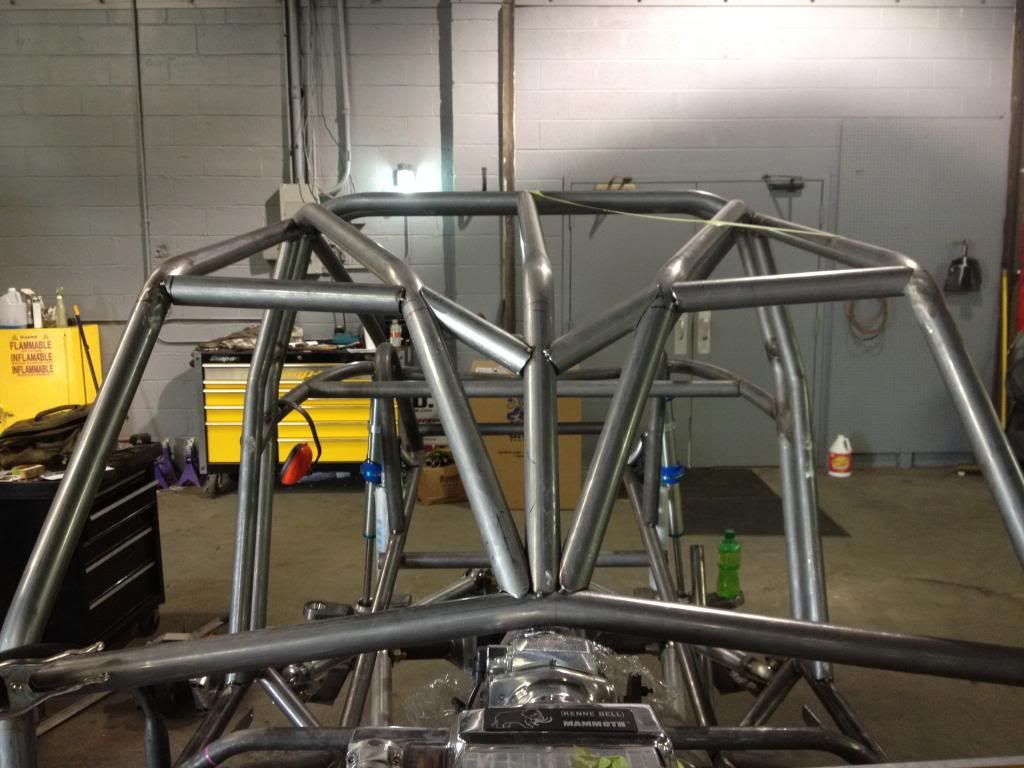
We set out from the start looking to take all the knowledge we learned from racing ULTRA 4 and pour it into the design of this buggy to help this buggy have a competitive edge in the SRRS series; and, make it a better all around rig for trail riding. We decided to build this buggy off of the Evolution chassis platform that is known as our "Hill Killer" chassis. We are changing up a few tubes in it to give it a unique look, but the suspension set up will be the same as any other Evolution.
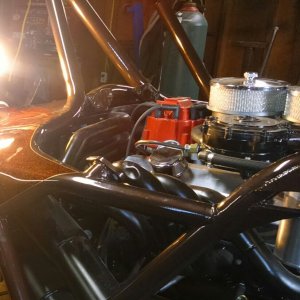
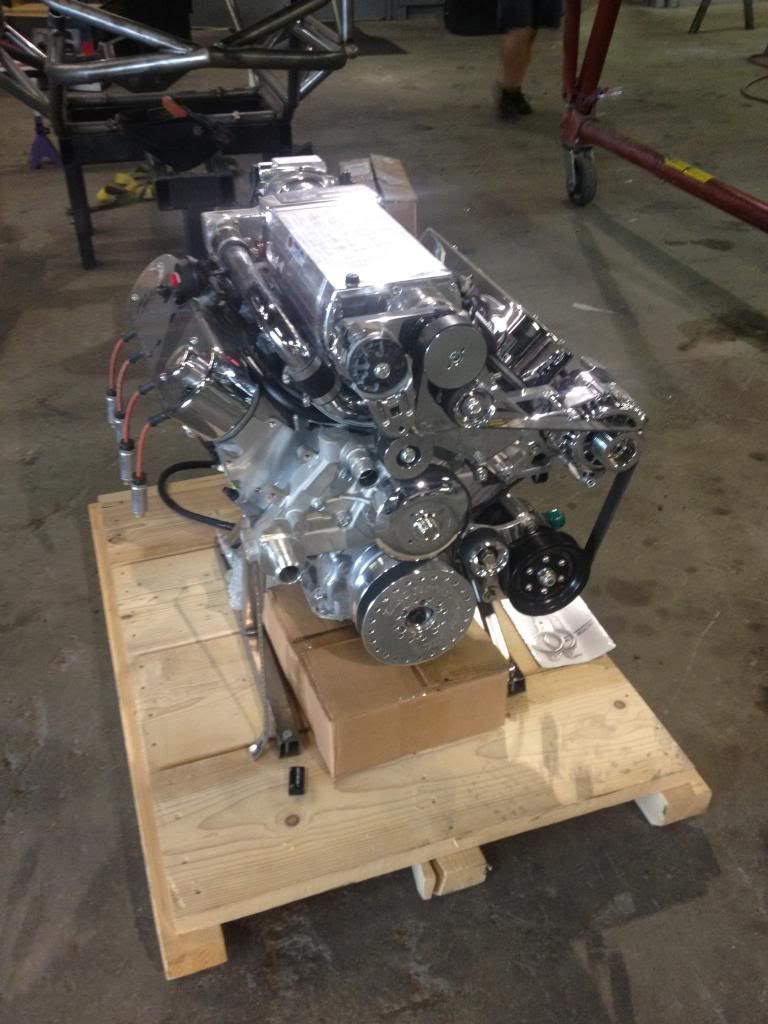
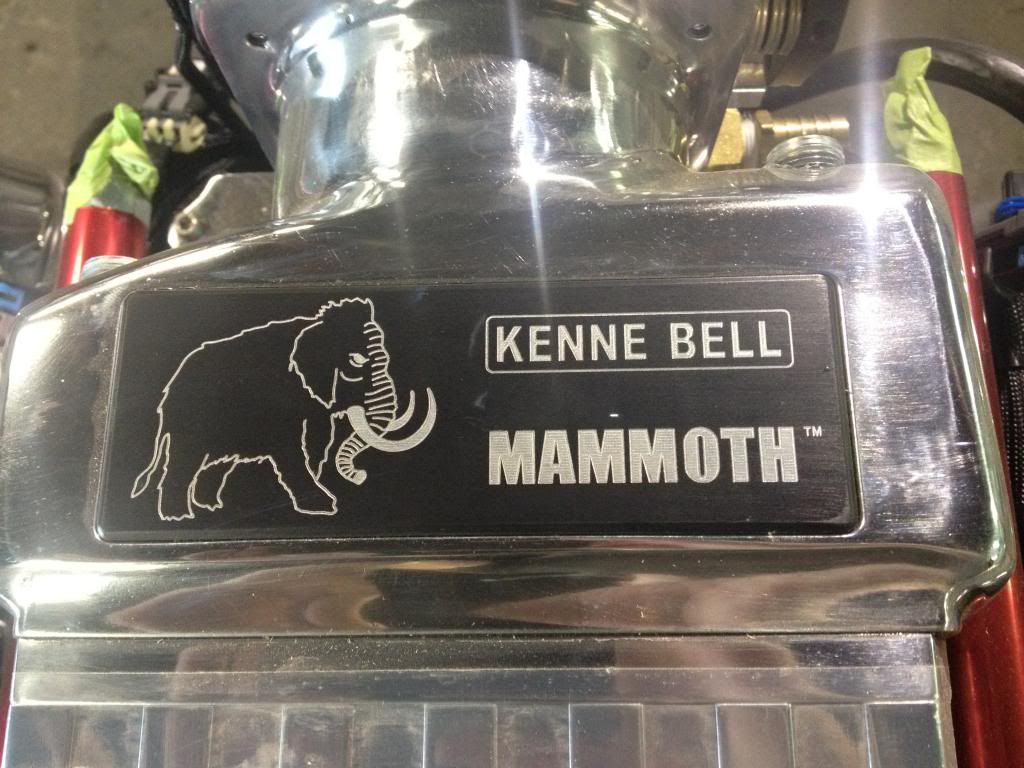
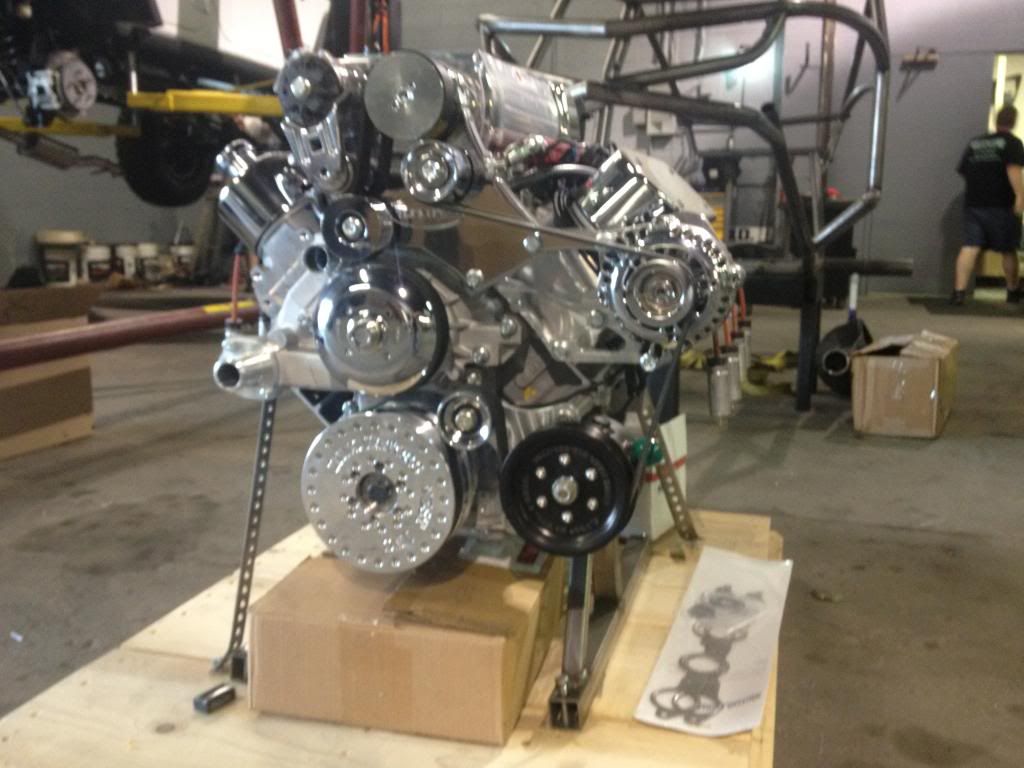
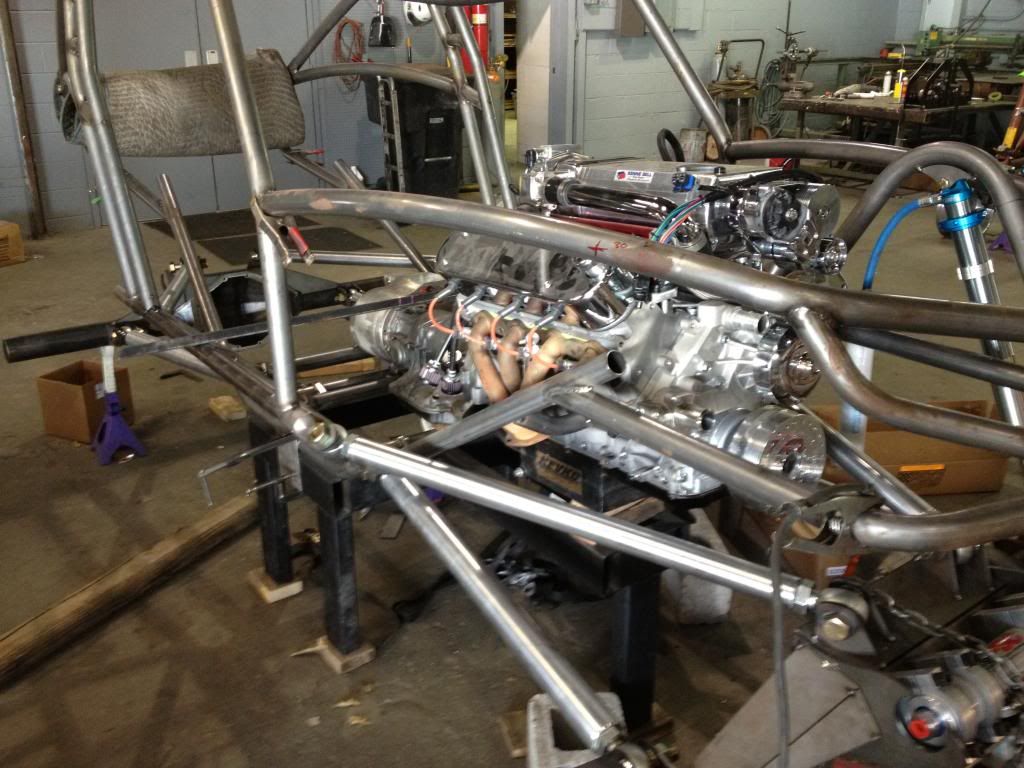
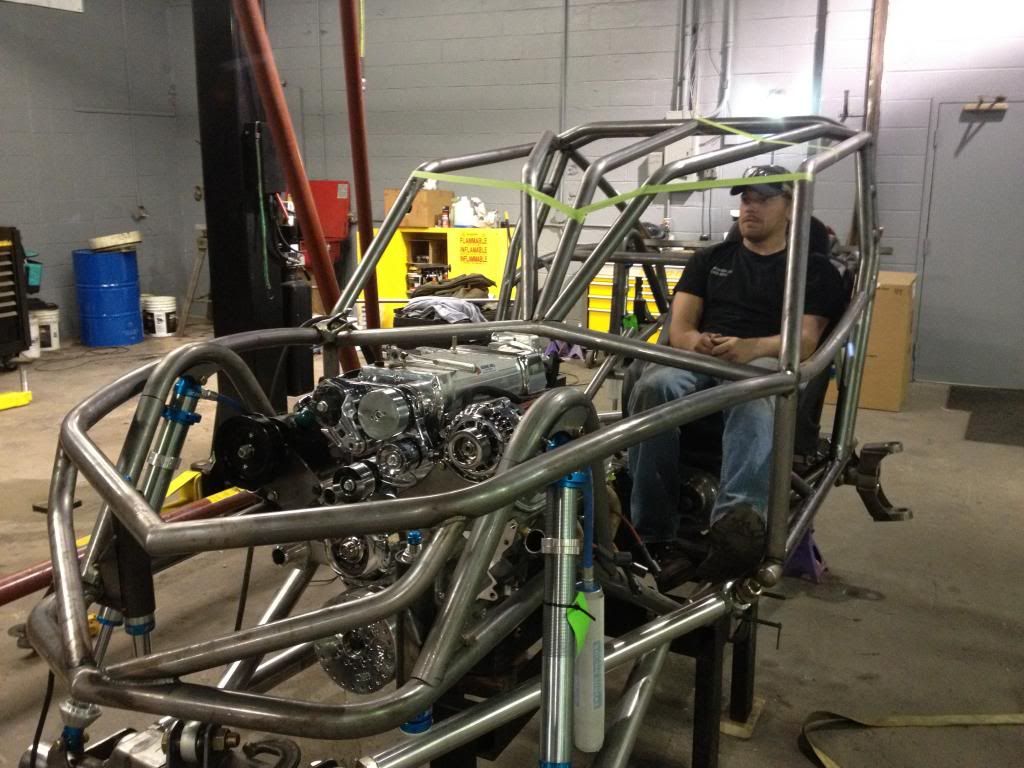
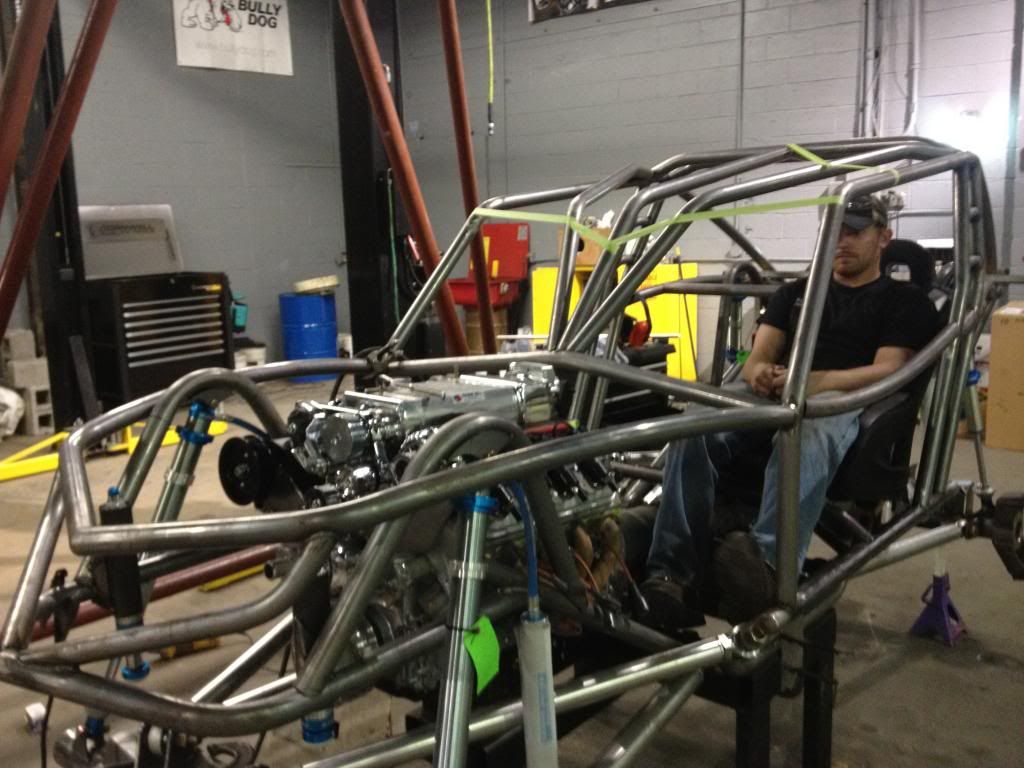
Bj wanted crazy power out of this thing so he decided to go the route of a Blown LS 3 from Turn Key Engine Supply. When we decided on this motor it kind of set the tune for the rest of the build. We new we had to get our crap together if we were going to build some thing that was going to hold up to 710 hp.
So with the engine in mind we came up with this for the rest of the drive train.
Th 400 transmission
Atlas transfer case with all of the upgrades you can throw at it
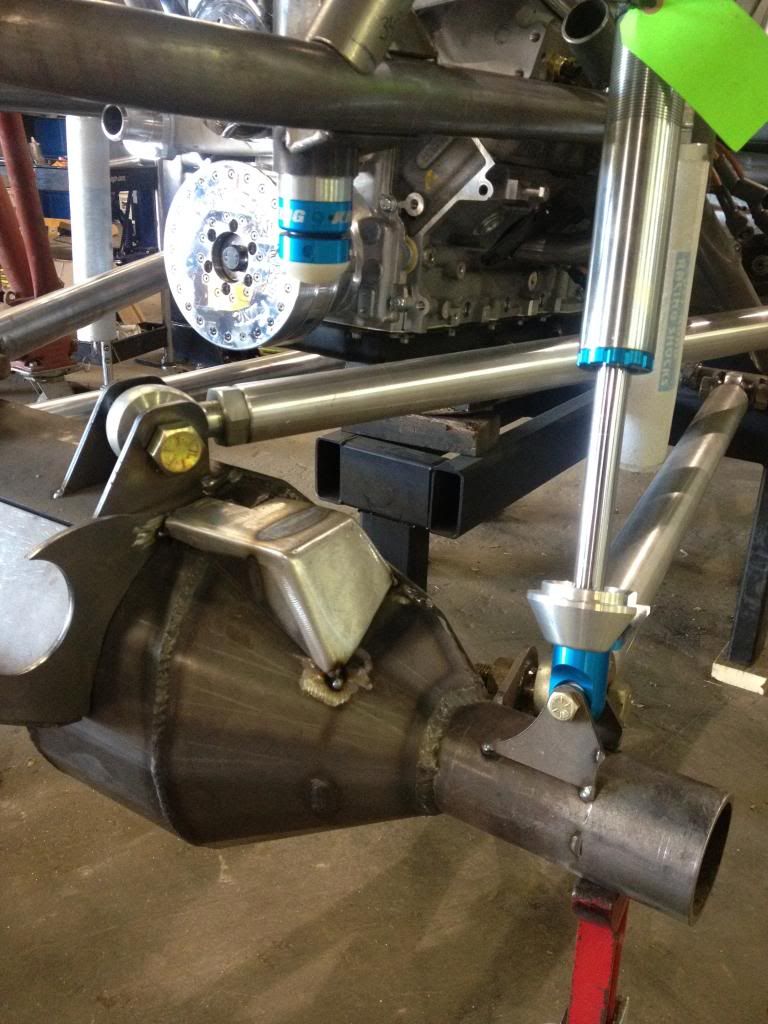
Torq 14 bolts front and rear with 40 spline axle shafts
Trail Ready wheels with 43" Super Swamper SX's
PSC steering
Griffin cooling
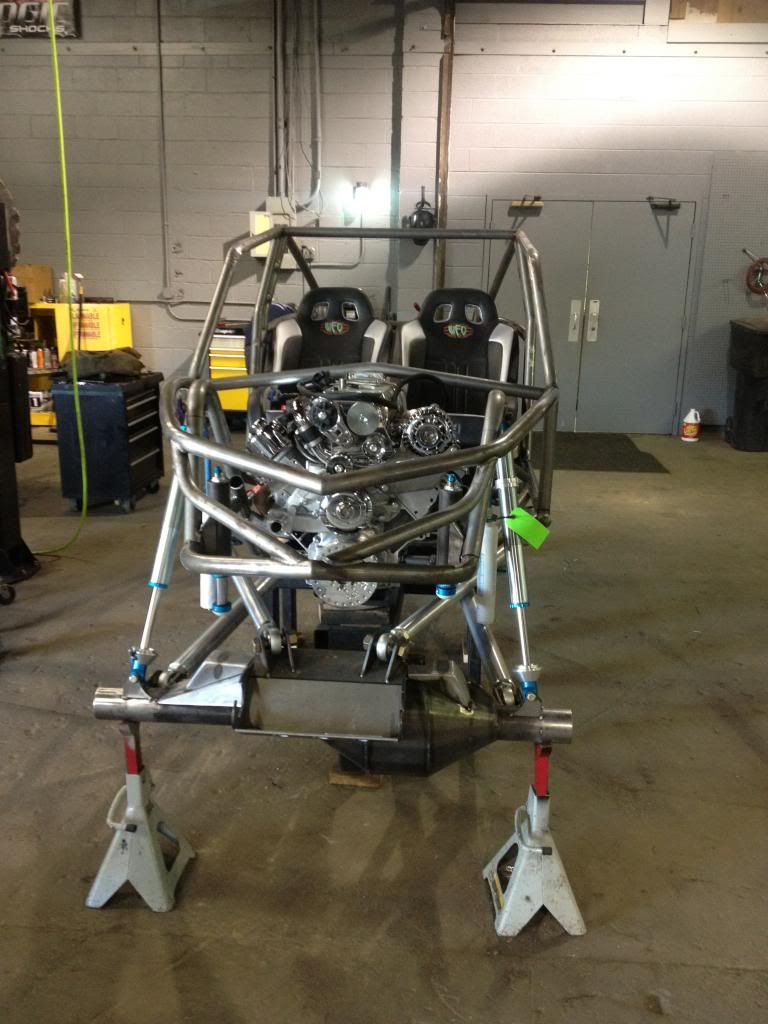
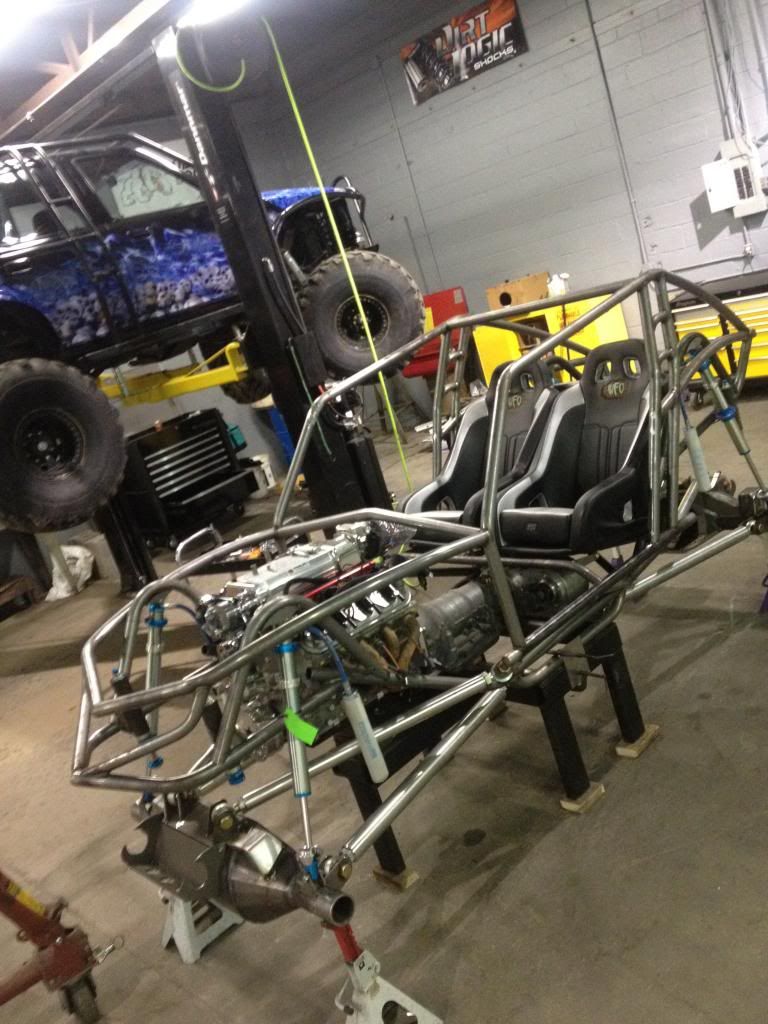
Twisted Stitch RZR seats that we modified for use in a buggy
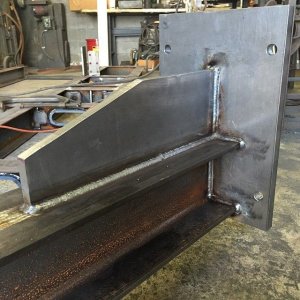
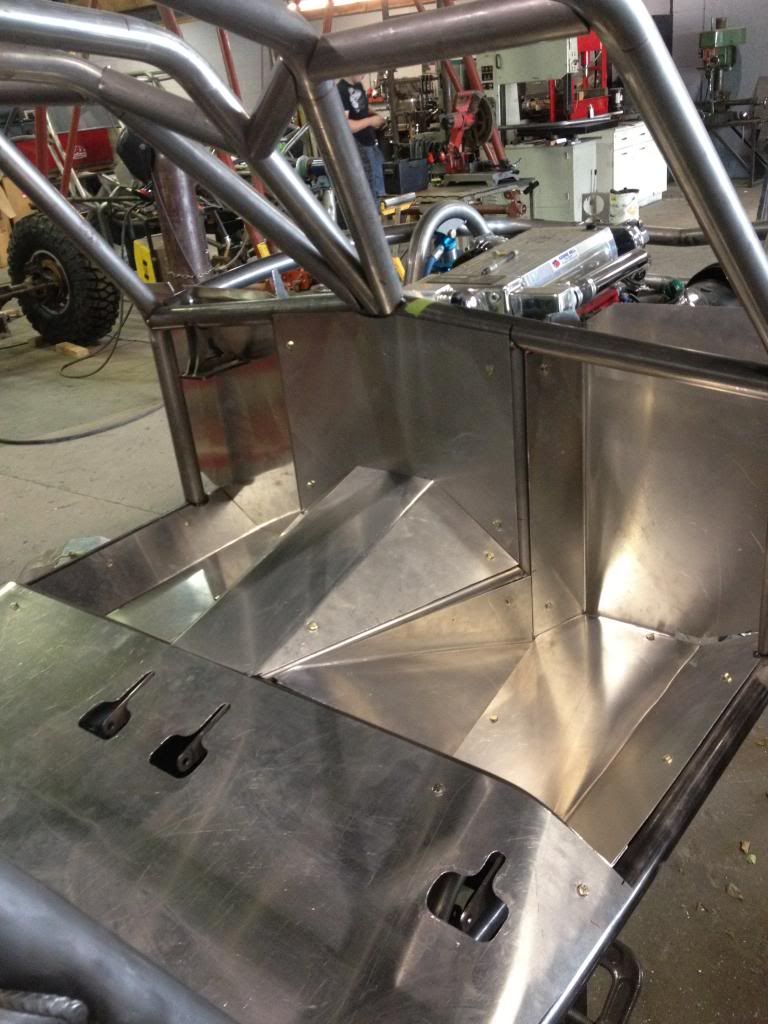
But, enough reading lets get to what we all want in any good build thread. PICTURES!!!!
Bj Allen came to me with the idea of wanting to get into some of the new Southern Rock Racing Series action and having a trail rig that would take some abuse that is getting insane here in the south east. Seeing as how I am a huge fan of the series and I have been wanting to build another hill killing buggy for a while I jumped at the chance to do the project. Bj came to us with a good idea of what he was looking for in a buggy that was tough as nails, plenty of power and had to look good as well.
We set out from the start looking to take all the knowledge we learned from racing ULTRA 4 and pour it into the design of this buggy to help this buggy have a competitive edge in the SRRS series; and, make it a better all around rig for trail riding. We decided to build this buggy off of the Evolution chassis platform that is known as our "Hill Killer" chassis. We are changing up a few tubes in it to give it a unique look, but the suspension set up will be the same as any other Evolution.
Bj wanted crazy power out of this thing so he decided to go the route of a Blown LS 3 from Turn Key Engine Supply. When we decided on this motor it kind of set the tune for the rest of the build. We new we had to get our crap together if we were going to build some thing that was going to hold up to 710 hp.
So with the engine in mind we came up with this for the rest of the drive train.
Th 400 transmission
Atlas transfer case with all of the upgrades you can throw at it
Torq 14 bolts front and rear with 40 spline axle shafts
Trail Ready wheels with 43" Super Swamper SX's
PSC steering
Griffin cooling
Twisted Stitch RZR seats that we modified for use in a buggy
But, enough reading lets get to what we all want in any good build thread. PICTURES!!!!


 and
and