-
Help Support Hardline Crawlers :
You are using an out of date browser. It may not display this or other websites correctly.
You should upgrade or use an alternative browser.
You should upgrade or use an alternative browser.
Wide Open Design build of an Evolution chassis ( WFO )
- Thread starter Woodlee
- Start date
John Galbreath Jr.
38 Special & Solo Buggy
- Joined
- May 24, 2007
- Messages
- 8,613
alli85 said:Any updates?? This ride is going to insane!
Torn down for paint.
crawlin85cj
Barco Motorsports
Re: Wide Open Design build of an Evolution chassis ( WFO )
Maybe Adam or Rocky will toss up some pics and let us all know what's going on.
Maybe Adam or Rocky will toss up some pics and let us all know what's going on.
Woodlee
Well-Known Member
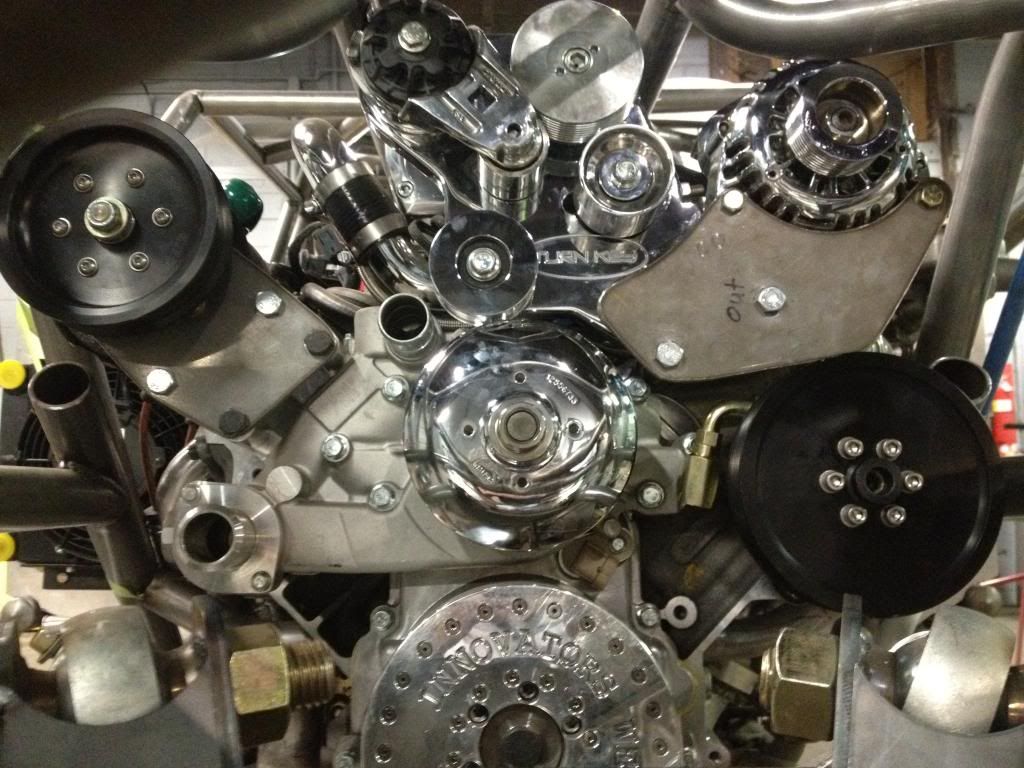
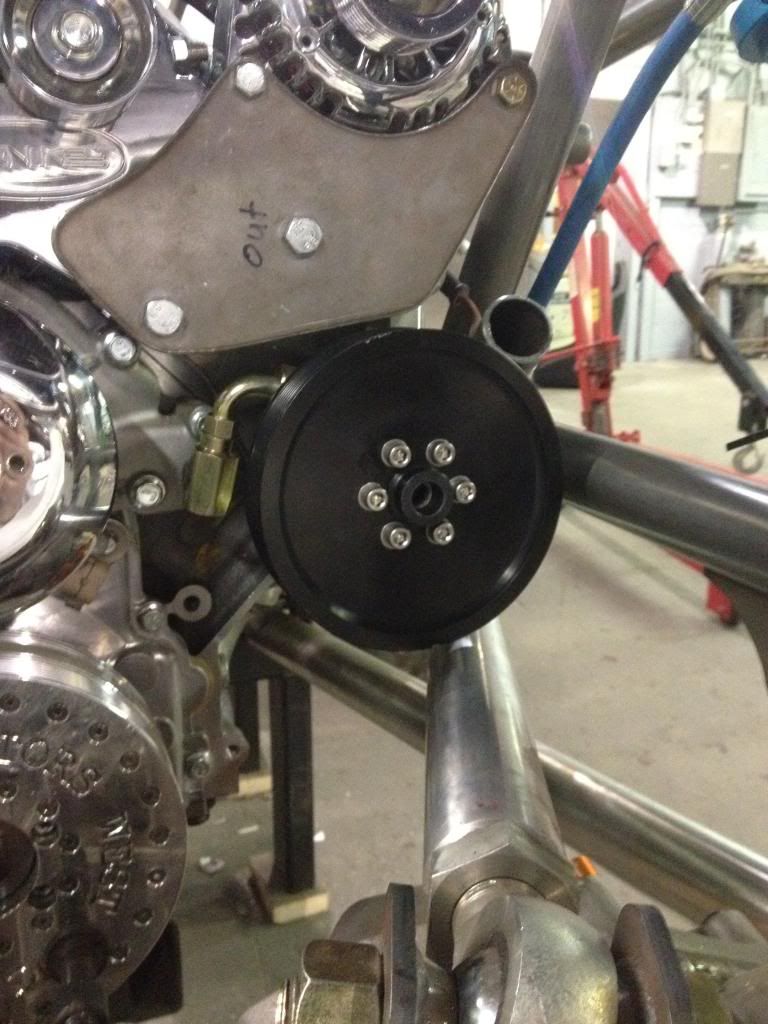
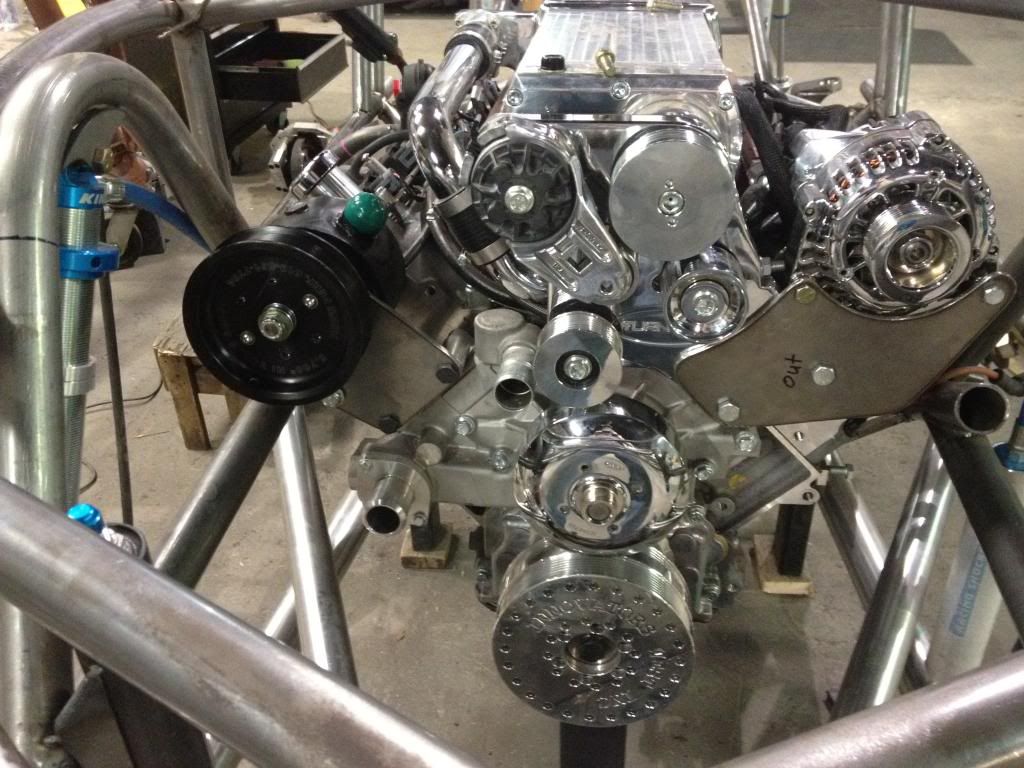
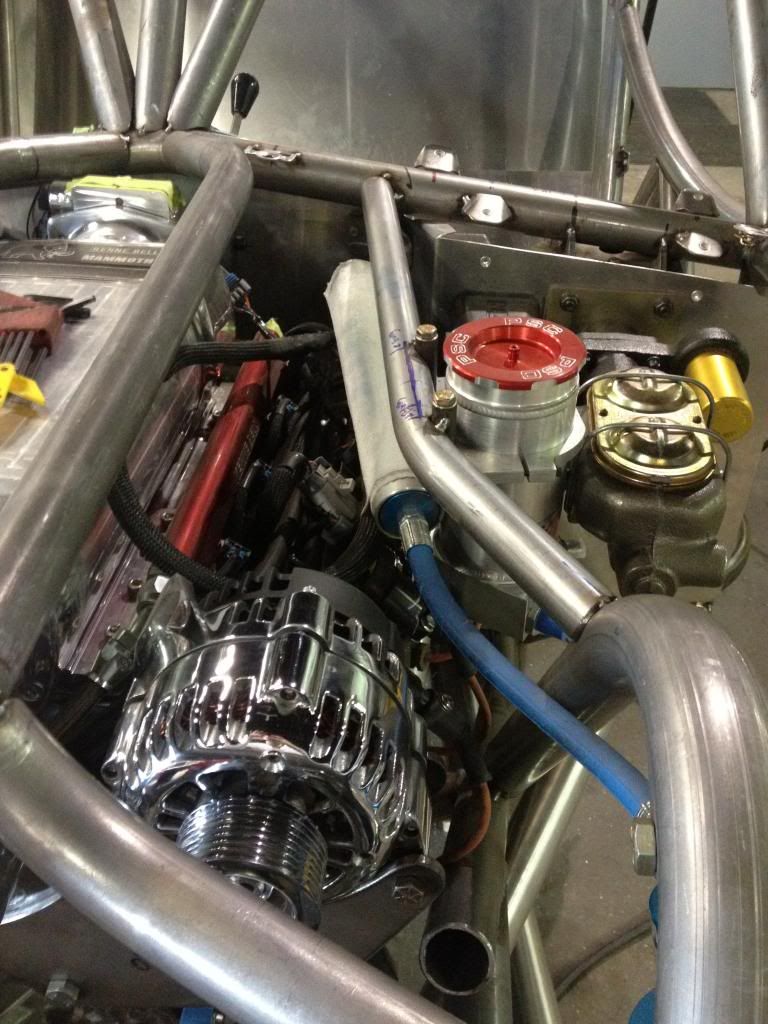
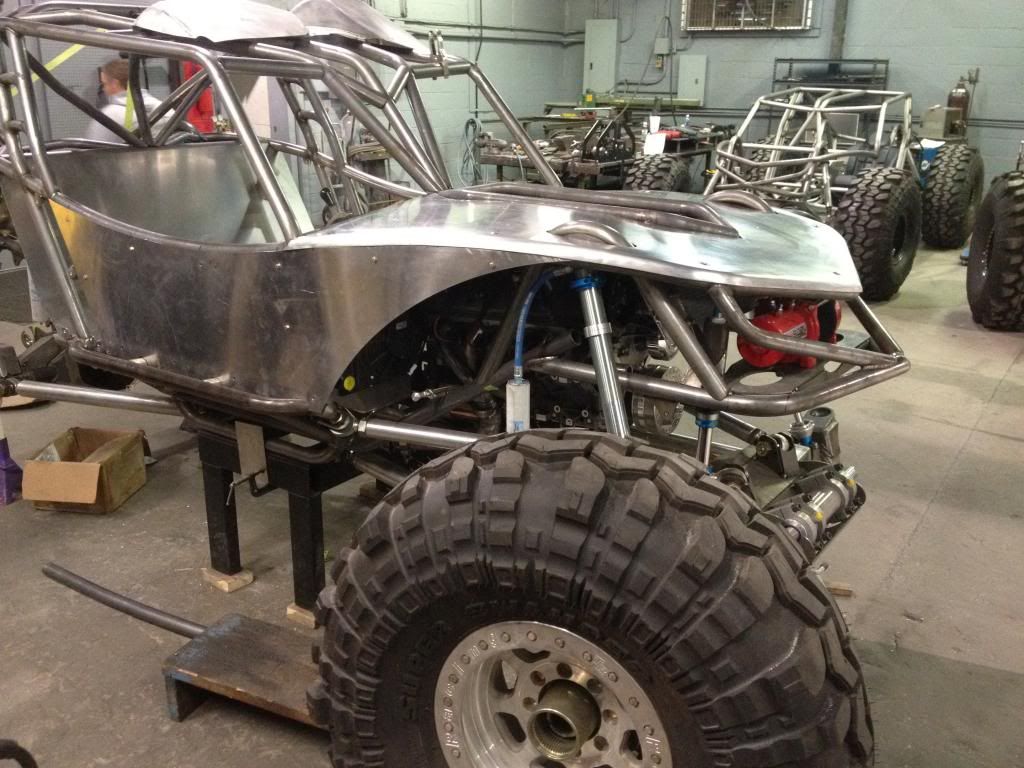
I mentioned earlier about all of the engine accessories having to be relocated. We moved everything on this engine.
The pumps that we used were all supplied by PSC and we opted for their big Trophy truck pump and their CBR pump. We are runing the Trophy truck pump for the front steering only and the CBR will handle the rear steer and the Hydroboost brake system.
The pumps that we used were all supplied by PSC and we opted for their big Trophy truck pump and their CBR pump. We are runing the Trophy truck pump for the front steering only and the CBR will handle the rear steer and the Hydroboost brake system.
Woodlee
Well-Known Member
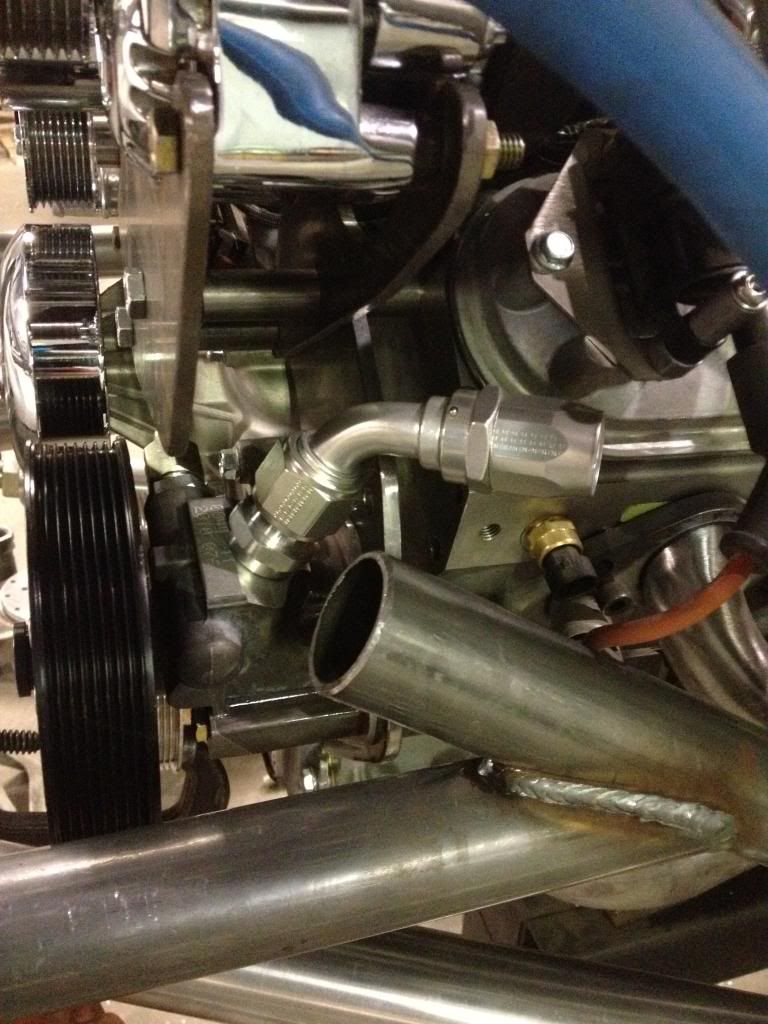
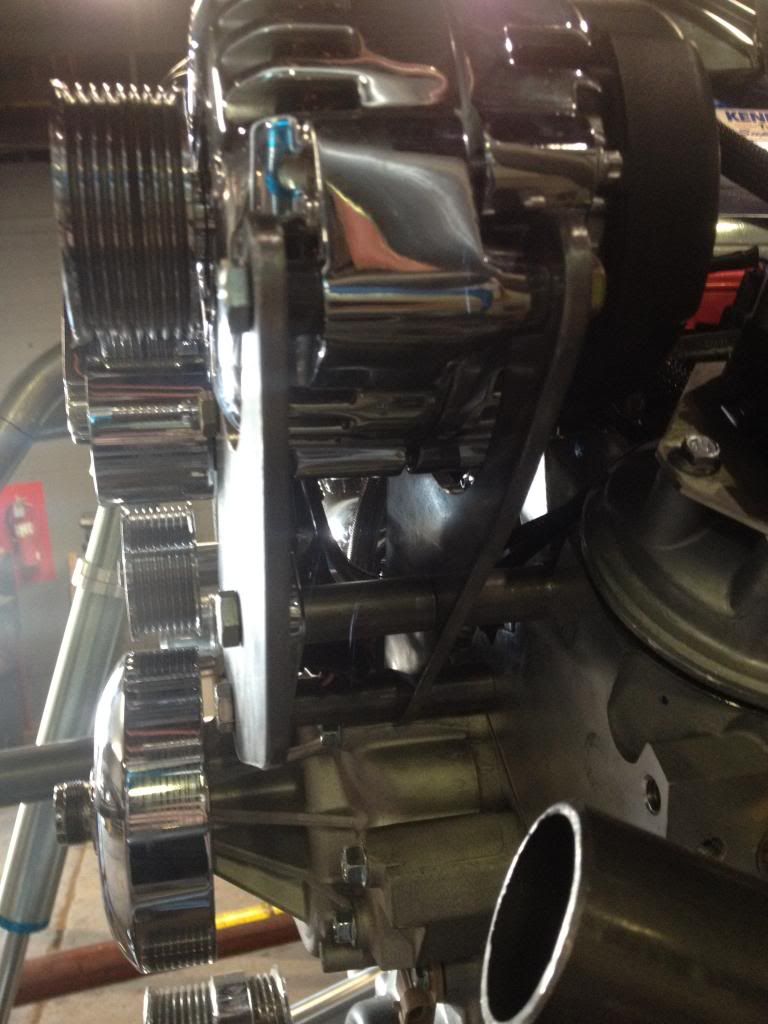
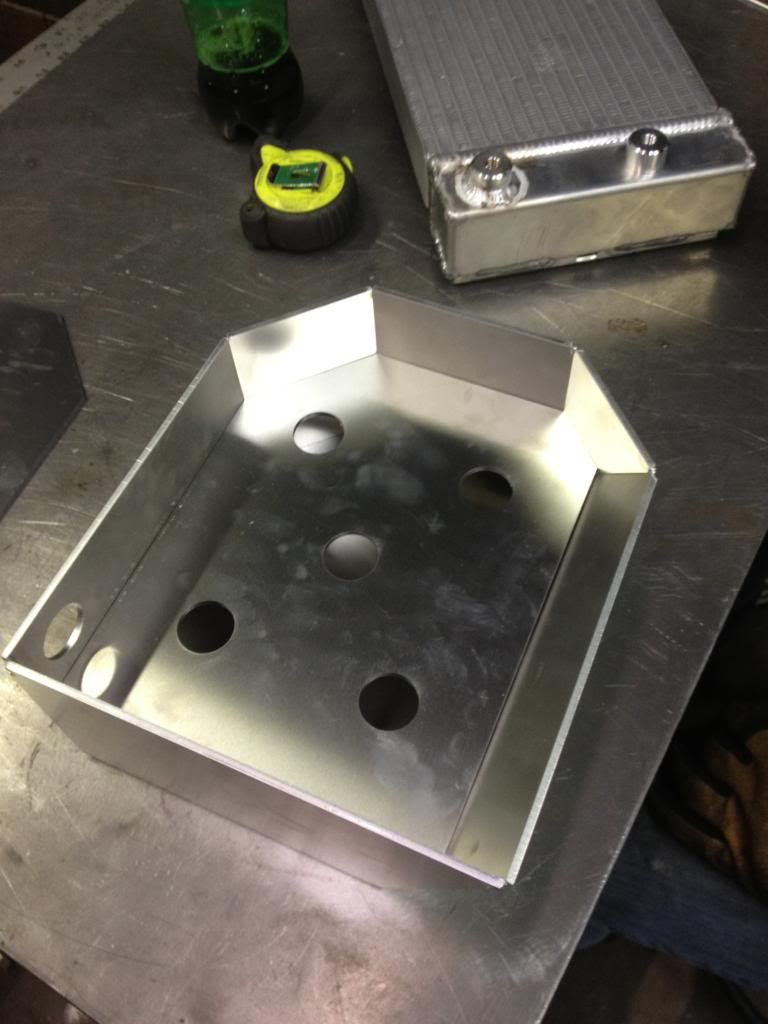
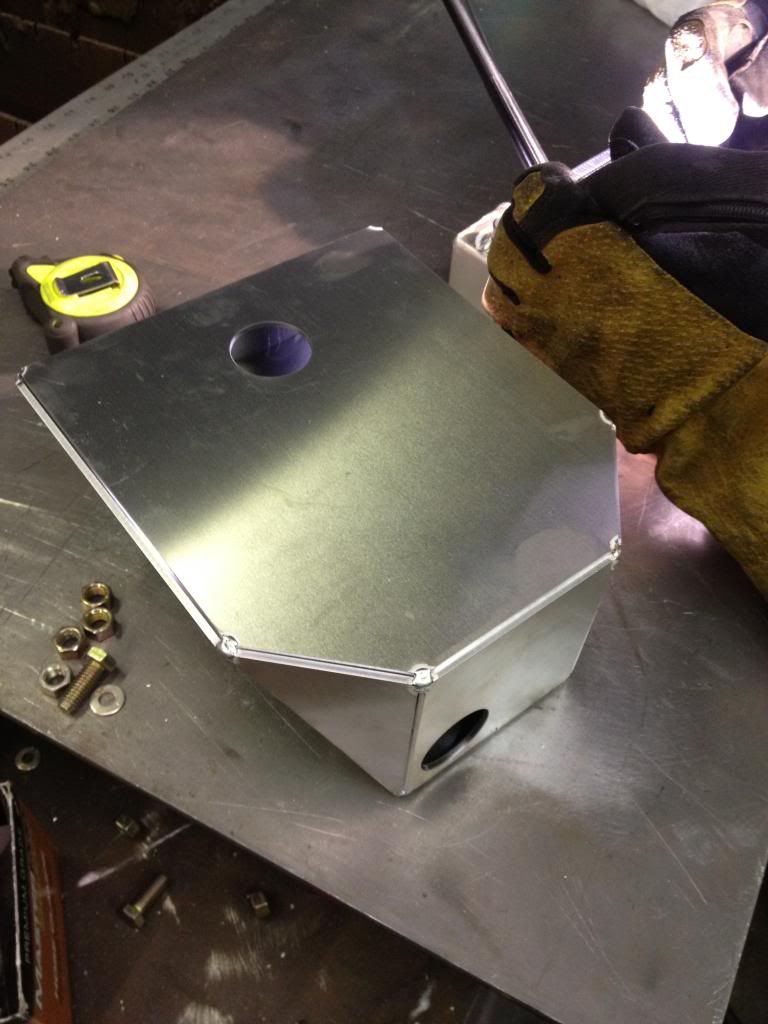
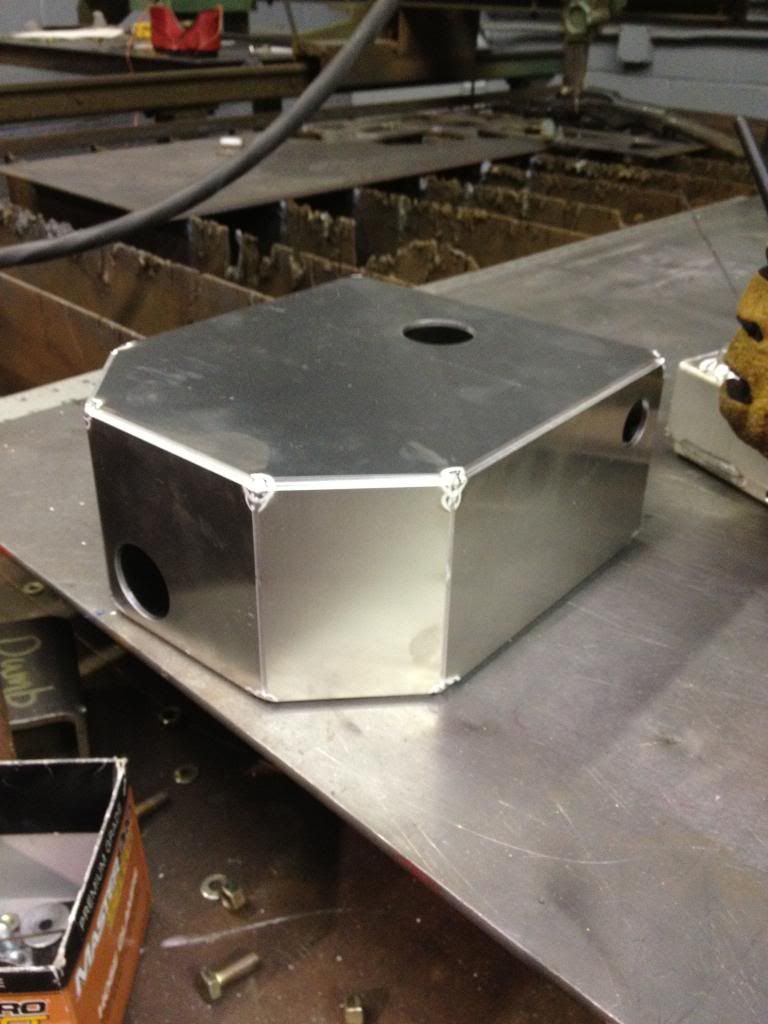
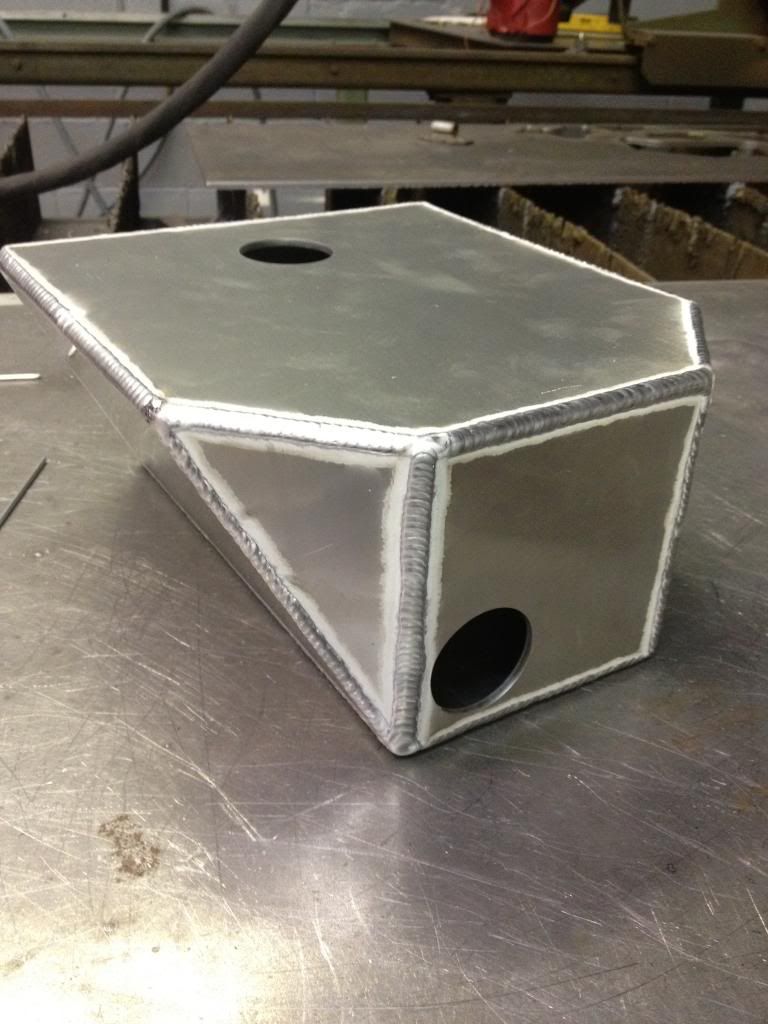
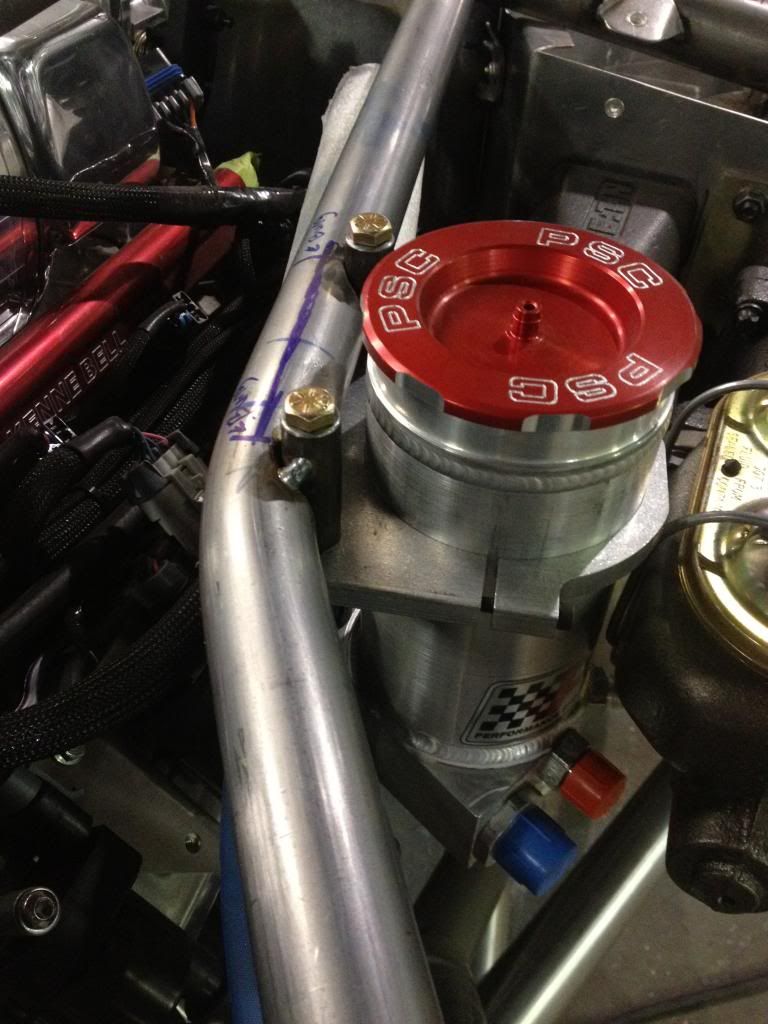
Since the Trophy truck pump ended up being mounted so high we had to build a custom reservoir for it. The feed on the pump will be -16 leading into the can.
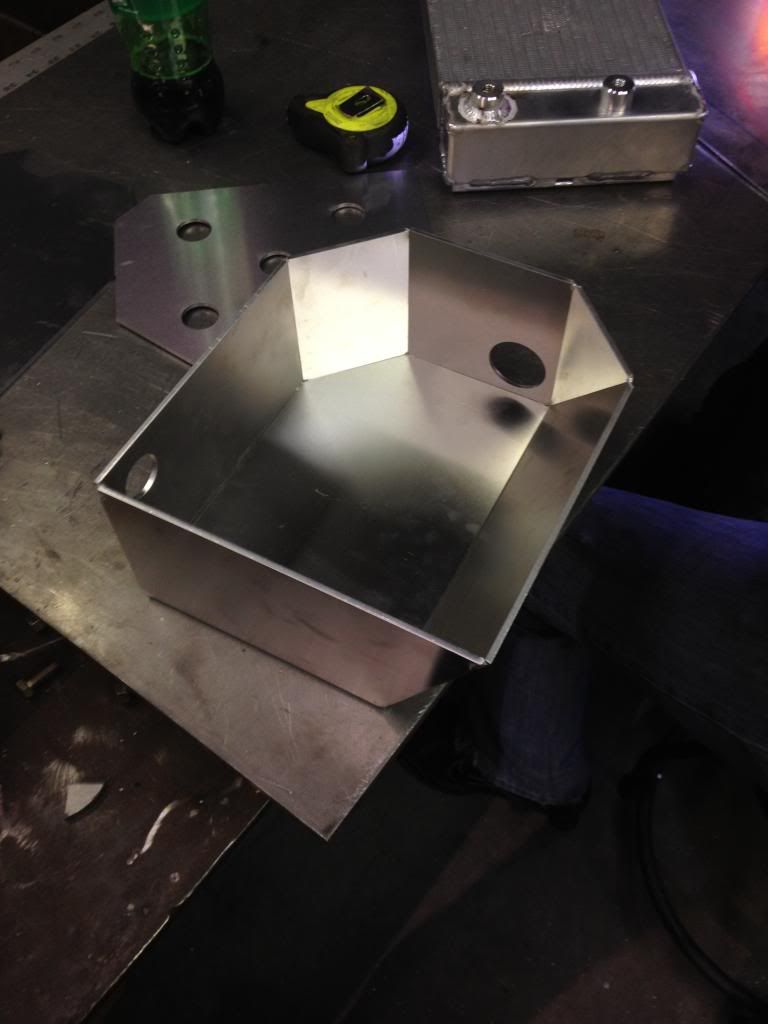
I made sure that the reservoir had in internal baffle between the return line and the feed line to the pump.
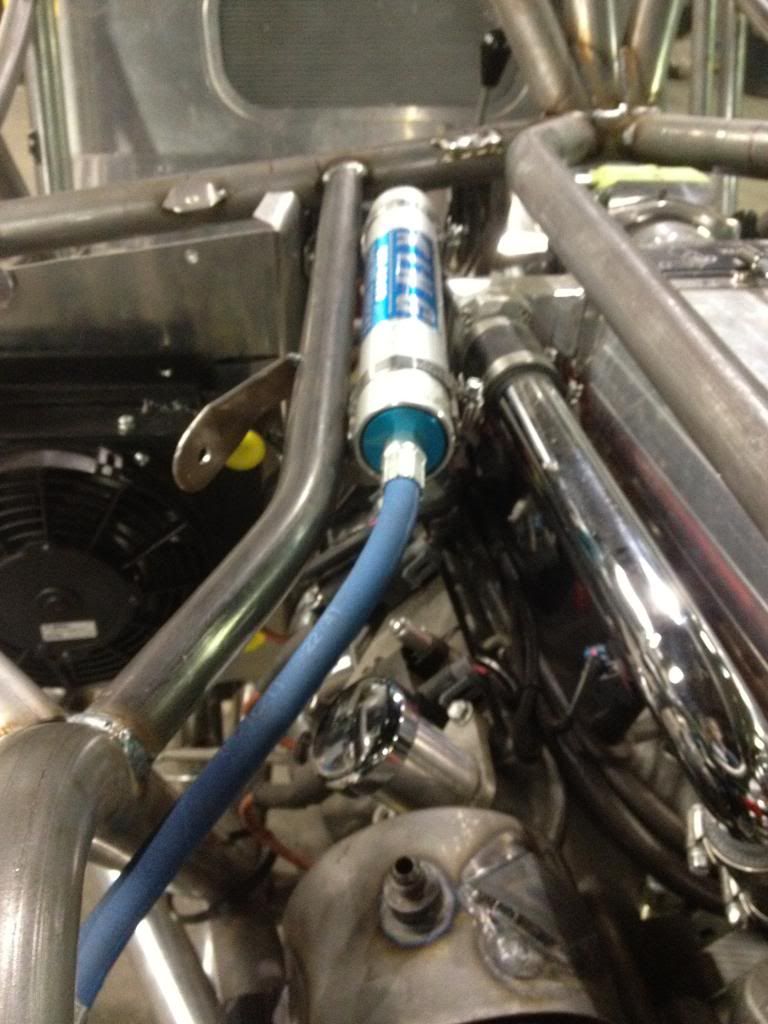
When it came around to brakes on this buggy Bj wanted to run a hydroboost set up on it. I have never driven an off road rig with them but Bj has had a couple of rigs with them and swears by it. Lance from PSC also swears to me that I will never go back to any other kind of brake kit after I try hydroboost.
But when I set out to find a good kit to do hydroboost there wasn't one. No one had the complete deal figured out for us off road guys. So I sourced all of the parts and modified each of them to fit and built a bracket put every thing together.
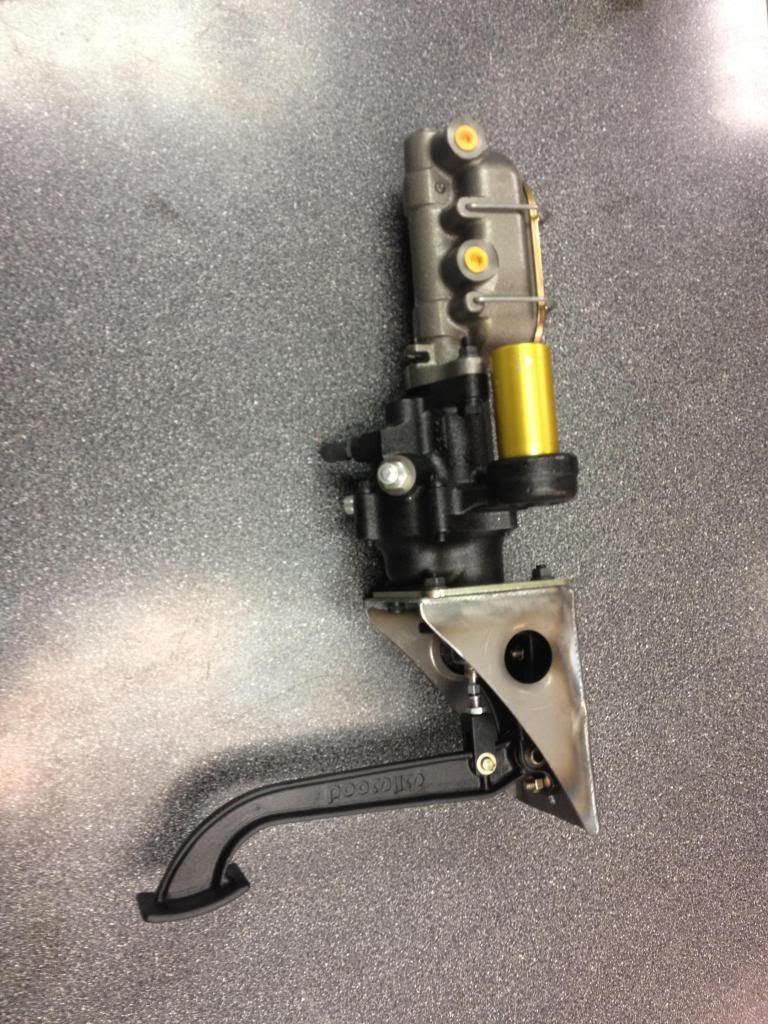
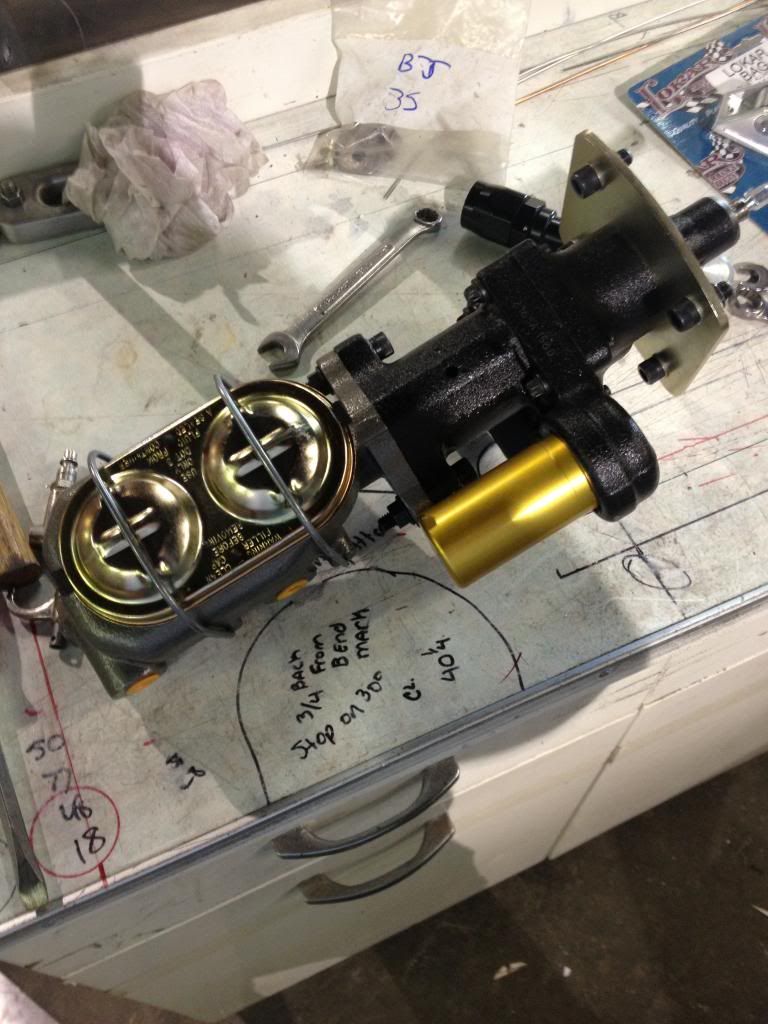
So now if your looking for a complete hydroboost kit to put in your buggy I have them on the web site and ready to order.
Hydroboost Brake Assembly :: Wide Open Design
I made sure that the reservoir had in internal baffle between the return line and the feed line to the pump.
When it came around to brakes on this buggy Bj wanted to run a hydroboost set up on it. I have never driven an off road rig with them but Bj has had a couple of rigs with them and swears by it. Lance from PSC also swears to me that I will never go back to any other kind of brake kit after I try hydroboost.
But when I set out to find a good kit to do hydroboost there wasn't one. No one had the complete deal figured out for us off road guys. So I sourced all of the parts and modified each of them to fit and built a bracket put every thing together.
So now if your looking for a complete hydroboost kit to put in your buggy I have them on the web site and ready to order.
Hydroboost Brake Assembly :: Wide Open Design
Woodlee
Well-Known Member
Here is a pic of the brake pedal and orbital valve mount from the inside of the buggy
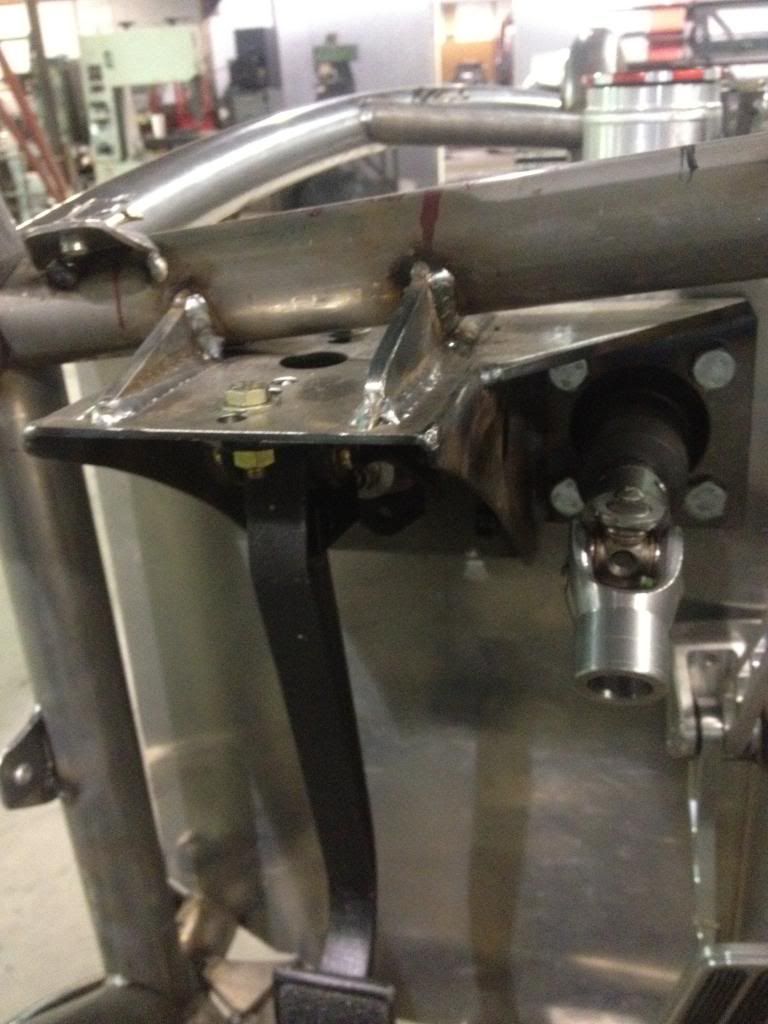
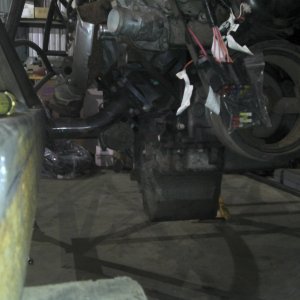
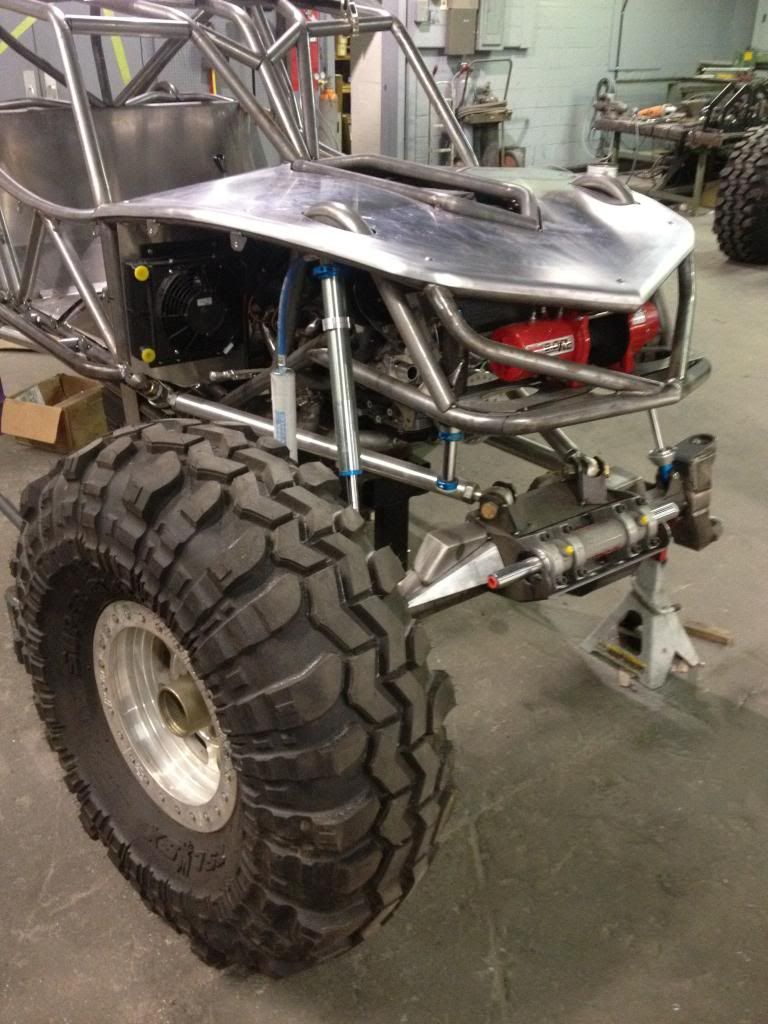
After we got both of the pumps mounted to the engine it was time to mount the PSC reservoir for the rear steer/ hydro boost pump. It just barely squeezed in between the master cylinder and the coil packs on the engine. We added in tubes to support the shock hoops and mount the shock reservoirs off of, and they made a good place to hang the steering reservoir off of too.
Here is a pic of the Reservoir holders for the shocks.
Woodlee
Well-Known Member
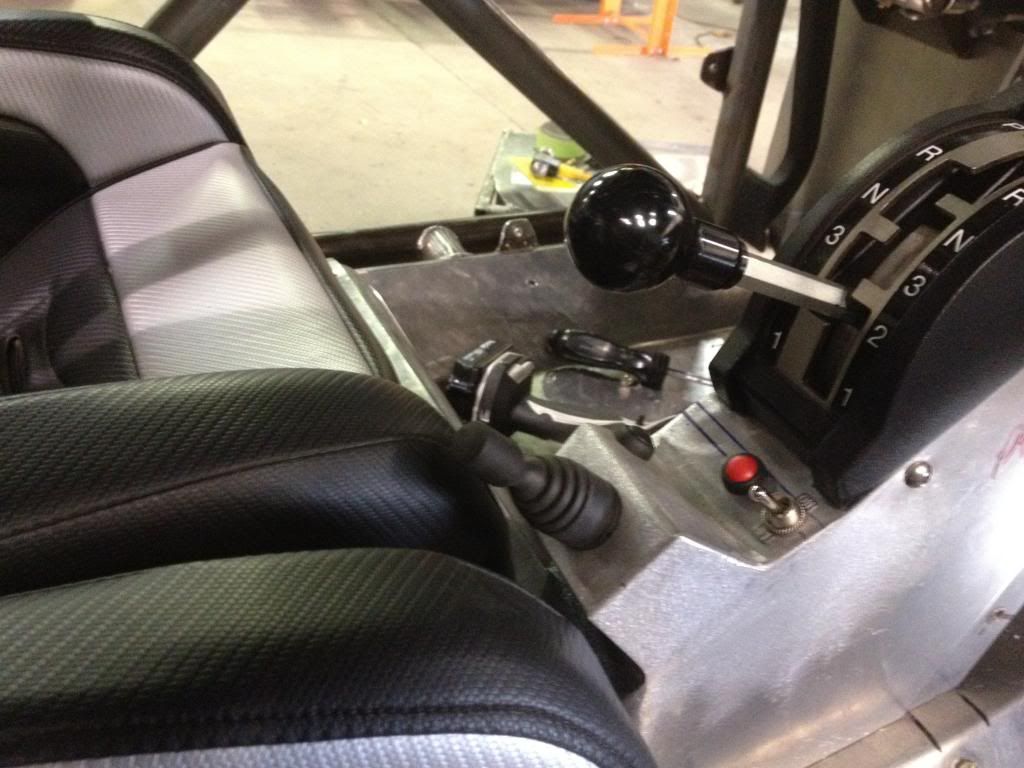
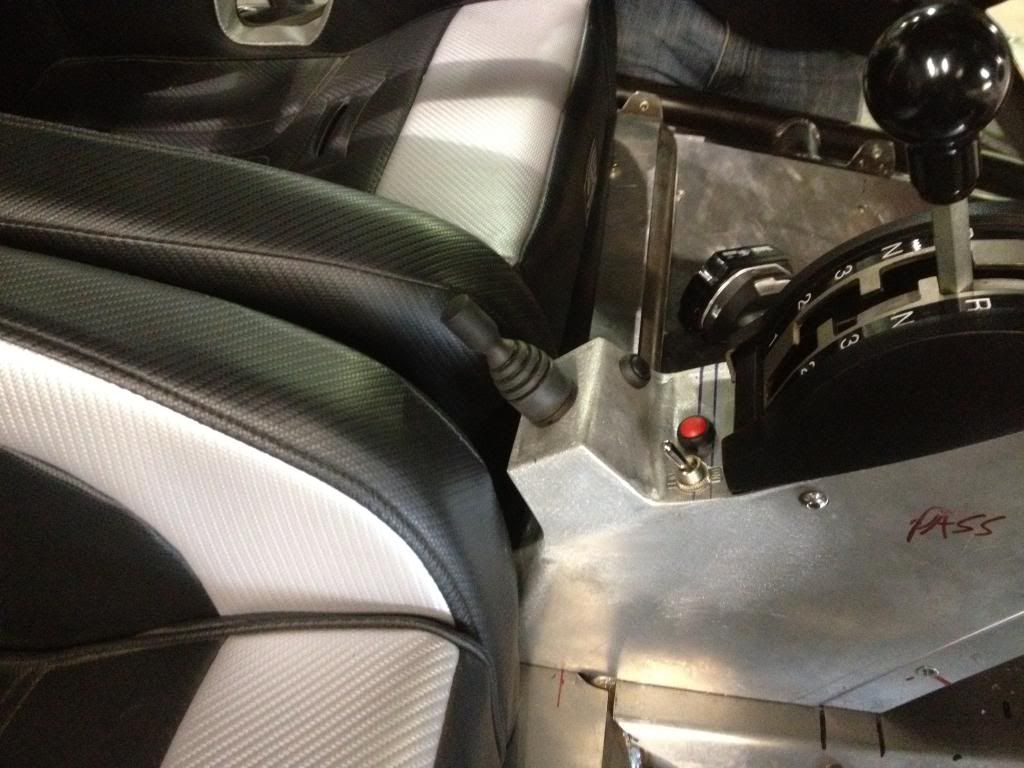
We have always been known for our dashes and Bj let us loose on building a totally custom one for this new rig. I usually try to keep a dash perfectly symmetrical, but i strayed away from that design on this one. I built the drivers side with a place for the gauges and rolled the sides of the passenger side down and it turned out pretty slick.

Woodlee
Well-Known Member
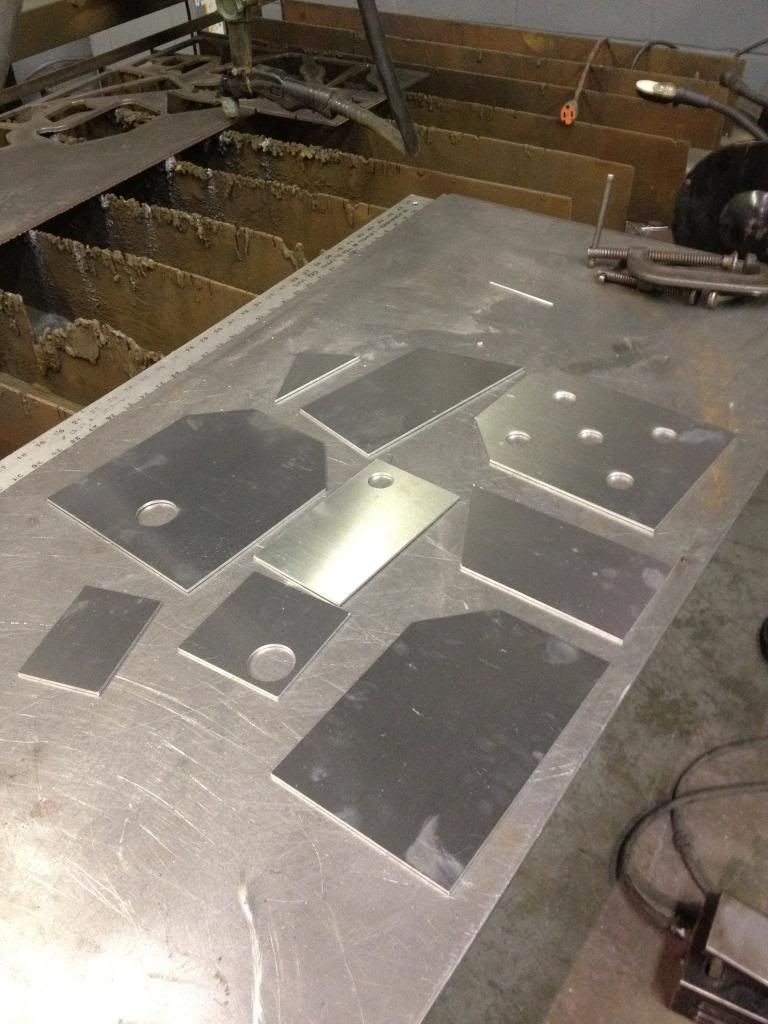
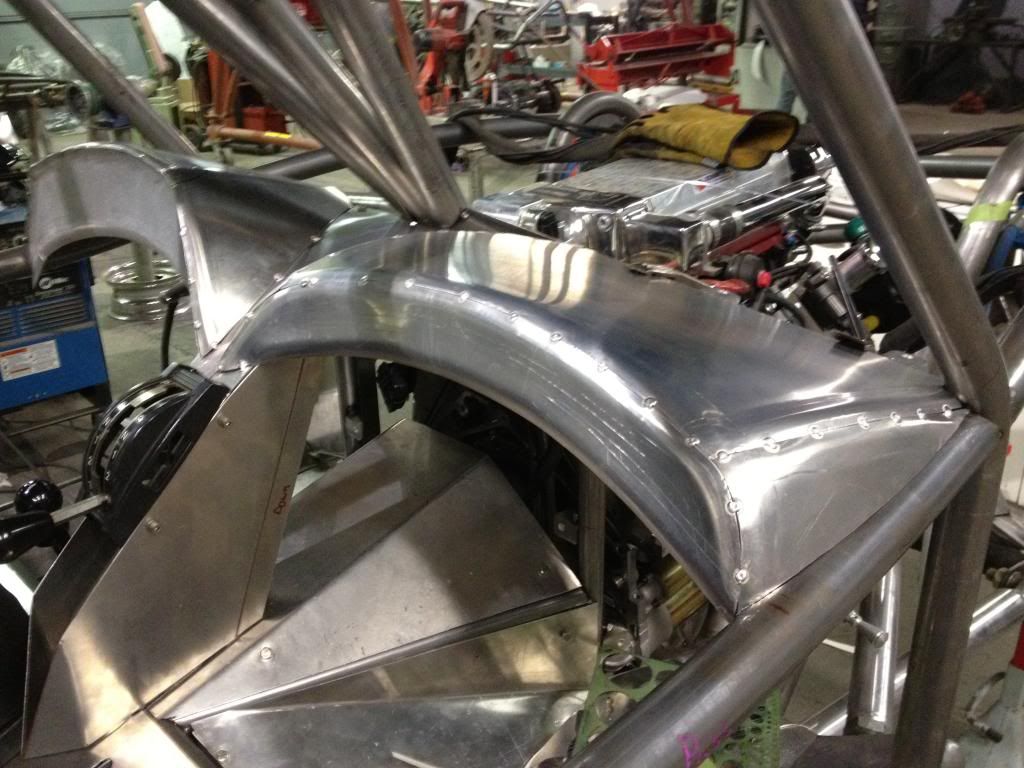
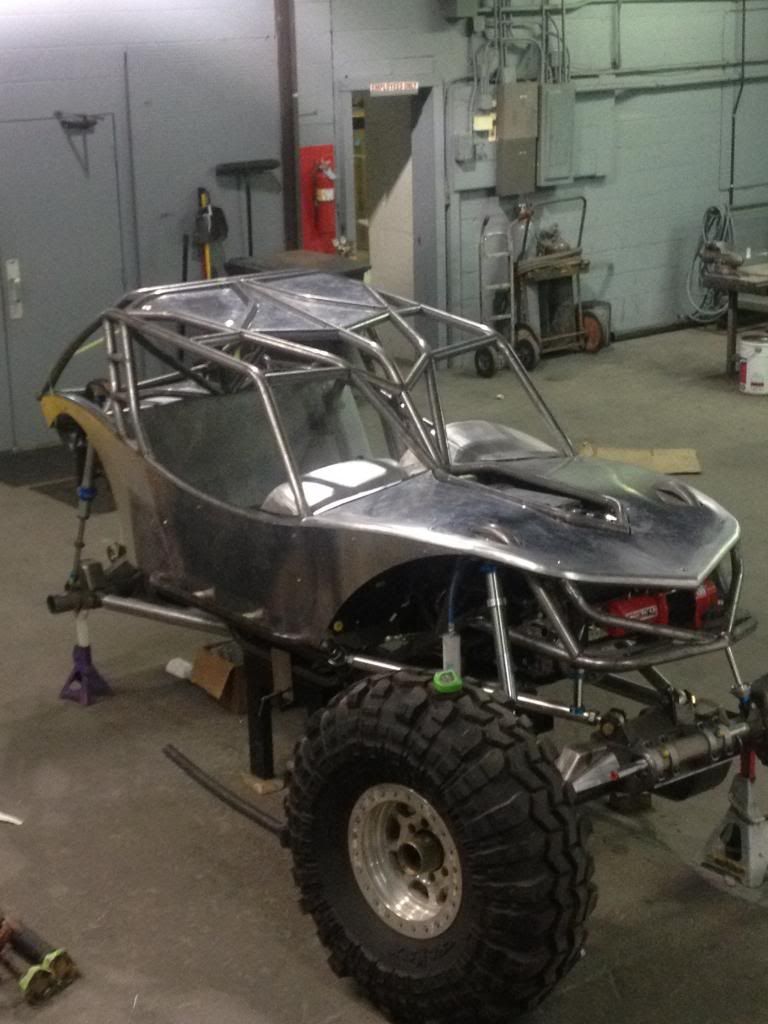
Next came building the skins for the buggy.
We built card board templates for the sides and back then I drew them up and had 3 sets laser cut for the buggy. We make the patterns big form the laser cutter and then trim them to fit each chassis so we make sure that every buggy turns out right.
We left the hood for the Evolution kit the same size as the revolution kit to hlp keep the cost down.

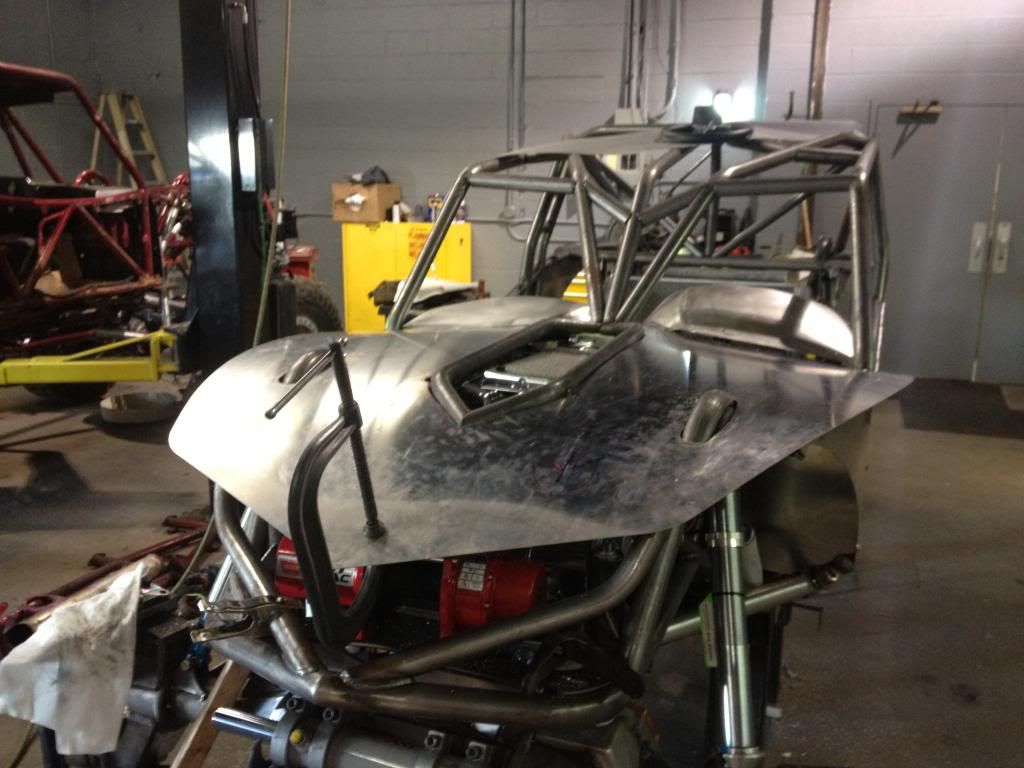
I hangs off every where but its so simple to trim it down to fit when you have a shape that is close to start with.

We built card board templates for the sides and back then I drew them up and had 3 sets laser cut for the buggy. We make the patterns big form the laser cutter and then trim them to fit each chassis so we make sure that every buggy turns out right.
We left the hood for the Evolution kit the same size as the revolution kit to hlp keep the cost down.
I hangs off every where but its so simple to trim it down to fit when you have a shape that is close to start with.
Woodlee
Well-Known Member
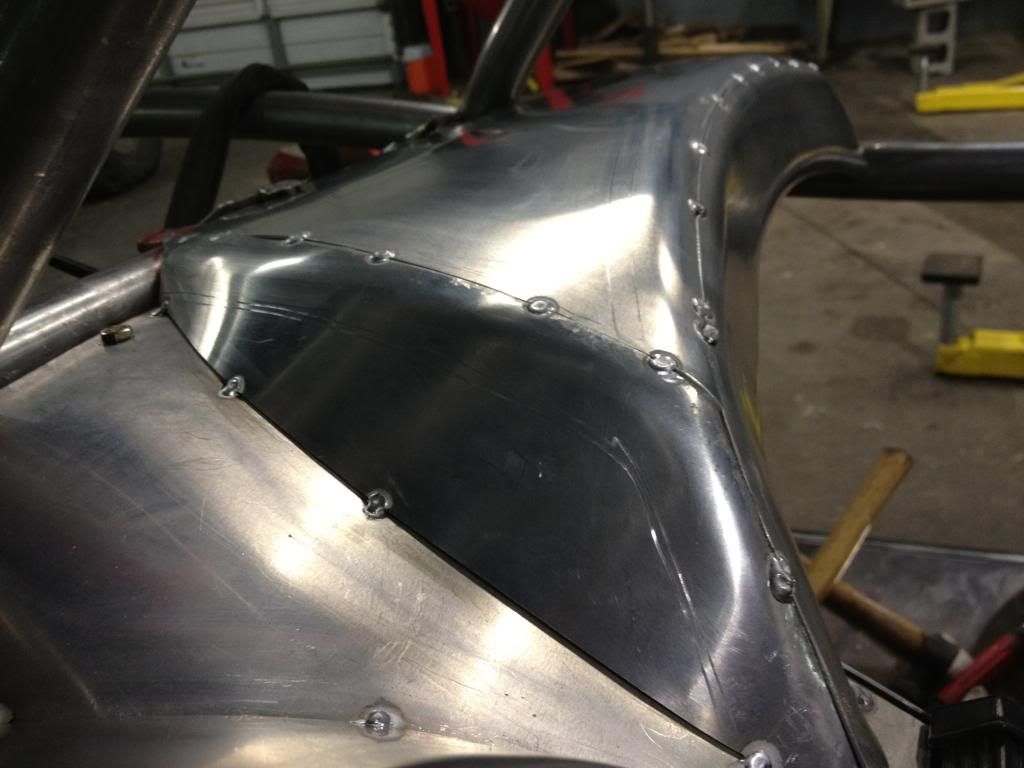
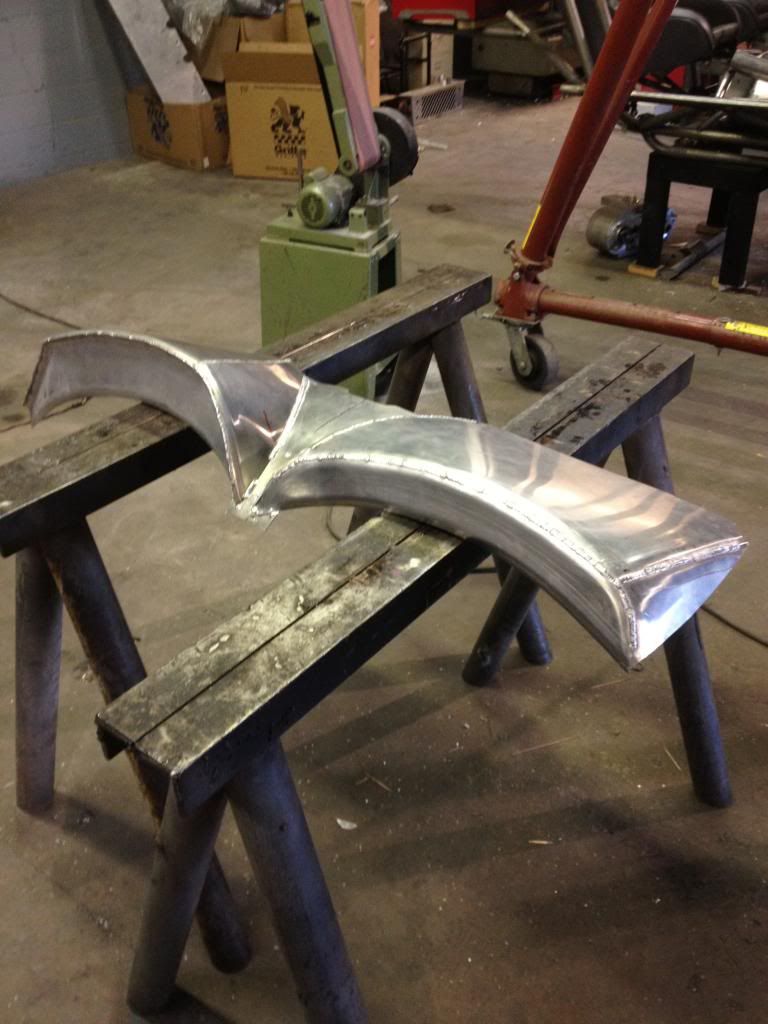
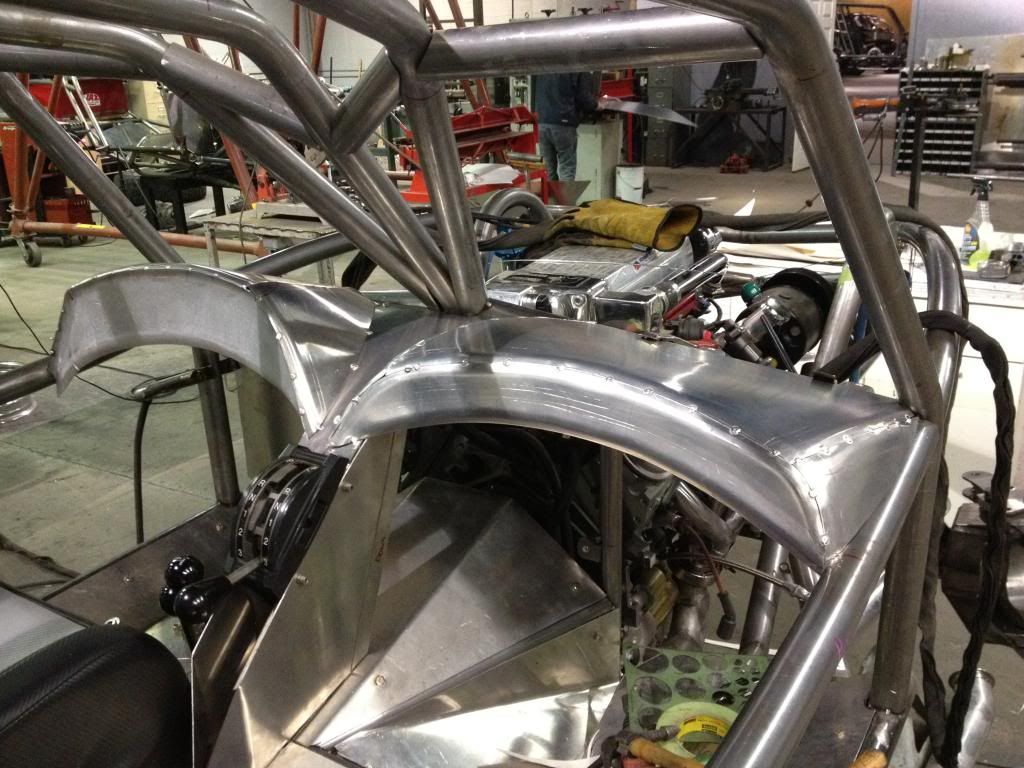
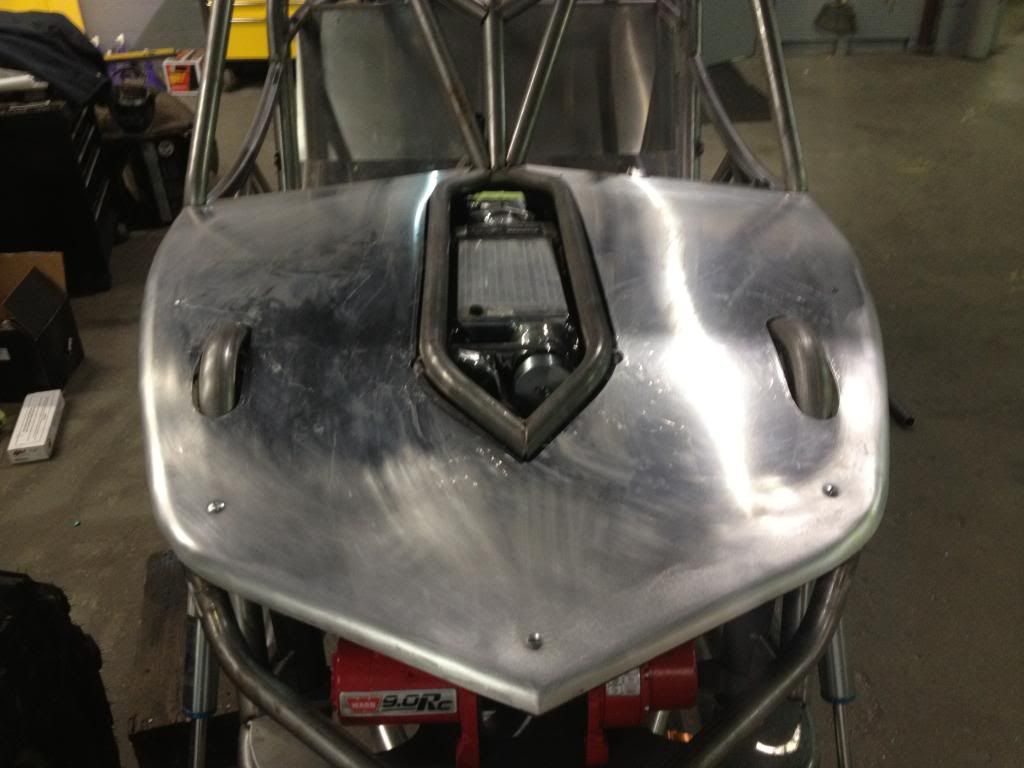
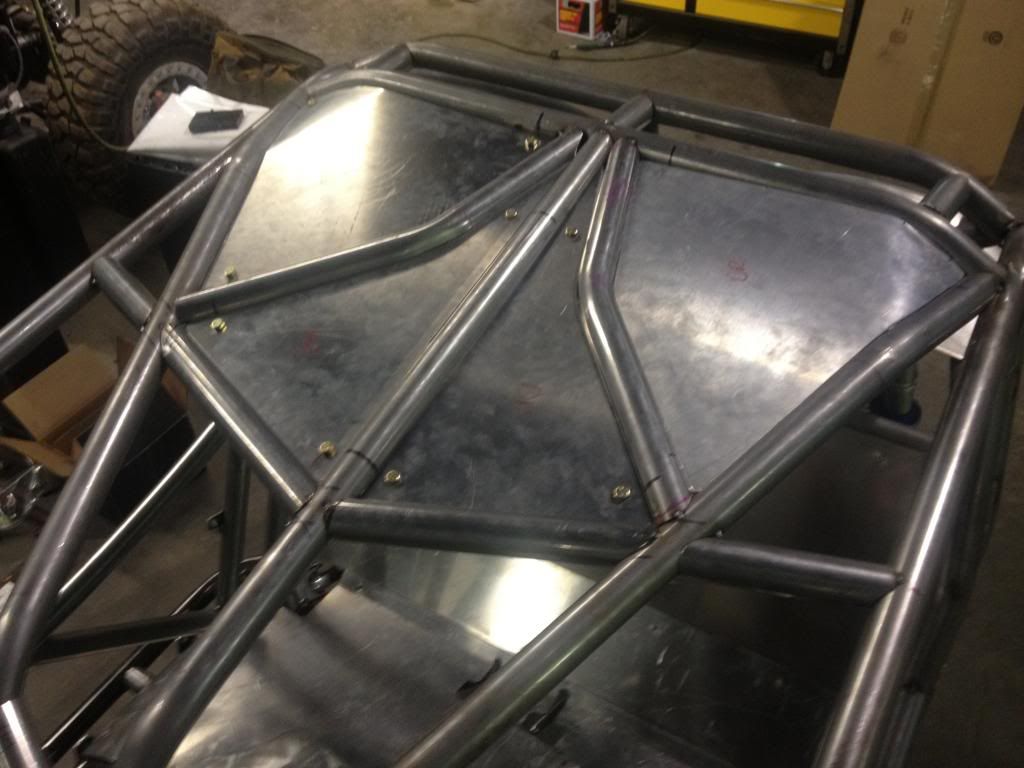
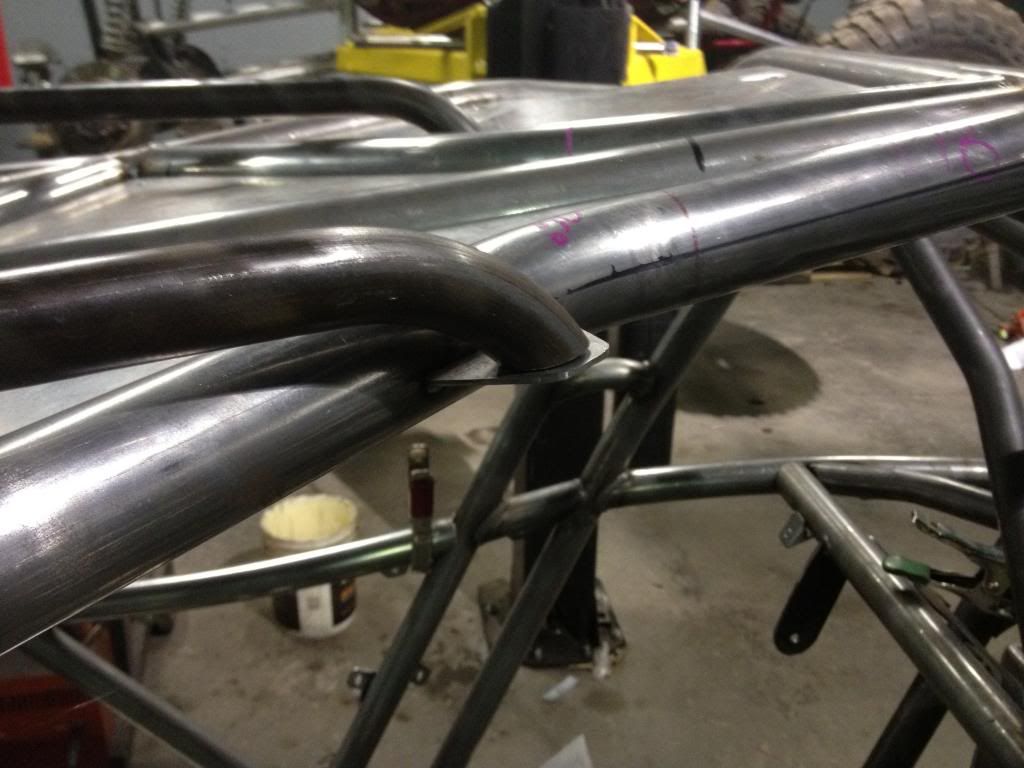
We were undecided on the roof for a long time but then We came up with adding in a few bars and just plating in the back half where it covers the drivers head and we inset each panel between the tubes.
And then we made another set for just in case........
 .
.
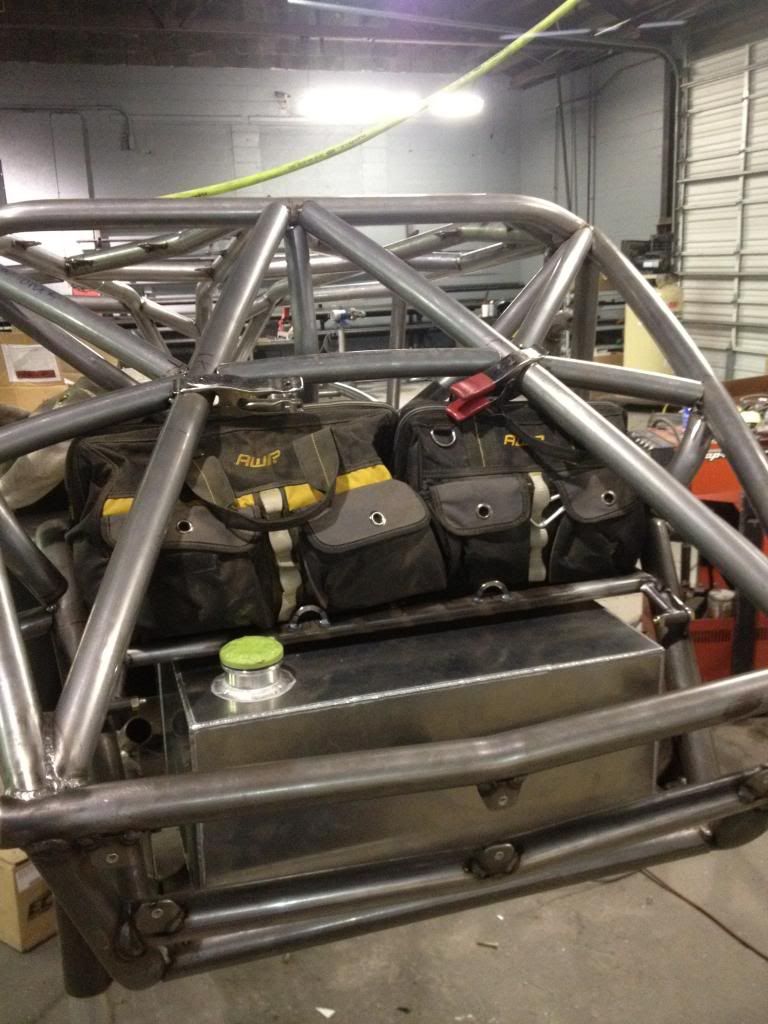
We built a fuel cell and after only putting a 15 gallon cell in the last blower buggy we built I learned that it needed a few more gallons for those long trail rides.
So we built a 19 gallon cell for this one, and the small tank in front of the fuel cell is the water tank for the air to water intercooler.
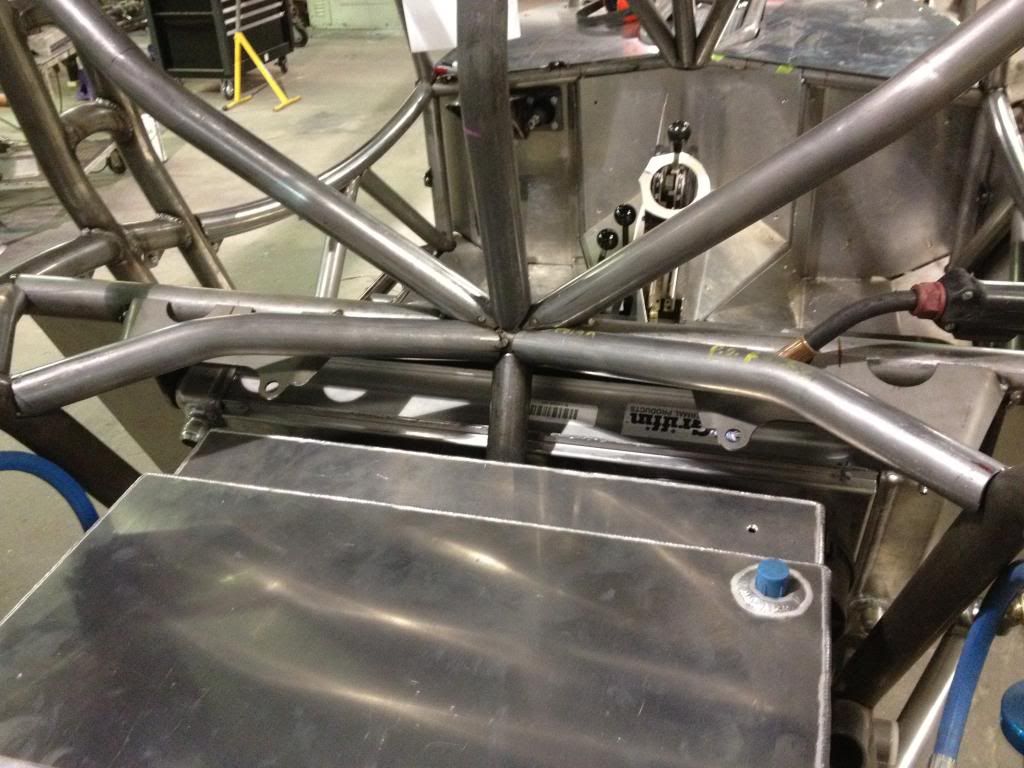
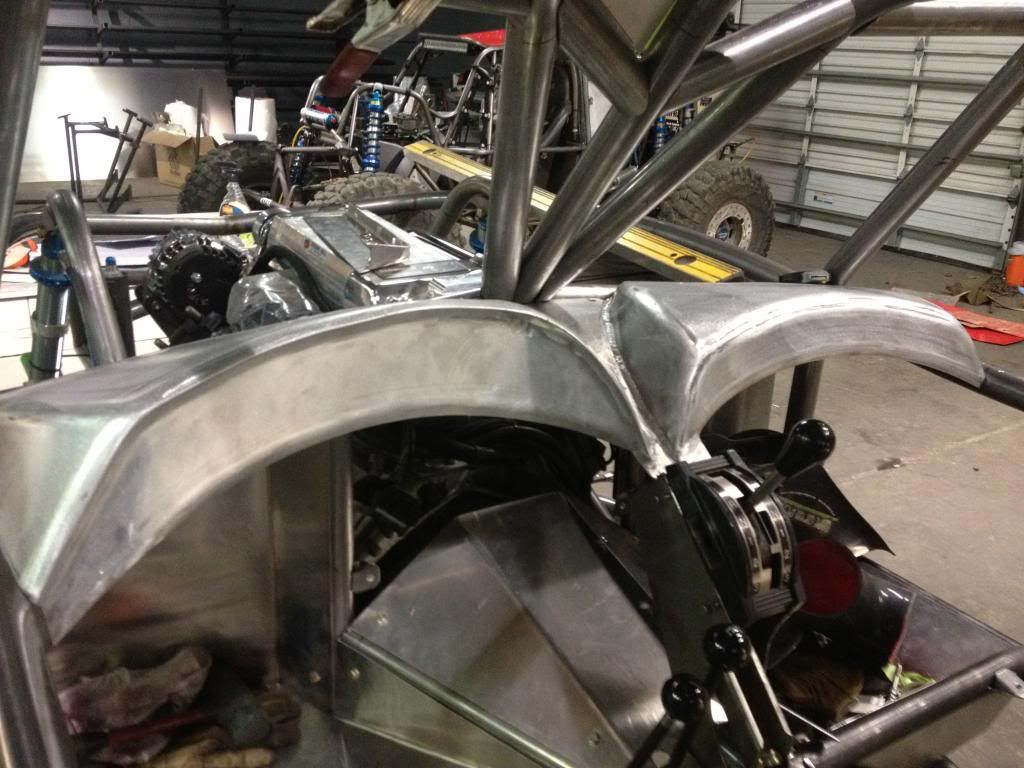
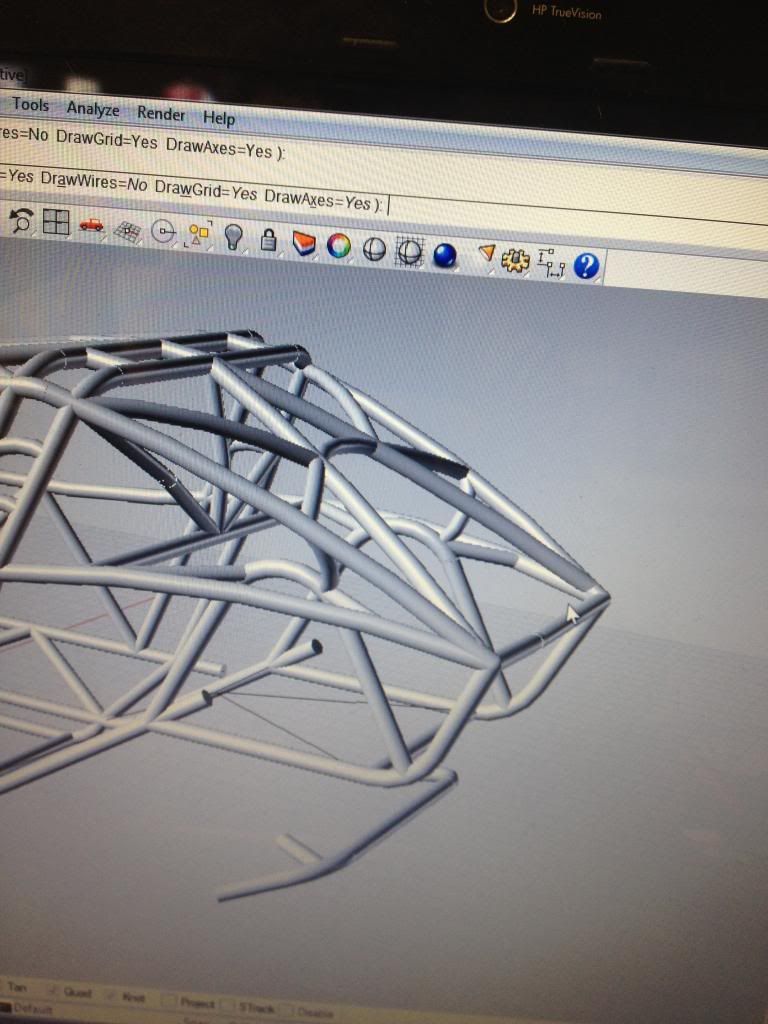
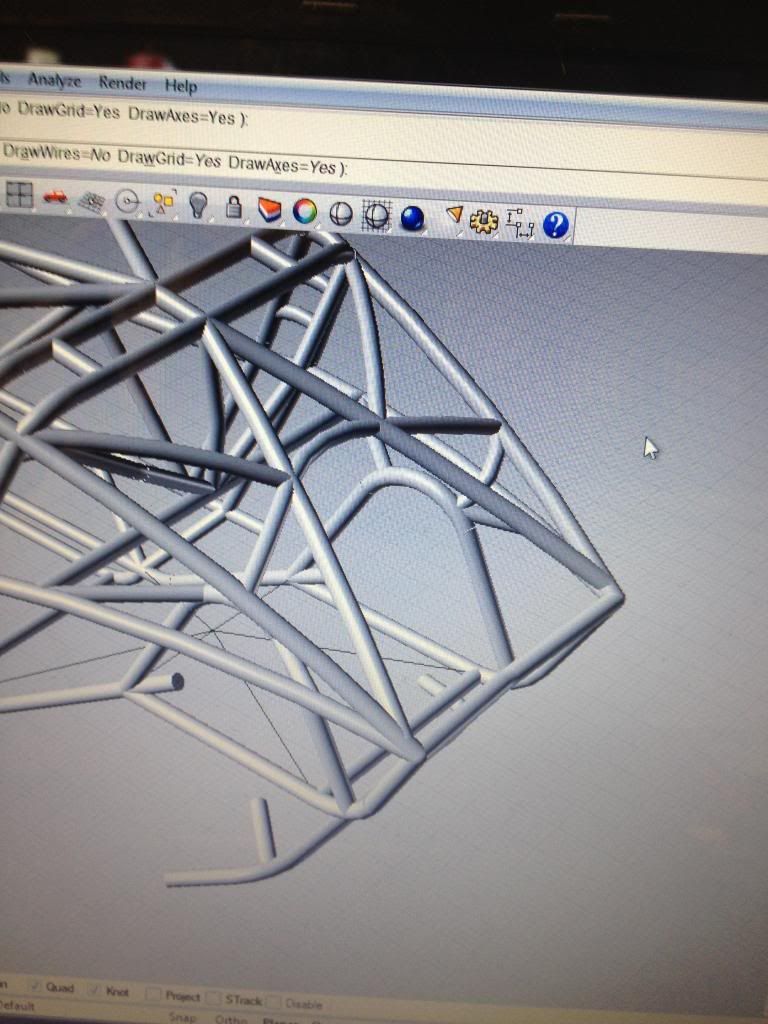
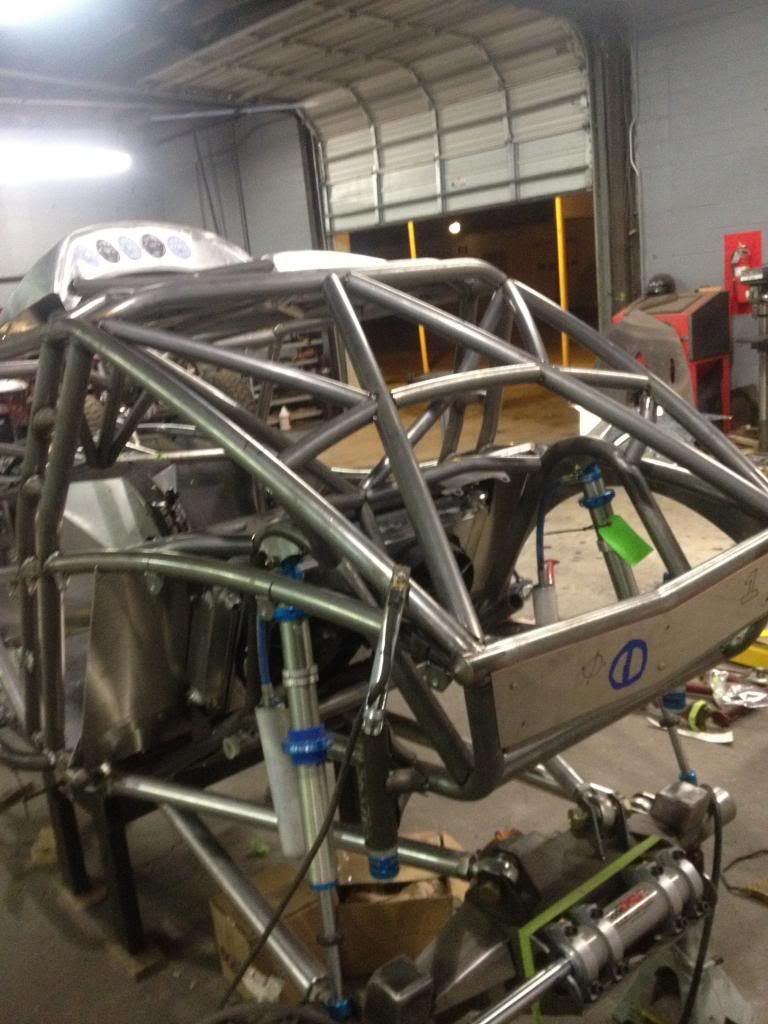
With the abuse i know this buggy is going to see racing the SRRS series and just plain ole BJ doing his thing:grinpimp:. I knew this buggy needed some added tube to keep every one safe, and to keep the chassis in check for a while. So we drew up some additional tube work and had it Okay'd and then made it happen for real.
Then we built a small tray that bolts in and out to be able to carry a few tools or a small cooler.

And then we made another set for just in case........
We built a fuel cell and after only putting a 15 gallon cell in the last blower buggy we built I learned that it needed a few more gallons for those long trail rides.
So we built a 19 gallon cell for this one, and the small tank in front of the fuel cell is the water tank for the air to water intercooler.
With the abuse i know this buggy is going to see racing the SRRS series and just plain ole BJ doing his thing:grinpimp:. I knew this buggy needed some added tube to keep every one safe, and to keep the chassis in check for a while. So we drew up some additional tube work and had it Okay'd and then made it happen for real.
Then we built a small tray that bolts in and out to be able to carry a few tools or a small cooler.
Woodlee
Well-Known Member
One of the last things to do to the buggy was put some lights on it. Bj wanted a light bar on top of the buggy and this buggy's roof isn't exactly laid out to fit a regular light bar. I scratched my head on this one for weeks until I came up with a slick way to mount the light bar and divide up the light bar so it would fit the look of the buggy. Another cool thing is the light bars we used up top are the same ones that Bj runs on his RZR, and on his 4 seat buggy.
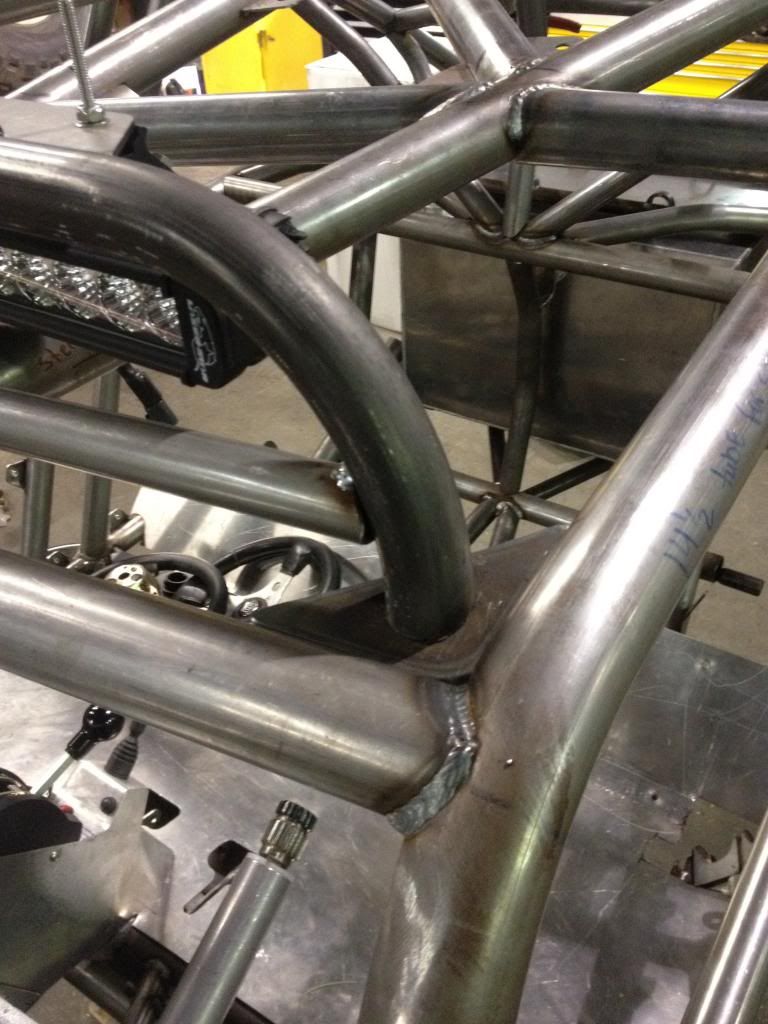
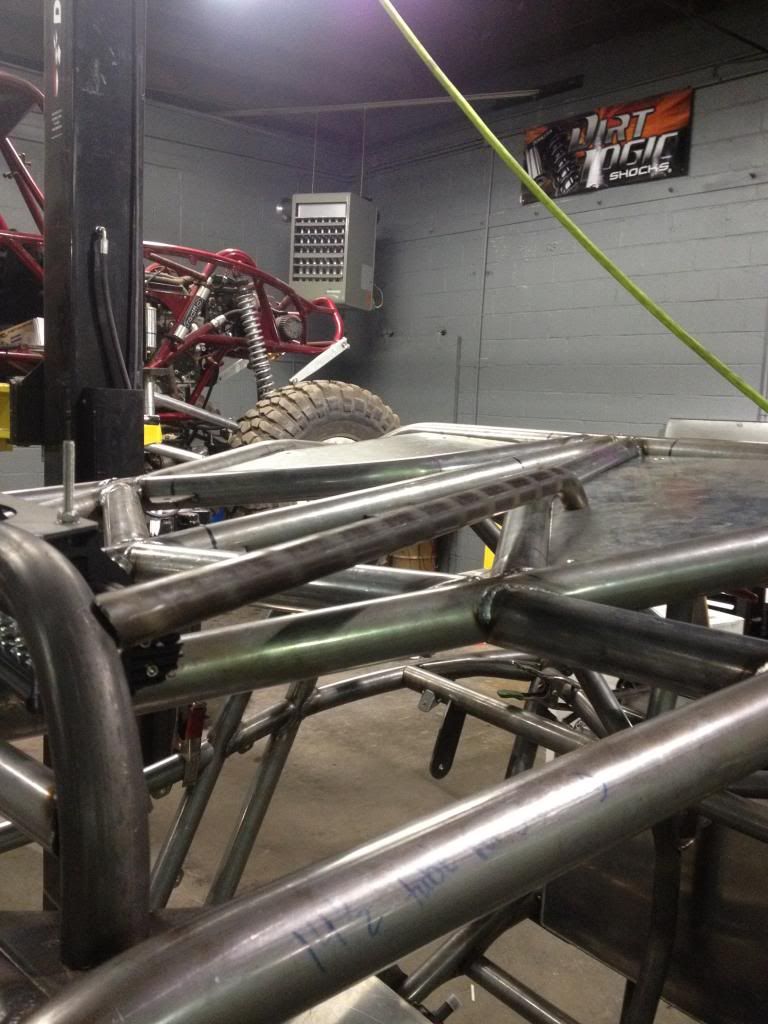
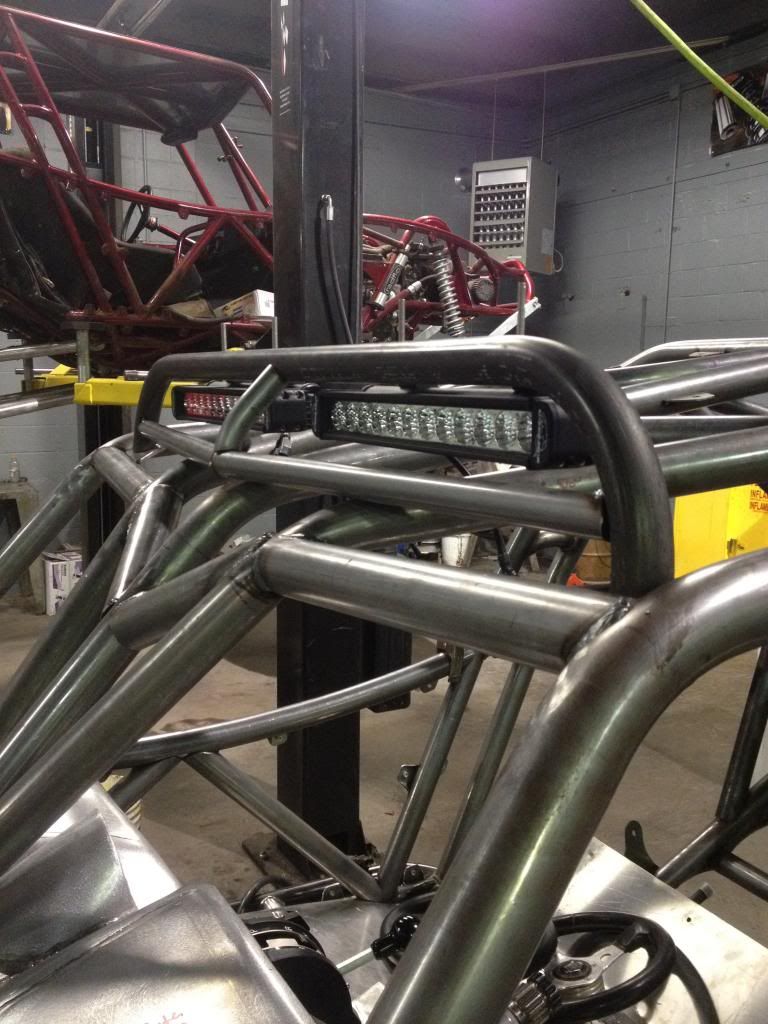
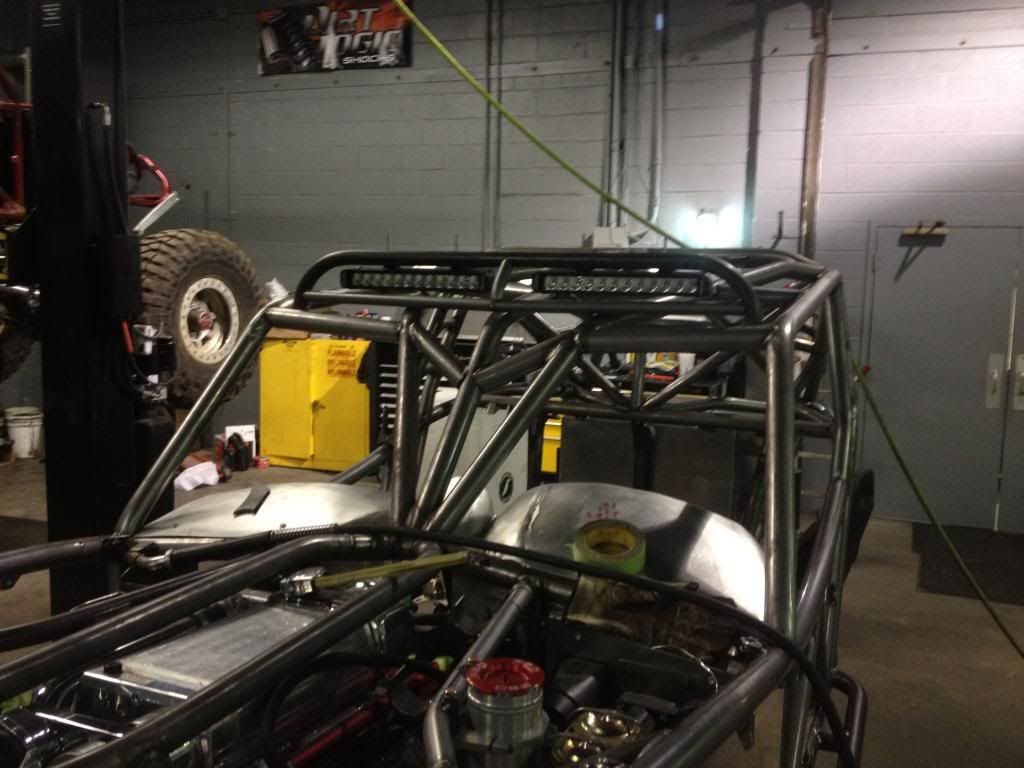
With the mounts we came up with you will never even tell this thing has a light bar unless its on. We welded bungs in the bottom of the tubes over the tabs on the roof so you simply screw a bolt into the bottom of each tube to mount it to the buggy.

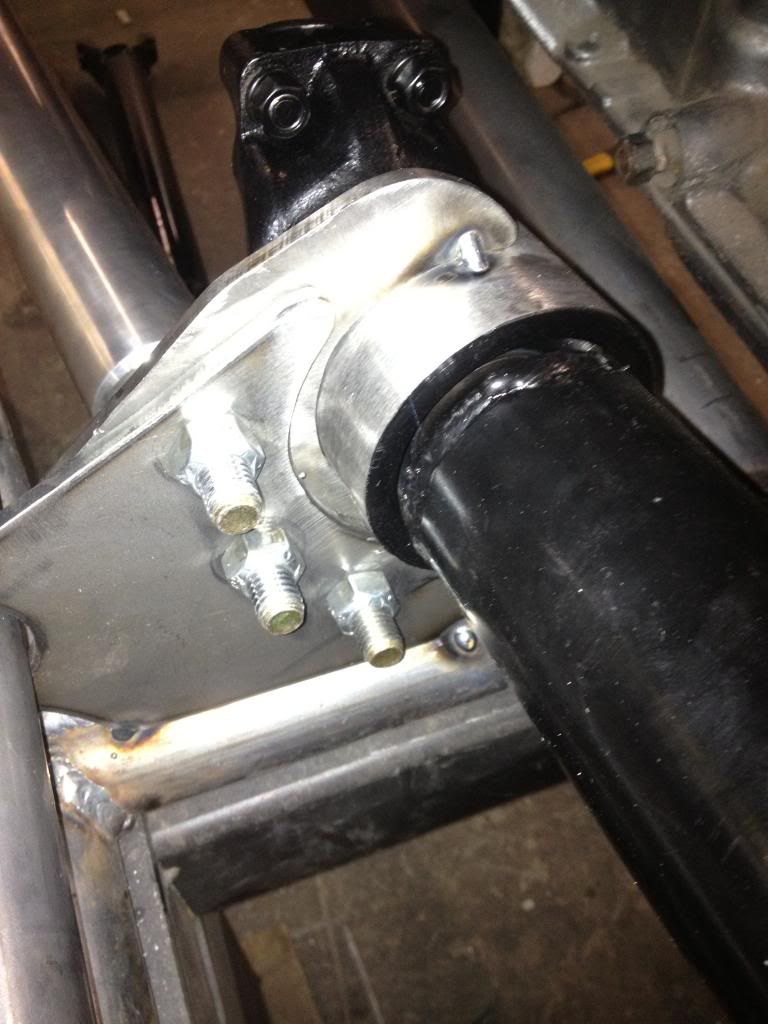
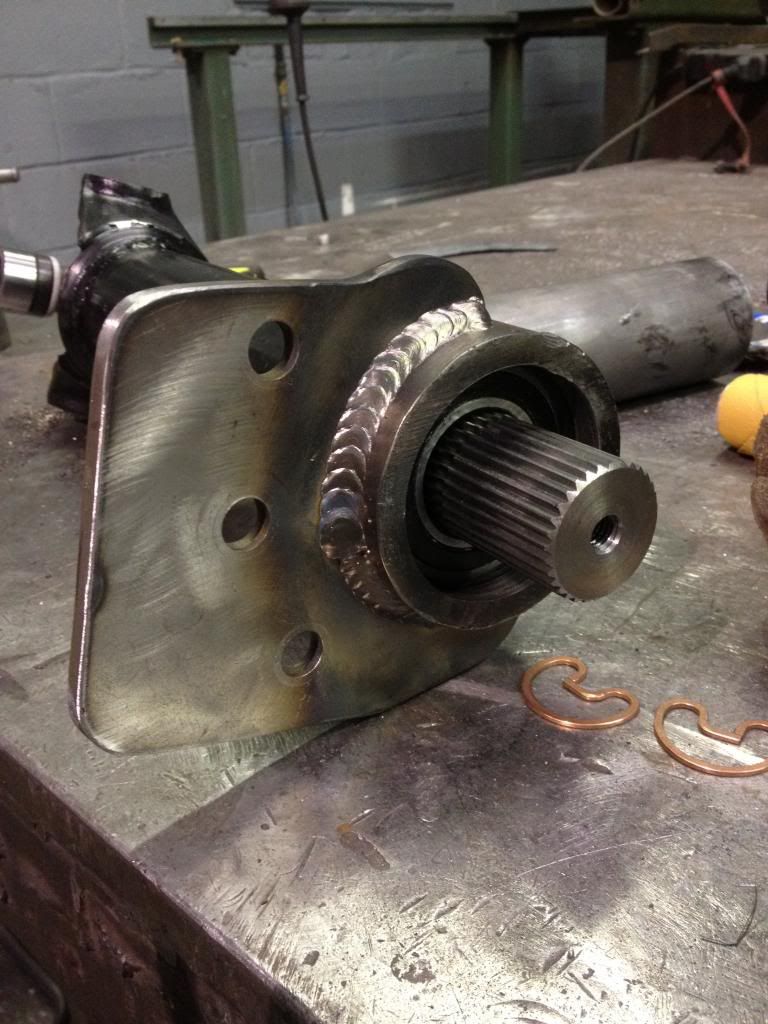
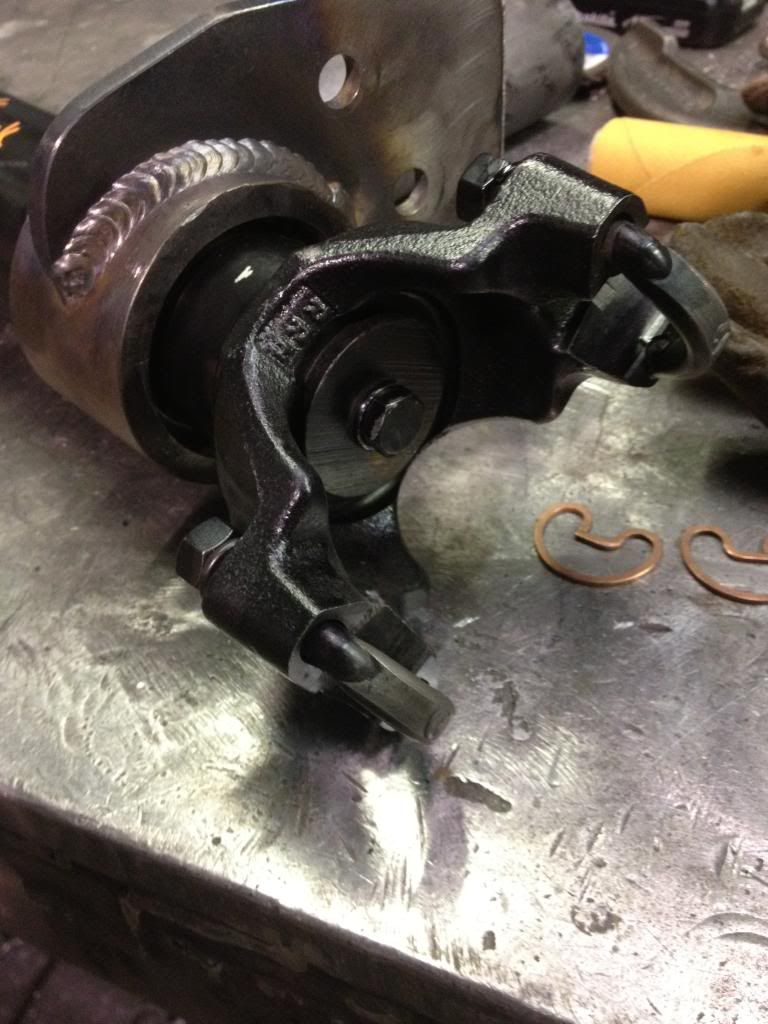
Pretty much the last major thing we did before we tore down the buggy for powder coat was install the front carrier bearing. I had these shafts made with a 32 spline stub at the end of the carrier bearing so we only have to carry one spare yoke that fits both of the transfer case yokes and the carrier bearing.

With the mounts we came up with you will never even tell this thing has a light bar unless its on. We welded bungs in the bottom of the tubes over the tabs on the roof so you simply screw a bolt into the bottom of each tube to mount it to the buggy.
Pretty much the last major thing we did before we tore down the buggy for powder coat was install the front carrier bearing. I had these shafts made with a 32 spline stub at the end of the carrier bearing so we only have to carry one spare yoke that fits both of the transfer case yokes and the carrier bearing.
Woodlee
Well-Known Member
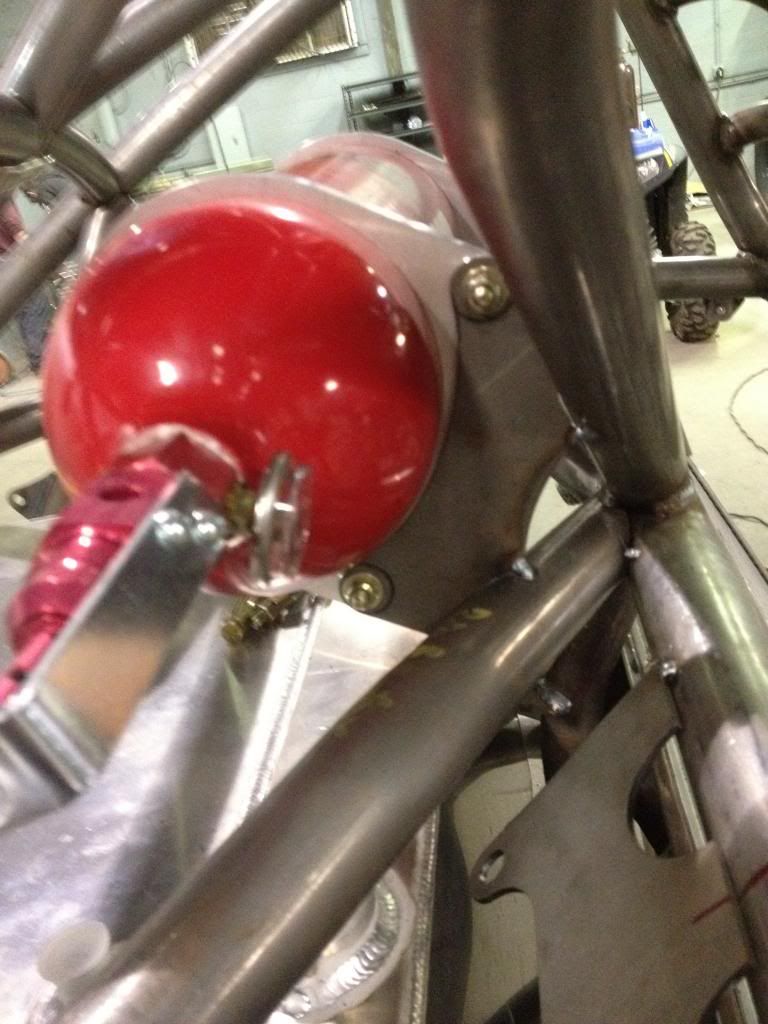
After all of the fires we saw last year Bj wanted to a fire system on this buggy, and I was glat to put it on for him.

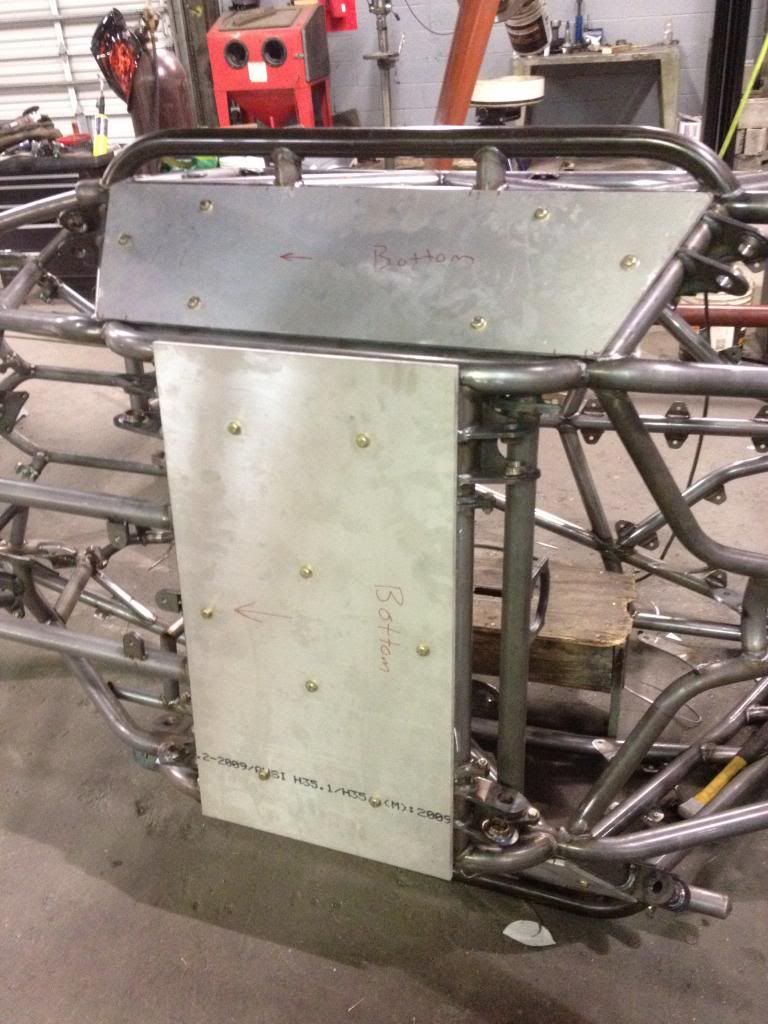
Here are a few pics of the chassis all apart and the skid plates. We always wait to put the skid plates on till after we get the chassis apart and flipped over on its roof.
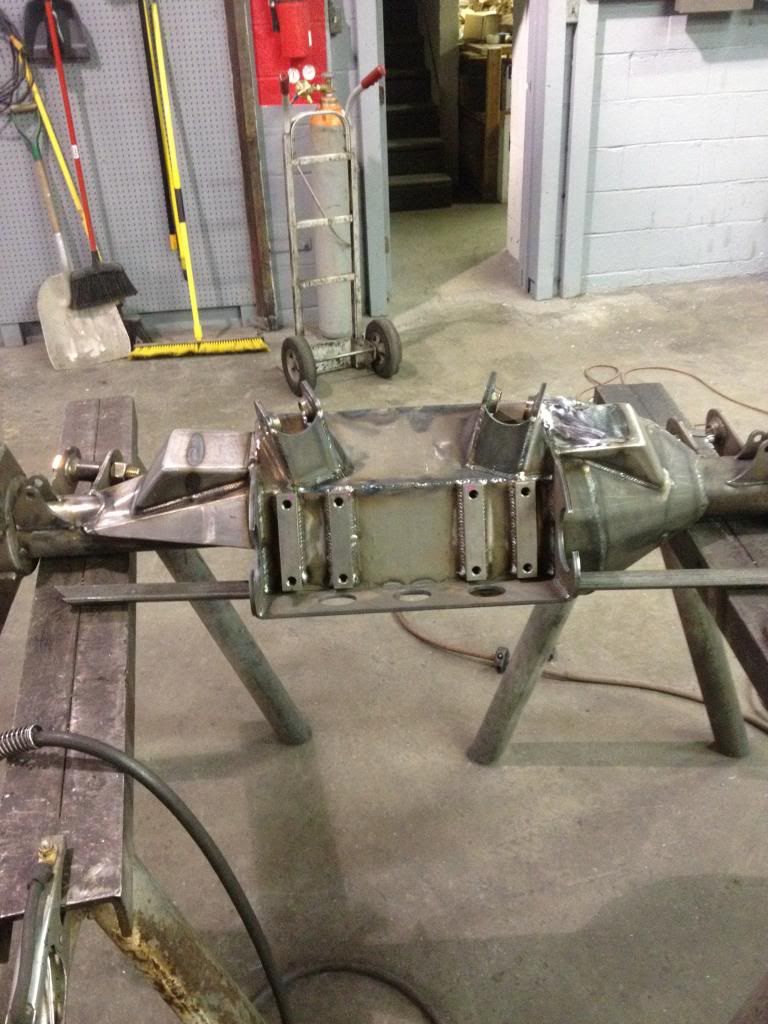
Here is one of the front axle.
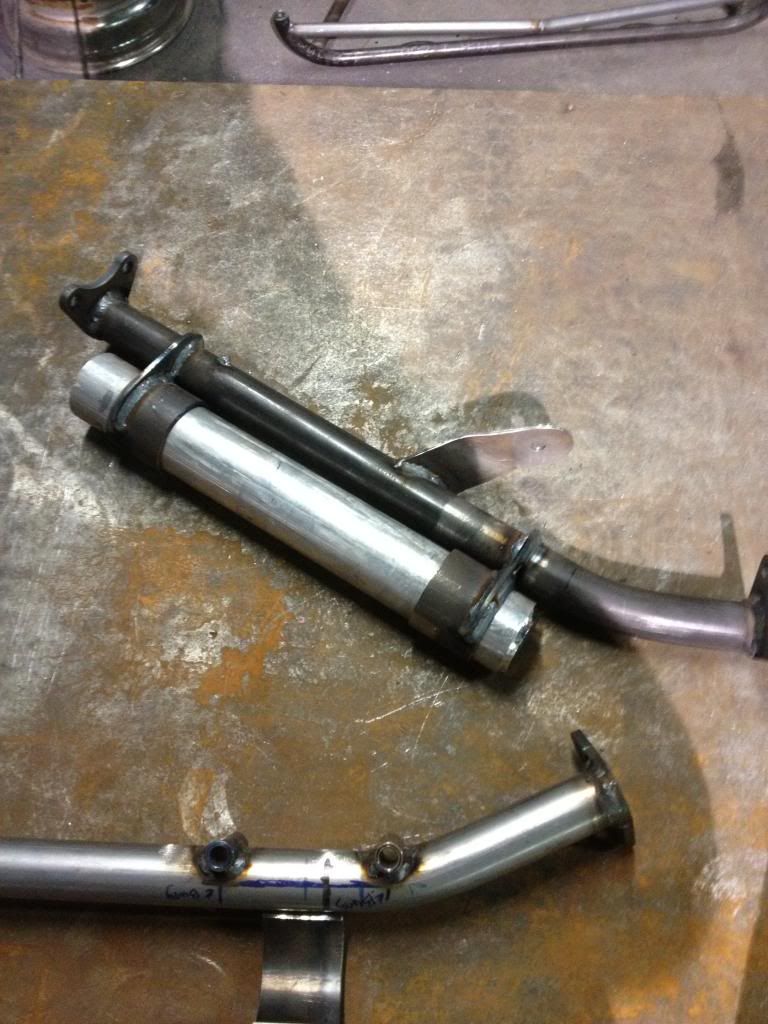
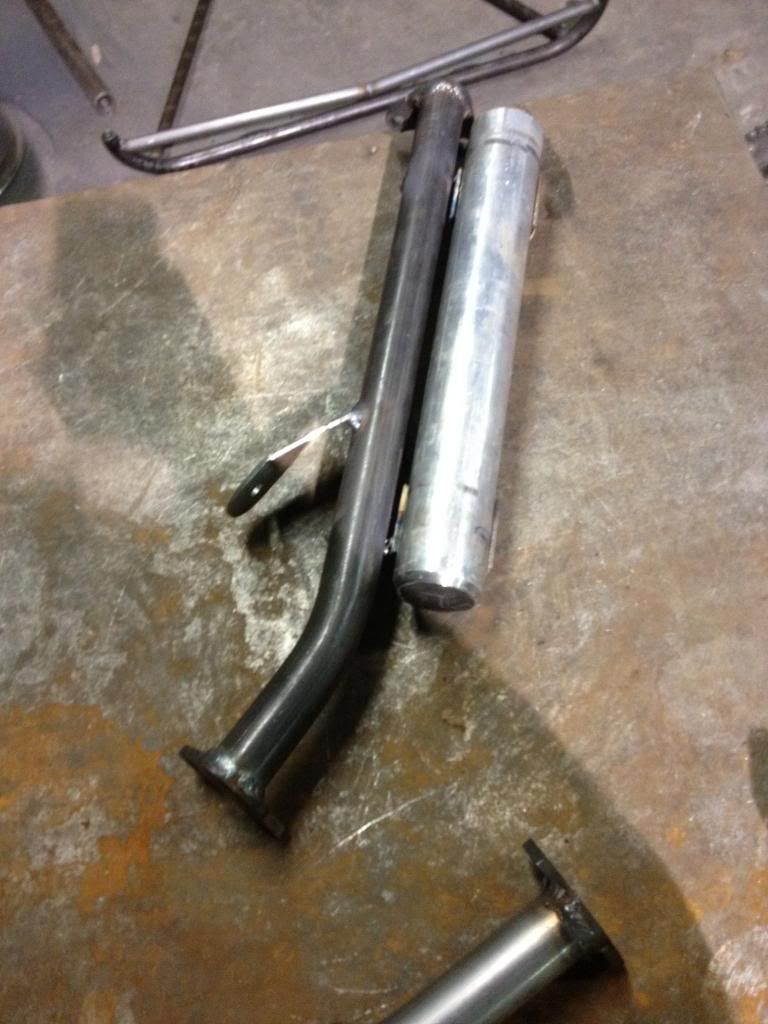
I used a scrap piece of 7075 to keep the the reservoirs in line while they were welded up.
We finally got it it all finished out and set on the trailer ready to head out for the powder coater.
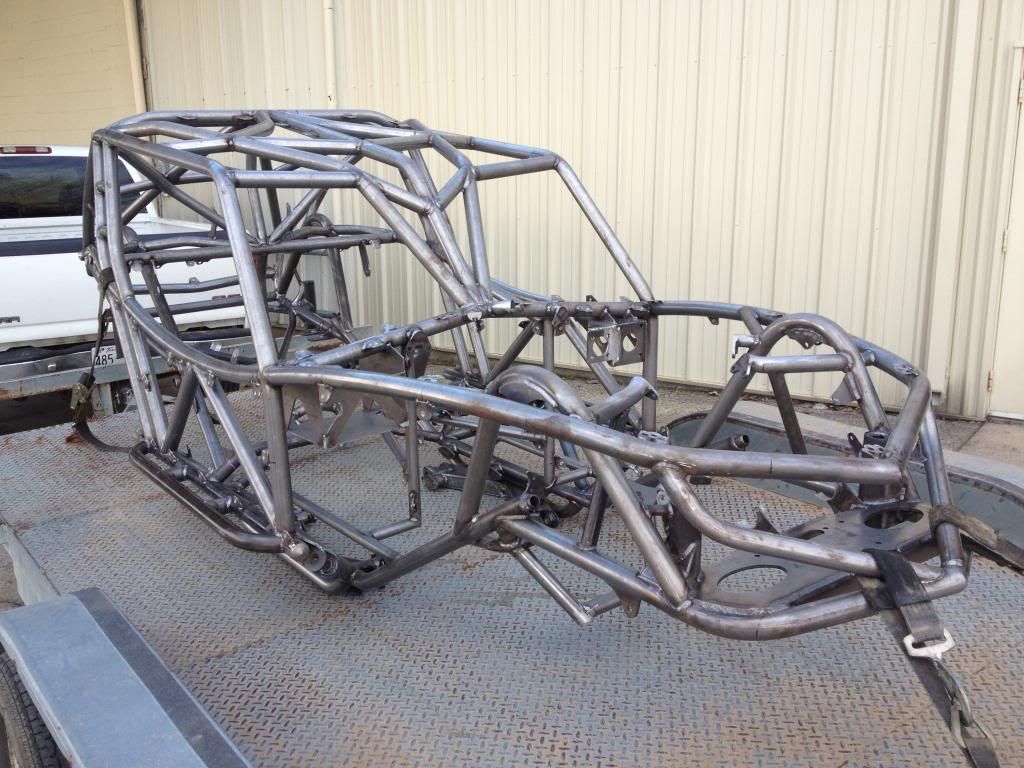
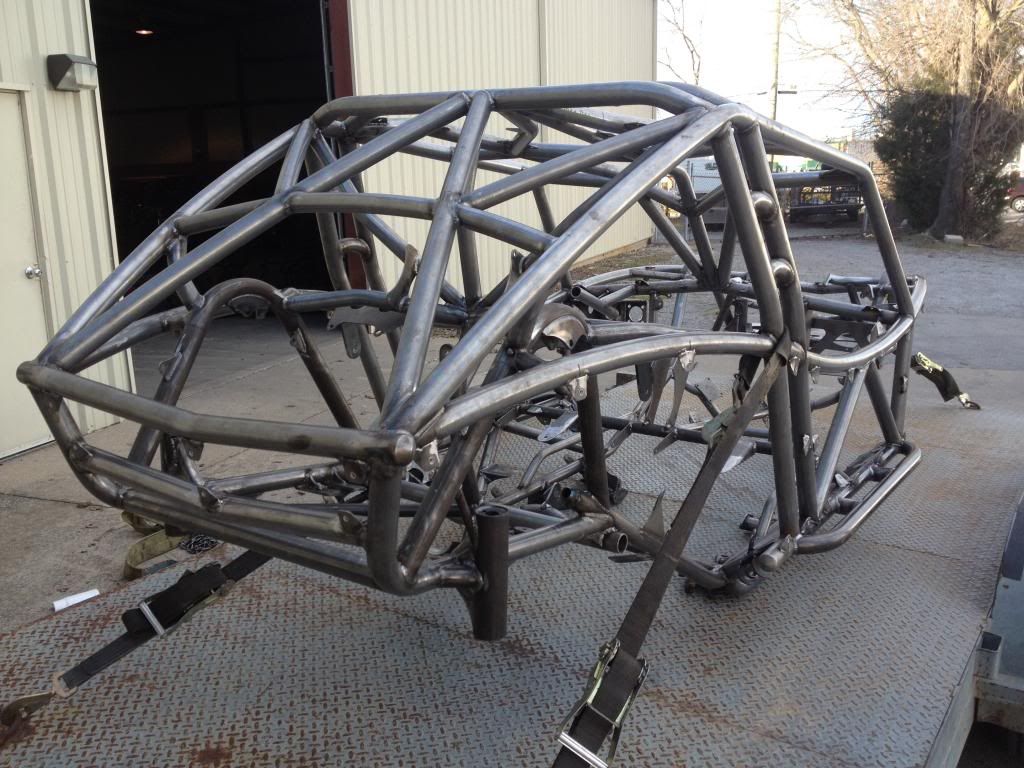
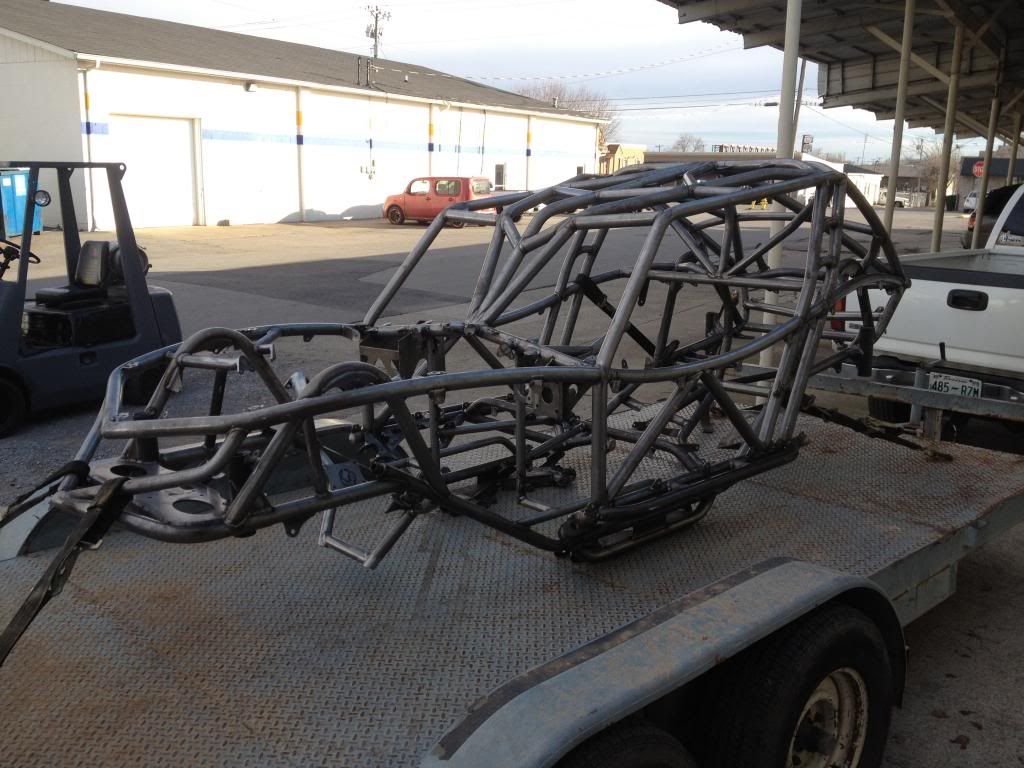
Here are a few pics of the chassis all apart and the skid plates. We always wait to put the skid plates on till after we get the chassis apart and flipped over on its roof.
Here is one of the front axle.
I used a scrap piece of 7075 to keep the the reservoirs in line while they were welded up.
We finally got it it all finished out and set on the trailer ready to head out for the powder coater.
drycreekjeep
Well-Known Member
thanks for posting some updates!!!!! great fab work!!!!!
bdillon2372
Well-Known Member
Re: Wide Open Design build of an Evolution chassis ( WFO )
Can't wait to see this one at Superlift! Work of art for sure....
Sent from my iPhone using Tapatalk
Can't wait to see this one at Superlift! Work of art for sure....
Sent from my iPhone using Tapatalk
crawlin85cj
Barco Motorsports
Re: Wide Open Design build of an Evolution chassis ( WFO )
Perry we plan on having it at Hog Wild.
Sawzall said:Hey BJ, where is the first beatdown going to take place?
Perry we plan on having it at Hog Wild.
crawlin85cj
Barco Motorsports
Re: Wide Open Design build of an Evolution chassis ( WFO )
The transition from bare metal to color always gets my anticipation and excitement up.

The transition from bare metal to color always gets my anticipation and excitement up.

crawlin85cj
Barco Motorsports
Re: Wide Open Design build of an Evolution chassis ( WFO )
Going together

Going together

![photo[2].JPG](http://attachments.www.hardlinecrawlers.com/xfmg/thumbnail/1/1418-253fe687326b085f7ce7b7c1fa9b6030.jpg?1625928182)