• Help Support Hardline Crawlers :

1 Ton YJ Build

Can you post a picture of the last thing you built gus? And I call bullshit on wheel hop being as hard on a frame as jumping it.
.

easy test to se how much it'll flex.
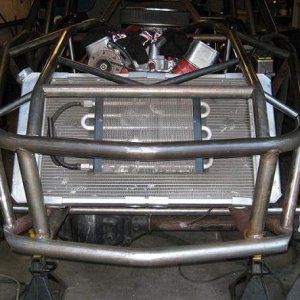
place a jack stand under the front bumper, mesure from the frame to ground under the notch.
now put a jack under the frame,start jacking until it just barely comes off the stand. re mesure from notch to the ground.

strength is determined by the vertical height of the rail, just like a shear panel in a race car, it doesnt need to be verry thick if its tall, to regain the strength just by plateing it it'll need to be plated on both sides with plates of un equal length, and preferably fish mouthed.

as far as wheel hop vs jumping.
the rapid loading and unloading causes repetitive flex causeing tears. a single impact from a landing will usualy just bend it. think of all the stearing boxes torn out of the frame etc.. even on a pavement princess, same concept.

dont read it as me bashing, im trying to share my knowlage, experiance etc with ya to build a better rig.

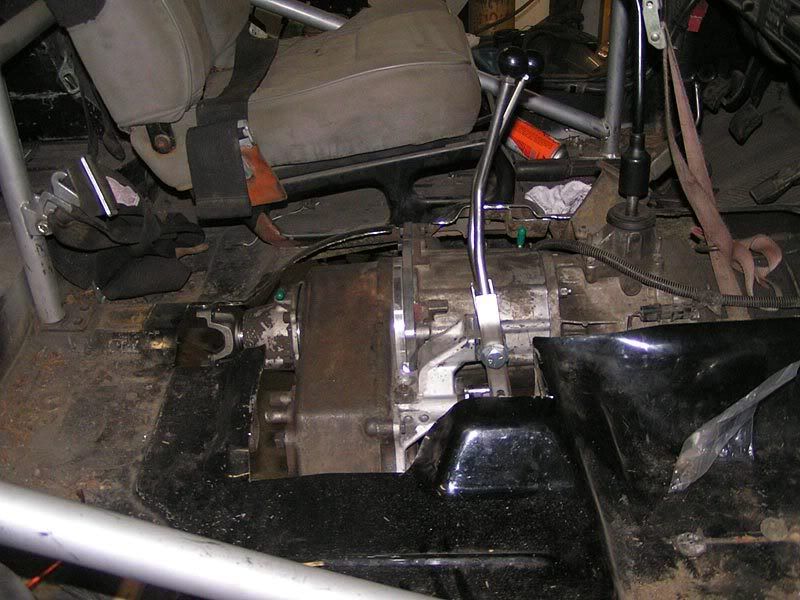
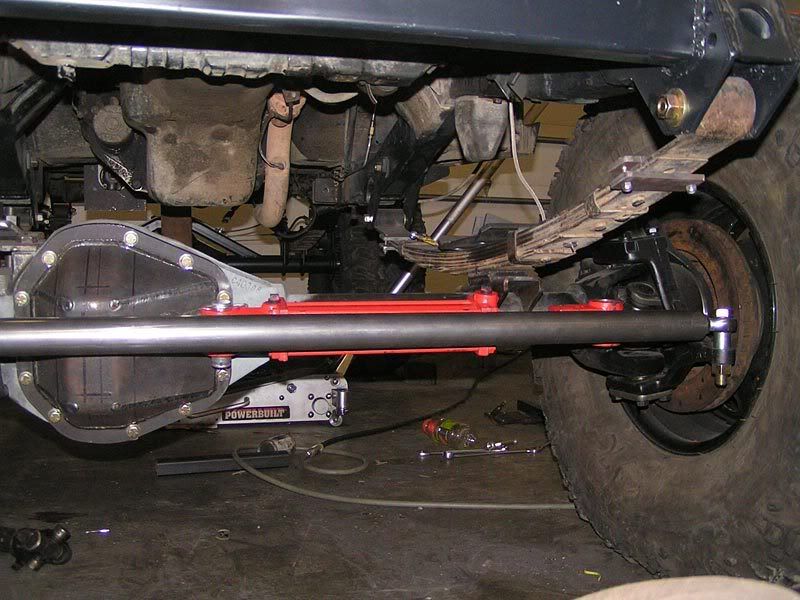
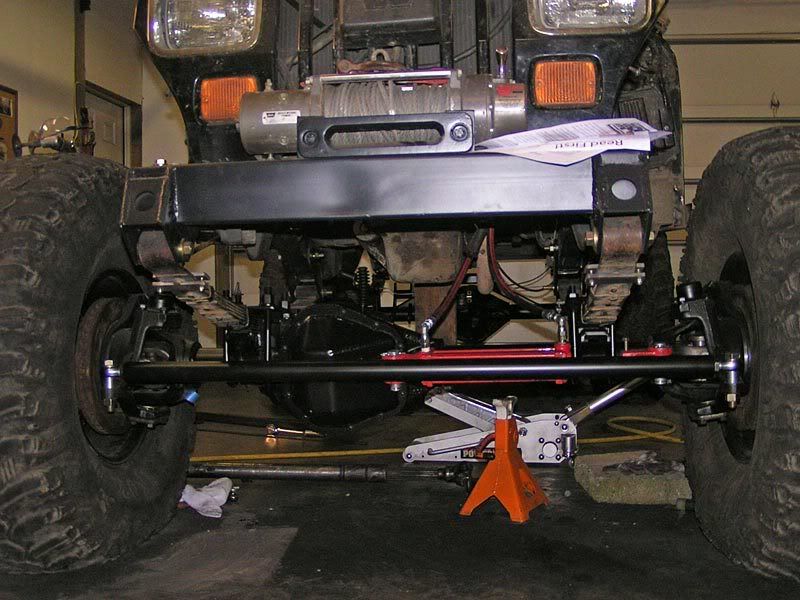
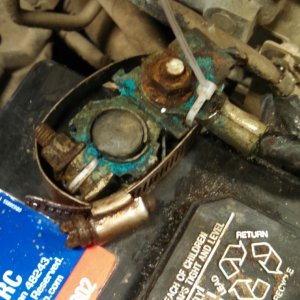
that notch is almost directly below your center of gravity. go ahead, throw it on the scales, prove me wrong. i hope it doesnt turn into a hinge.
 

Attachments

  • 135_0408_urban_01_z.jpg
    135_0408_urban_01_z.jpg
    49.9 KB · Views: 432
he wanted a pick of one of my last builds..
496 ci big block , cust built frame, custom suspension, blah blah blah...
 
mayby a picture will help visualise the loads.
like i said, CG is almost directly above the notch.
the rear portion of the frame has a cage and is fairly triangulated, lets asume relitively stiff.
under acceleration the rear suspension will be trying to lift the casis ( depends on how much anti squat you desighned into the traction bar) the same force is also piviting off the shackle of the frot axle in the same direction. you get even a little wheel hop, and now you are not only adding the weight of the rig to the pivit (notch) but you are cycleing the load. ( think about taking a pice of flat stock and rapidly bending back in forth like when you cut most of the way thru and your brakeing the bur off... )

can you seen now what im talking about as far as taking a 3" tall rail, then removing 1/3 of it not a big deal in a diferent location, but because its right where you go from a stiff portion of frame to an unsuported section, and because its directly below the center of gravity, and because of the load from suspension tieing in there theres alot of loads involved.

now a simple bar tirangulating from the front of the frame rail to the cage, and fire wall ( shear pannel) and now you are distributing the load and re directing the force.

your a smart kid, build a model to mock it up out of straws or balsa.. youll see what im mean. im sure you did some thing like that in school didnt ya?
 

Attachments

  • flexy rail.jpg
    flexy rail.jpg
    13.9 KB · Views: 431
mayby a picture will help visualise the loads.
like i said, CG is almost directly above the notch.
the rear portion of the frame has a cage and is fairly triangulated, lets asume relitively stiff.
under acceleration the rear suspension will be trying to lift the casis ( depends on how much anti squat you desighned into the traction bar) the same force is also piviting off the shackle of the frot axle in the same direction. you get even a little wheel hop, and now you are not only adding the weight of the rig to the pivit (notch) but you are cycleing the load. ( think about taking a pice of flat stock and rapidly bending back in forth like when you cut most of the way thru and your brakeing the bur off... )

can you seen now what im talking about as far as taking a 3" tall rail, then removing 1/3 of it not a big deal in a diferent location, but because its right where you go from a stiff portion of frame to an unsuported section, and because its directly below the center of gravity, and because of the load from suspension tieing in there theres alot of loads involved.

now a simple bar tirangulating from the front of the frame rail to the cage, and fire wall ( shear pannel) and now you are distributing the load and re directing the force.

your a smart kid, build a model to mock it up out of straws or balsa.. youll see what im mean. im sure you did some thing like that in school didnt ya?

Talk about making a mountain out of a mole hill..... that's a 4x2 frame (probably .095 wall), the notch is a sliced in half piece of 2' .120 wall, that's a 2x3 frame left over and it's made up for with the extra thickness of the piece layed in for the notch. Surely it's the weak point in the frame, but I've got $20 that say's it doesn't break in the next few years.
 
[QUOTEAnyway I dont mind if you post comments or criticisms...back to the build...[/QUOTE]

I'd plate that notched area and truss the top of the frame to get your cross-section dimension back to what it was before the notch.

Or a full front cage would take the load off of that area.
 
Update biotch!

havent had time to take pics and update. All my brake plumbing is done, rear truss and traction bar mounts all complete. I finally got my doubler pieces and have currently have it mocked up. I decided I would do a flat belly pan so I cut a TON out of my floor, my rear Ds haft is gonna be cool, but I will have "**** ton" of belly clearance. I will hopefully finish my steering this weekend, got most of the pieces, just gota put it all together.
 
Steering is getting close to complete, mounted the orbital, got my ram mounts done, just need to mod my stock pump and get lines made up and it will steer. I'm waiting on the input shaft that goes between the D300 and 231 for the doubler, after I get that I will finish the crossmember and it will drive. After that its mounting seats to the cage, retubing a rear d-shaft, making a belly pan, shocks, and off to moab.

pics tonight
 
Quit jerkin to the Sears catalog and post some pics.....****in kids:rolleyes:


:fawkdancesmiley: ......AGGRO!!!!!!!!!
 
So much for my nice floor

a-47.jpg


Steering - I really wanted to do hysteer but with the narrow axle and frame/leaf spring clearance it just wasnt going to work out. Ill try to upload more photos tomorrow.

a-50.jpg
 
front end is all finished up, just needs shocks. Today I decided the 231 doubler was just not going to workout with my set up. Ill be putting the kit up for sale soon. I will be doing 4:1s in the d300. This will make my rear driveshaft angle much better, and reduce the length of my front shaft. Plus it will allow me to mount my drivetrain a little lower but still maintain a flat belly skid.

To do list:
get and install 4:1 gear set
build new crossmember to support tranny/tcase (1/2 done)
cut out belly pan
mount seats
install shocks plus any needed bumpstops
grill hoop and fender bars
wheel

a-53.jpg


a-52.jpg
 
Top