pholmann
Well-Known Member
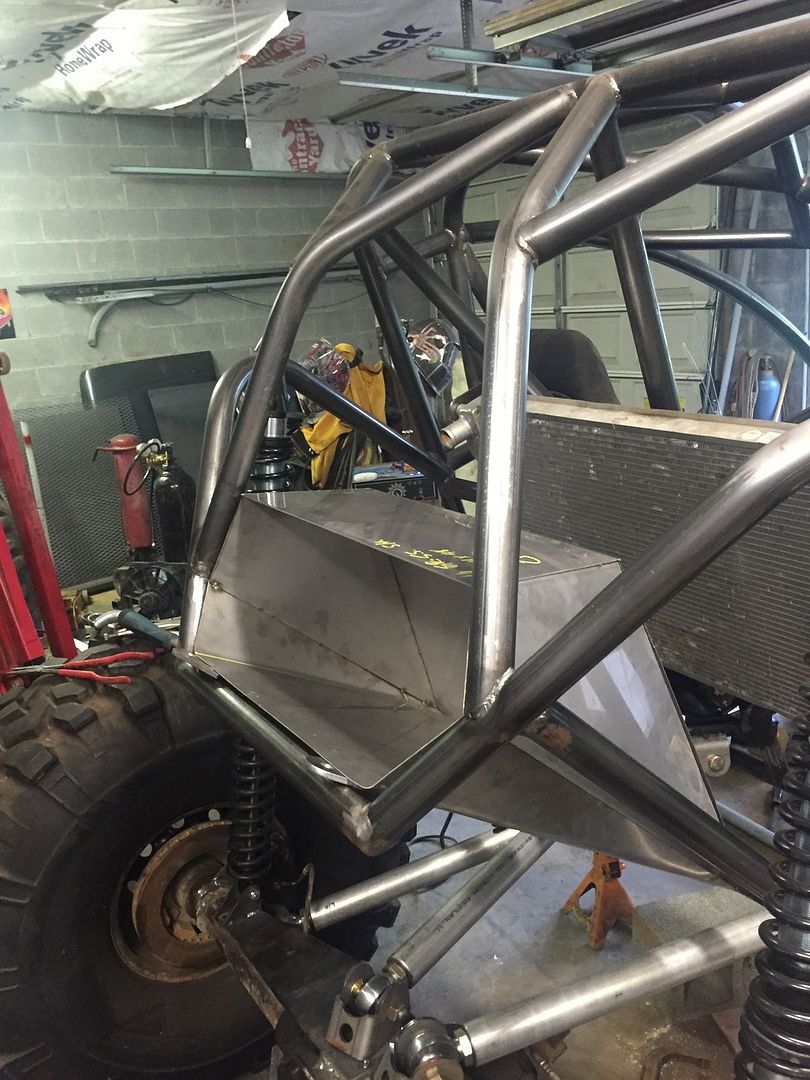
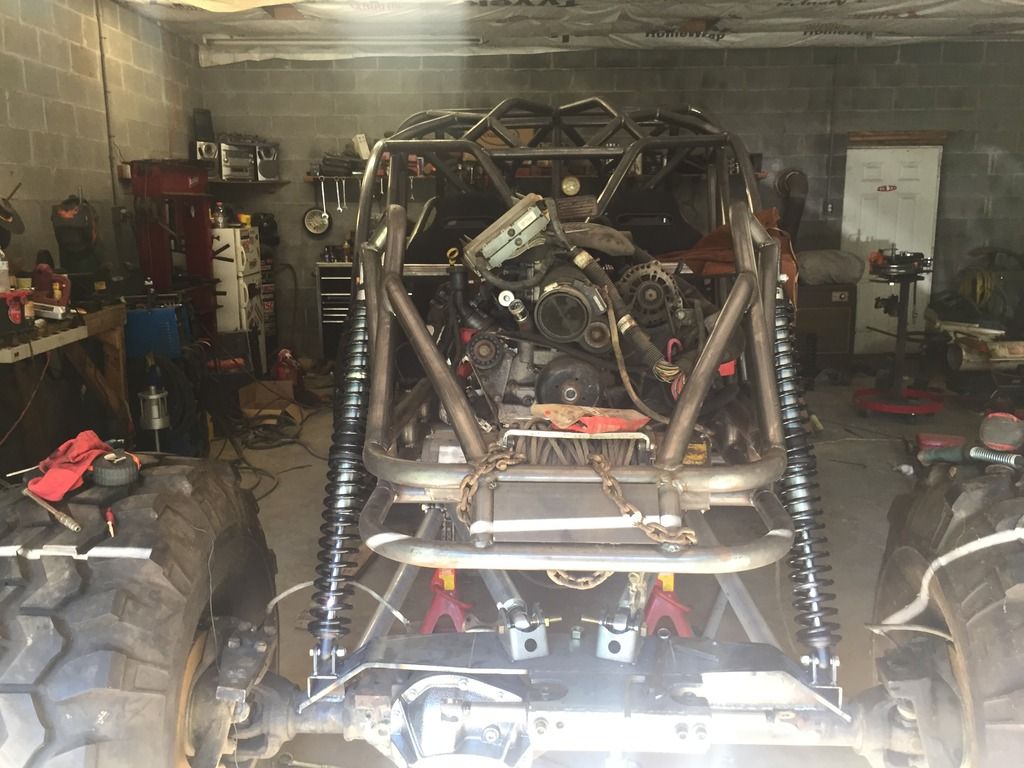
Thanks. I got a chance to piddle for a couple hours today I have a true full roller!!!


pholmann said:Thanks Casey. I know it's killing me to have to leave.
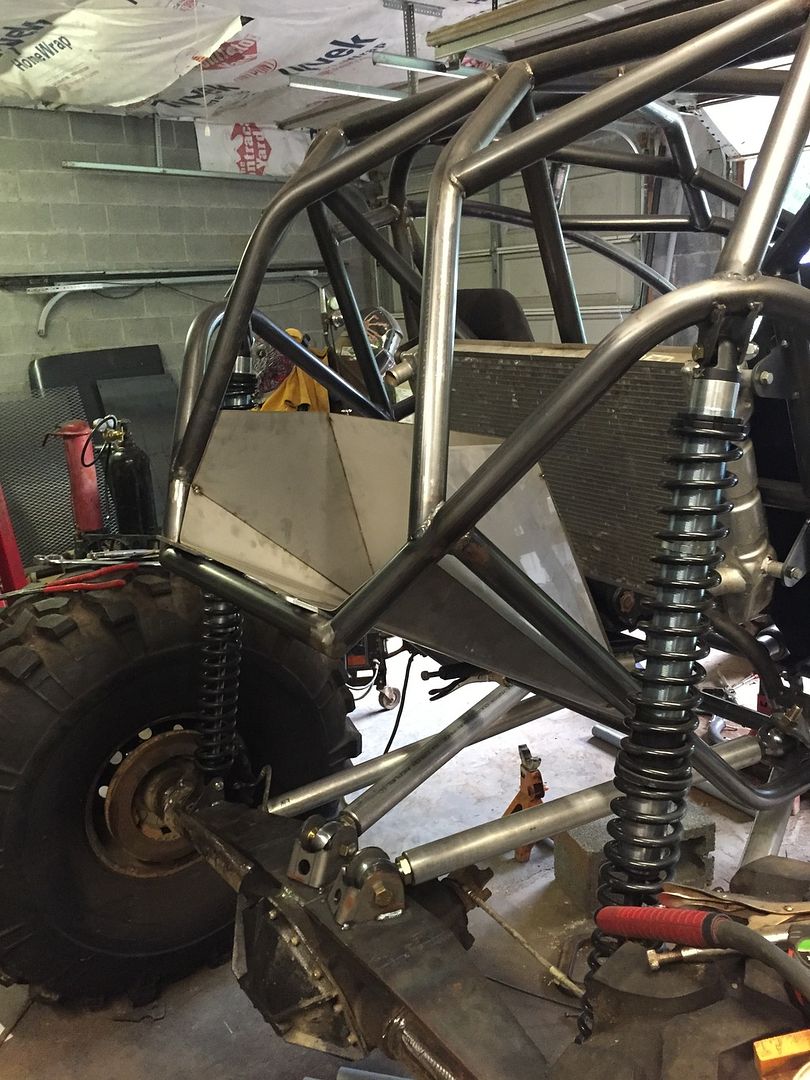
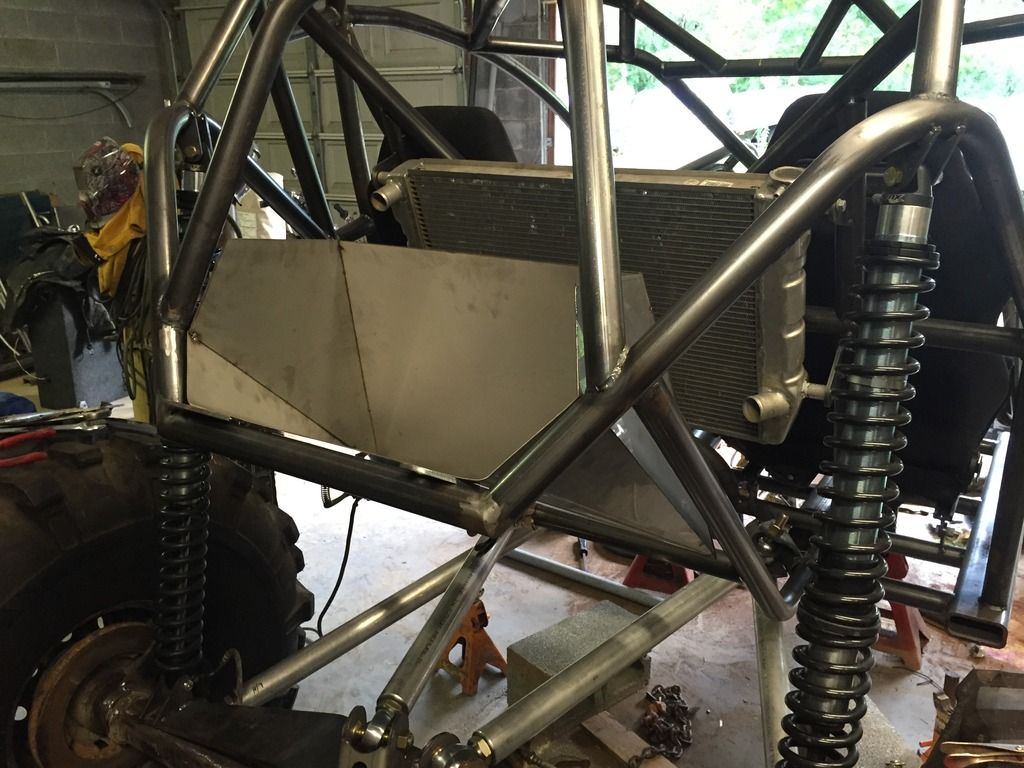
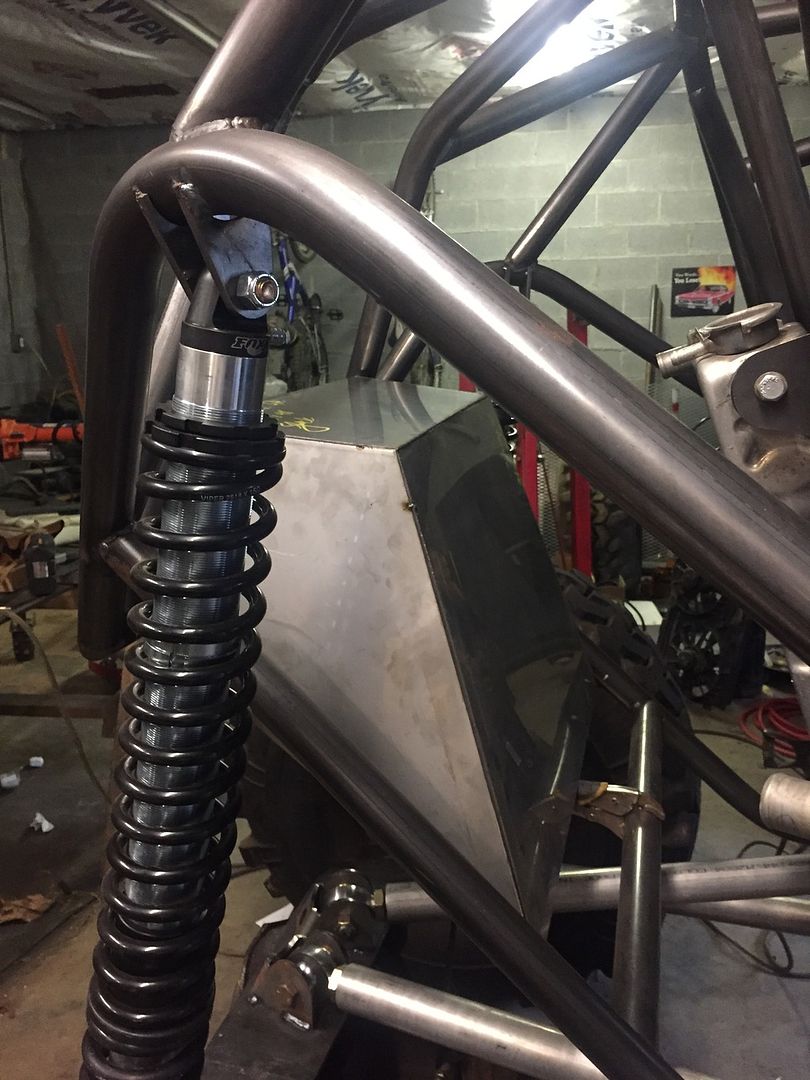
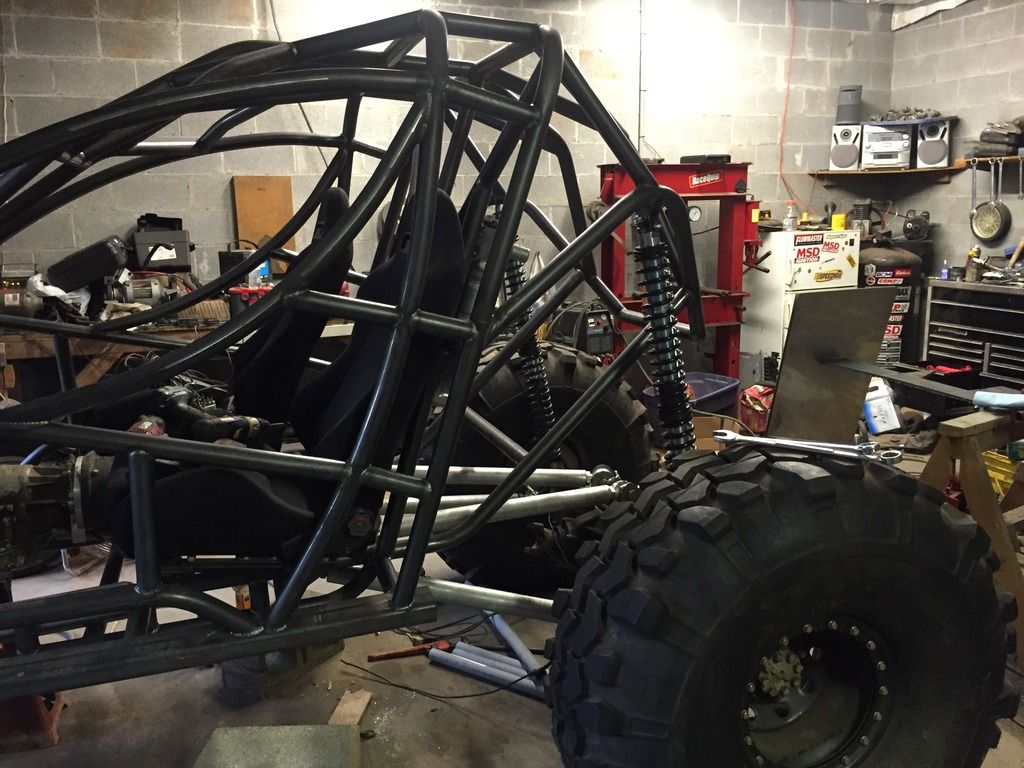
Kevin, I'm all ears. I may need to turn them. For some reason it made sense at the time. I think because They are laid back quite a bit. I didn't even take into account the twist during articulation. I'll look at it when I get back from vacation and see. Good call I'm open to suggestions hints and tips from anyone that knows more than I do, which isn't hard to achieve.
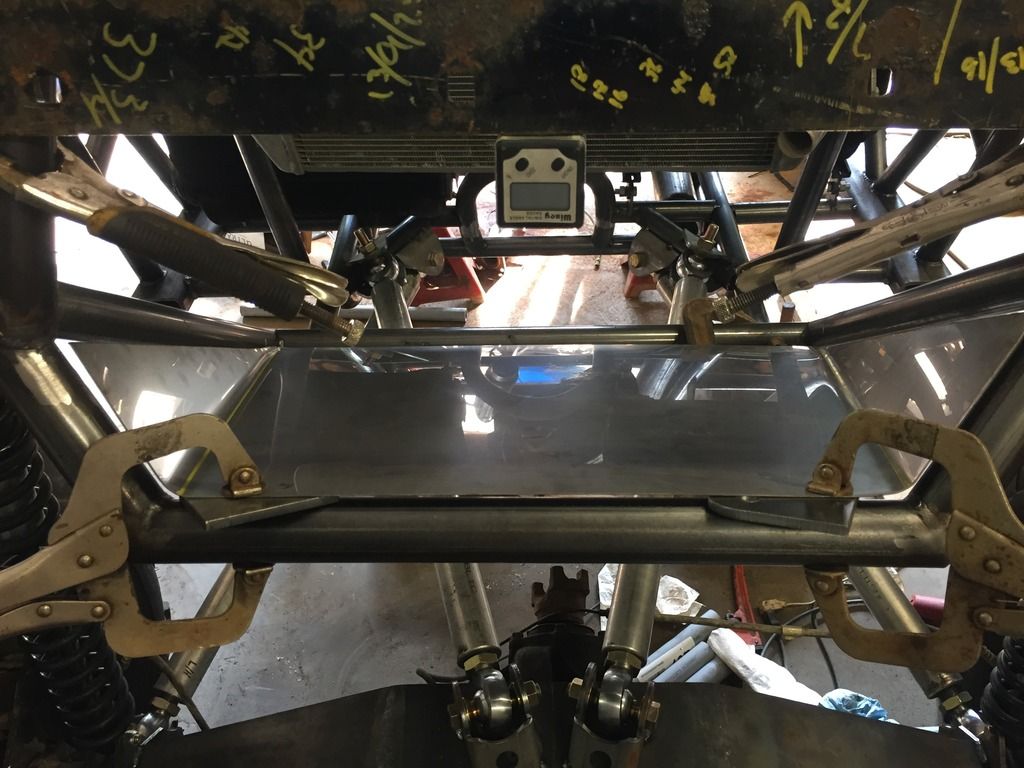
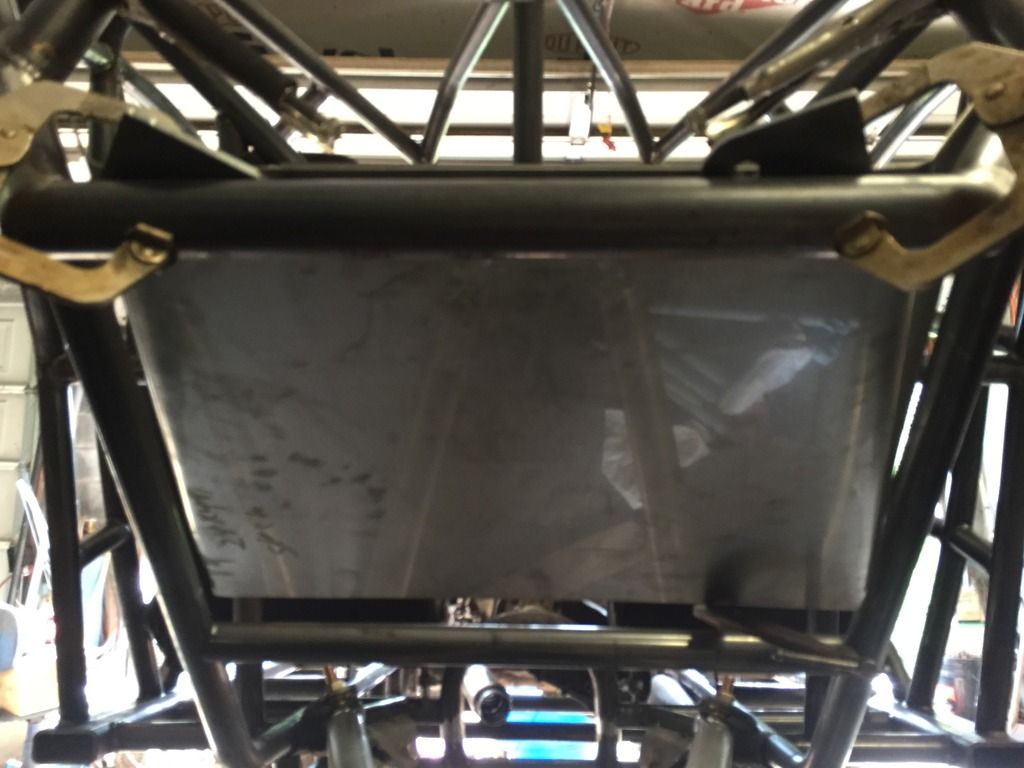
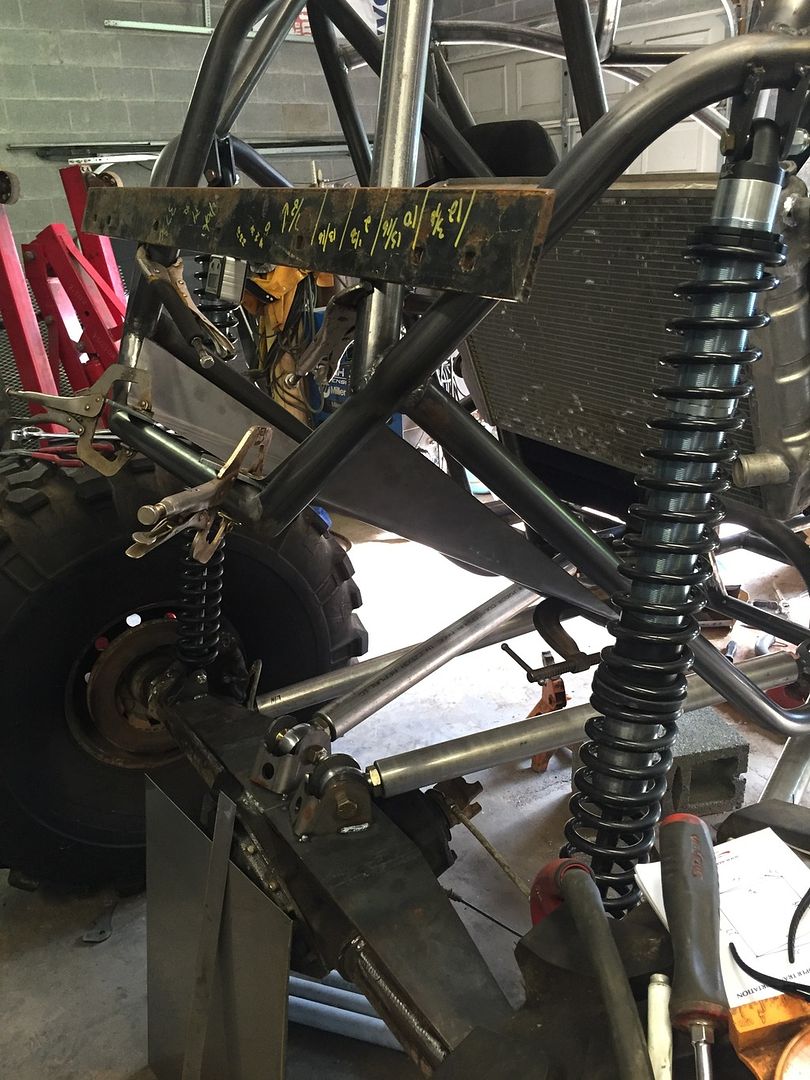
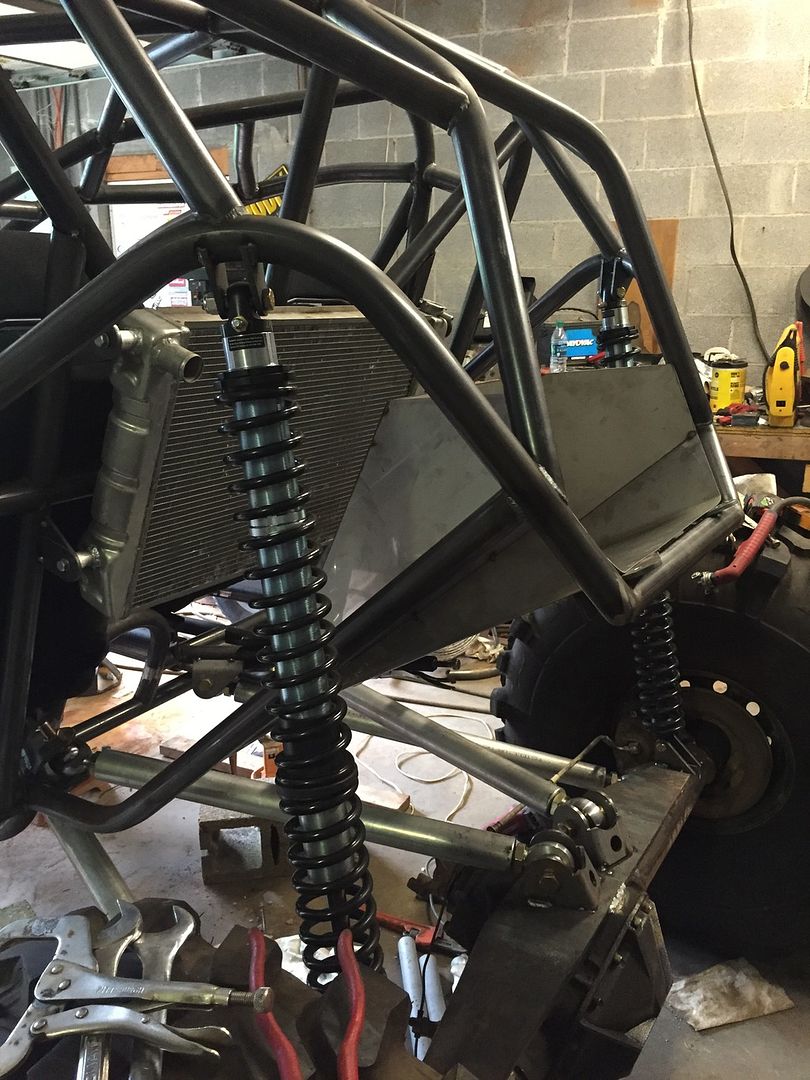
I did chime in!kmcminn said:Pholman, the buggy is looking good. I am seeing how you have you shocks mounted. Seems like most of the time people run the eyes of the shocks 90° apart. Where the top shock bolt is pointing toward the engine the bottom shock bolt is running from front to back on the rig or vice versa. I have always heard you do it like that to keep them from binding and breaking the shock. I noticed a blue Rockwell buggy on here is like done like yours, I was going to mention in his build but thought I needed to look around a little first. I started looking on WOD instagram and all his builds the shock eyes are 90° apart. Just something I think you should look into. It would be great for some of the reputable builders or tech gurus to chime in.