• Help Support Hardline Crawlers :

93 Nissan Pathfinder Build

IMG_0404.jpg


spring hanger welded in, still need to paint and possibly gisset on the back side

IMG_0406.jpg


diff cover is plated and finished. ended up cutting out the drain plug and flipping it higher on the cover, mainly for peace of mind

IMG_0408.jpg


shackle hangers tacked in place. checked for shackle angle, and it all looks good, so ill be burning that in and gusseting the piss out of it.

IMG_0413.jpg


IMG_0414.jpg


the guys at ballistic fab, FINALLY got my order right, and i got all the correct tabs and tubes. nice pricing, and some trick brackets, but their customer service is shaky at best. took a couple calls to get the status and the correct parts re shipped out.

IMG_0412.jpg


approximate ride height. 82" to top of cab, a little under 3' to the bottom of the doors, so about 22"-23" to the bottom of my tcase, which is pretty much flush with the frame rails. 3" body lift is gonna stay on since its so much easier to work on the drive train under the truck, armor is already made to include it, and to fit a 350 or the like in these trucks, you need it on there to make space in the cramped bay. and a 350/383 on propane is in this rig's future

bunk, sent out the money order today, you should be gettin money wednesday!!!
 
Last edited:
not much progress, because we cant seem to find bushings for the main eyes on the leaves. its almost like they dont exist anymore. the springs came off a 68 wagoneer if that helps.

chased the threads on the calipers and got the gunk out. painted them with some engine block paint, installed the new banjos and speedbleeders, and loaded up the pads.

IMG_0416.jpg


dont forget to keep the piston clip and swap them over to the new pads

IMG_0415.jpg


gusseted and painted shackle mount using 2.5" long DOM sleeve and yj shackle bushings

IMG_0419.jpg


painted and partially assembled axle. anyone know a good website with pictures of the assembly of a d44? haynes manual doesnt really do squat

IMG_0420.jpg


1 ton tre's, sky high steer, grade 8 hardware, pads and shock tabs welded in. flat top machining by http://www.jnutter.com/page2.html 1 day turn around and very knowledgable

IMG_0422.jpg


pitman arm reamed out for 1 ton tre. 24" stainless braided lines with nissan 10mm to standard adapter. didnt know anything about flair wrenches, so i stripped out one side and had to cut off the fitting and double flair the brake line. that was fun....not.

IMG_0423.jpg


im ~6' tall, almost 3' to bottom of doors, 23" to flatbelly, and 109" wb. yeah!

IMG_0424.jpg


hope to get those damn bushings so i can finish up this build, im sick of lookin at it in my garage.
 
BUSHINGS!!!! finally some real progress. allergies messed me up today so i just got the new bushings in, and did the panhard drop. my partsmike order came in, so i threw on the jam nuts and cone washers and loctited the steering arm on.

IMG_0425.jpg


4" piece of 3"x2"x.125" tubing welded into the stock mount.

IMG_0431.jpg


.25" plate gusset and paint

IMG_0432.jpg


with panhard. really noticeable difference, tires are almost back to even in the wheel wells. bar is almost flat too!

IMG_0429.jpg


leaves done. rubber bushing at main eye, energy suspension at shackle, 3/8" grade 8 cap screw for centering pin. was worried about shackle angle, especially since i final welded and gusseted the mount, but i think it will turn out well.

hope to make the spring plates tomorrow and get the trucks weight sitting on the axle. also have to reassemble the axle, and i found this perfect diagram of how to put everything back together. score!

HEAVEN.jpg
 
quick question......
so your useing a 44 front? nissan rear corect...? and plans are for 37's?

have you taken a min to look into gear choices for nissan axles???? lol...
 
yeah, have you? stock i came with 4.65, and i have ordered 5.14/5.13. how is that a problem? if youre trying to dog on the nissan h233b rear axle, it runs 31 spline axles, has a bigger ring gear than a ford 9", and has a perfect suspension set up. all im doing is long arming the rear, and ill have over 3ft of articulation.
 
IMG_0419.jpg


I would gussett the sides if possible. Those little plates wouldn't take much of a hit IMO.

I would brace back onto the frame behind the front cross member as well.

Picture027.jpg

worst case scenario obviously....
 
:fawkdancesmiley:
yeah, have you? stock i came with 4.65, and i have ordered 5.14/5.13. how is that a problem? if youre trying to dog on the nissan h233b rear axle, it runs 31 spline axles, has a bigger ring gear than a ford 9", and has a perfect suspension set up. all im doing is long arming the rear, and ill have over 3ft of articulation.

just checking .. i know for most nissan axles gears a virtualy non existant..

as far as 36" of articulation.. thats cool and all.. but realy not enough to brag about. hell... even my almost stock scout with a shorter wheelbase could tire hump a 38... and it was all leef sprung.
 
Your build is pretty similar to mine. Brings back a lot of memories! :cheer:

I fought with the rear shackle hanger too. My first attempt was this deisgn which utilized a bushing from Mad4WD.

hangers1.jpg


They would have been gusted on the sides as well. But on my Explorer the frame was angled far enough to really twist the shackle once they were tacked into place and mounted to the leaf. So I axed that setup.

Here is what I went with. I made a hanger similar to the front leaf one and mounted it across the frame (making sure there was enough driveshaft clearance at stuff). Then I built these shackles using the same Mad4WD bushings. Worked out great.

shackles1.jpg


But I really dig the ballistic fab axle-side shock mounts you're using. I'm going to convert over to those I think. I'm using the stock Waggy ones and they're not SOA-friendly and I bent the passenger side shock rod against the u-bolt plate. :looser:

shock1.jpg
 
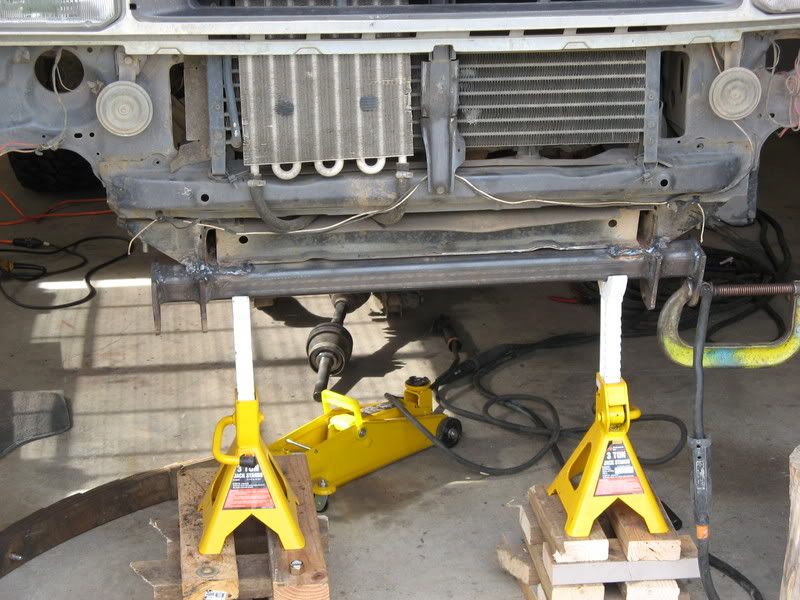
phew, still battling allergies, but got some more work done. long story short, all i have left to do is hook up the brake lines and bleed them (yay for speed bleeders), make some spring plates, and go get some degree shims for castor. ill be picking up a set of 4*, 6*, and 8* and seeing which one will work. im thinking 6* just by eye ball.

IMG_0435.jpg


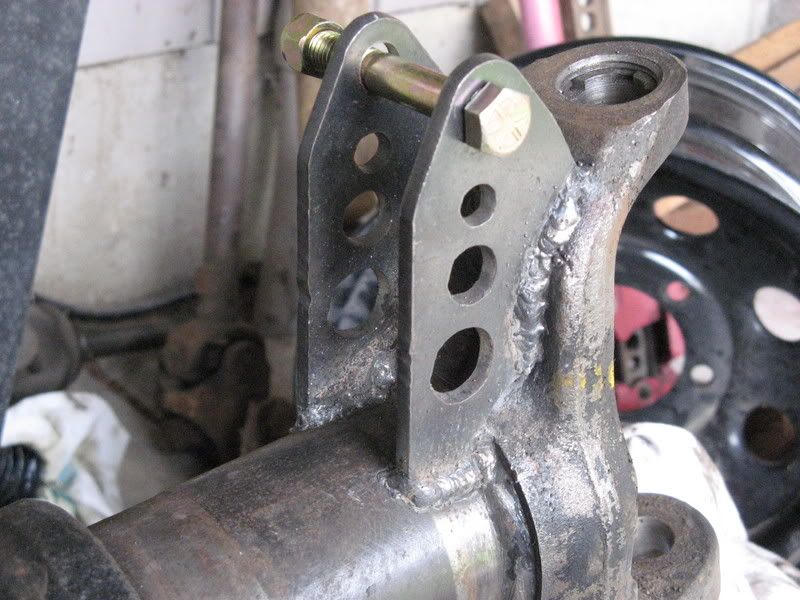
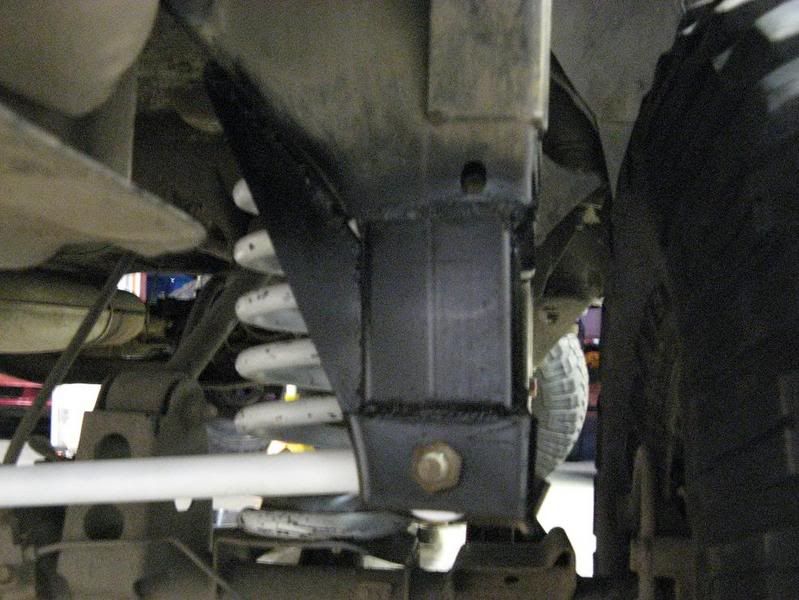
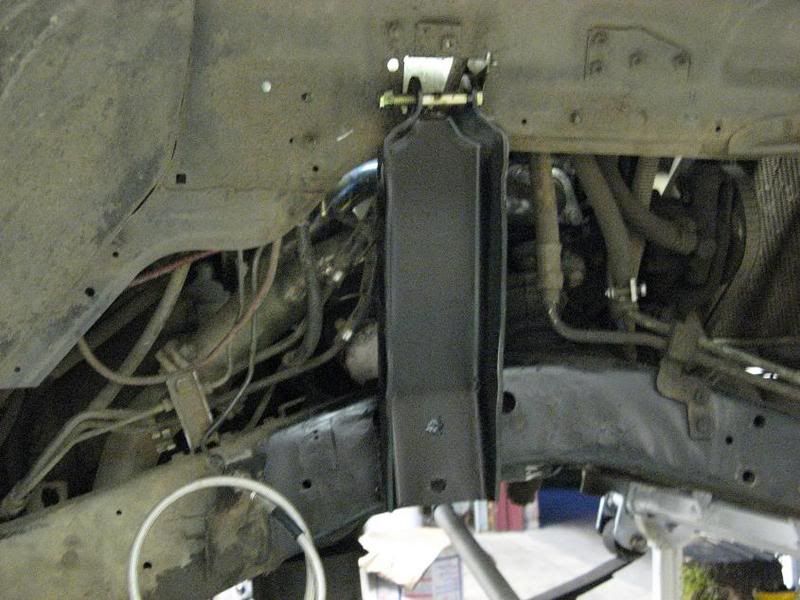
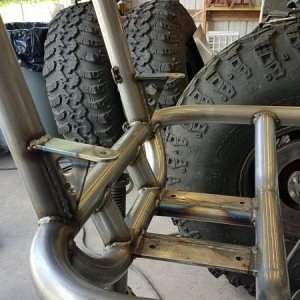
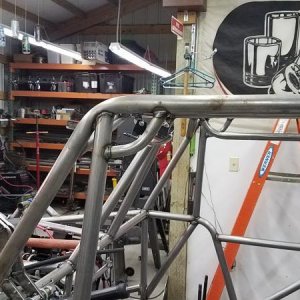
shock towers welded in. hung like a monkey from one of them, and it didnt budge, so i probably wont gusset the back side, way to much work to get back there and im lazy.

IMG_0436.jpg


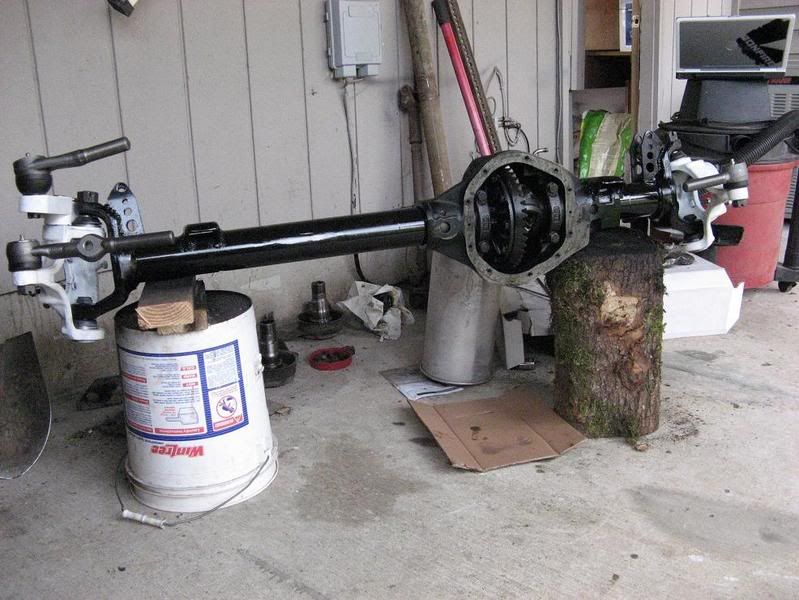
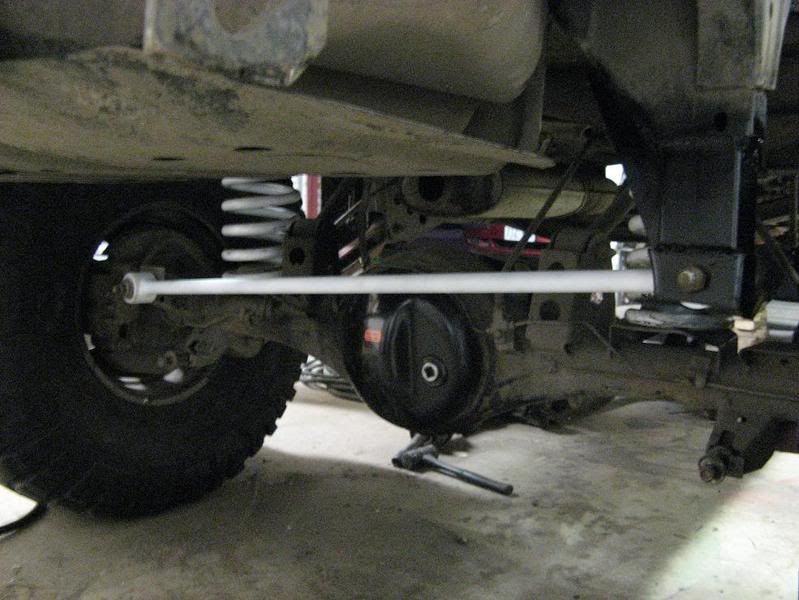
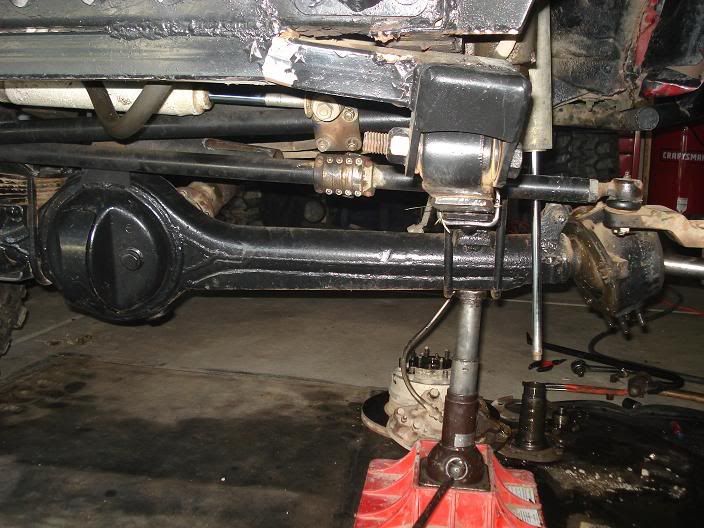
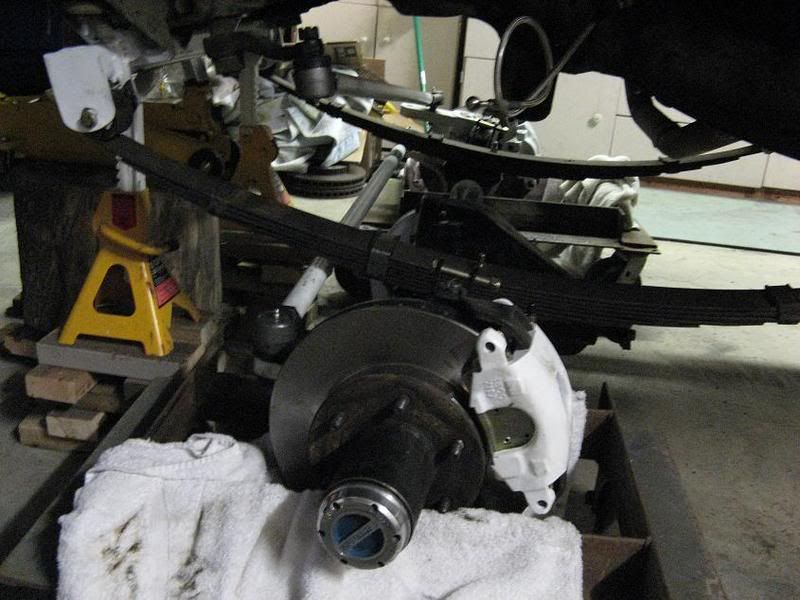
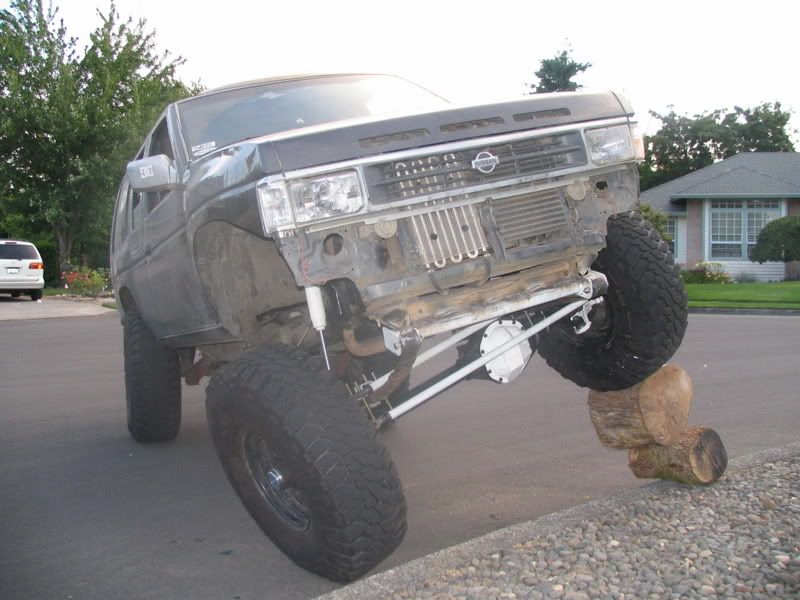
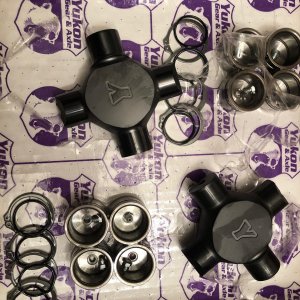
pass side looking towards drivers. my set of Bunk draglink/tie rod are perfect. just had to trim an inch off each TRE to make my toe right, didnt have to mess with the draglink ends at all. all 1 ton chevies ends btw

IMG_0437.jpg


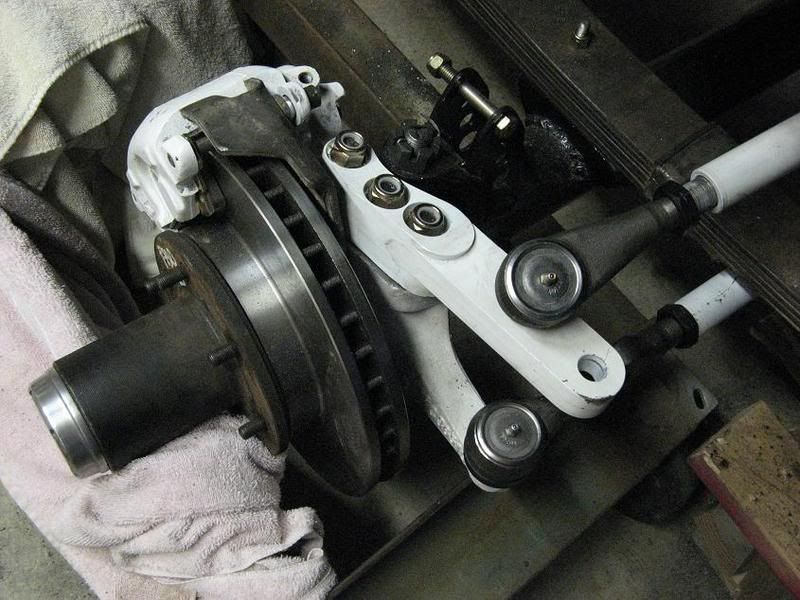
passenger side flat top with all the crap on it.

IMG_0438.jpg


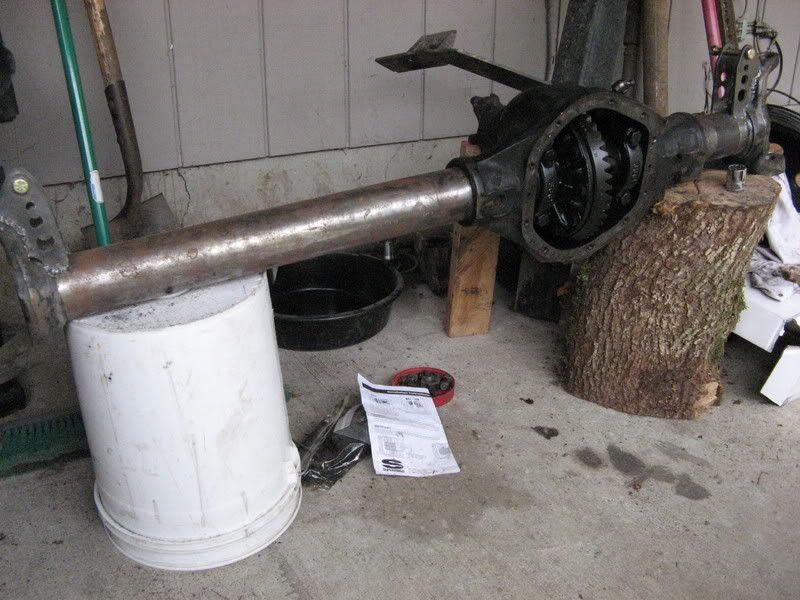
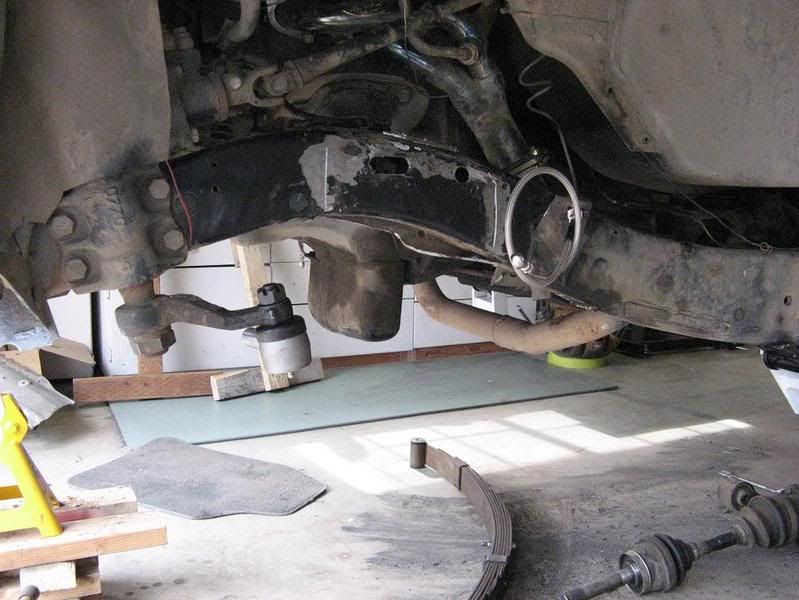
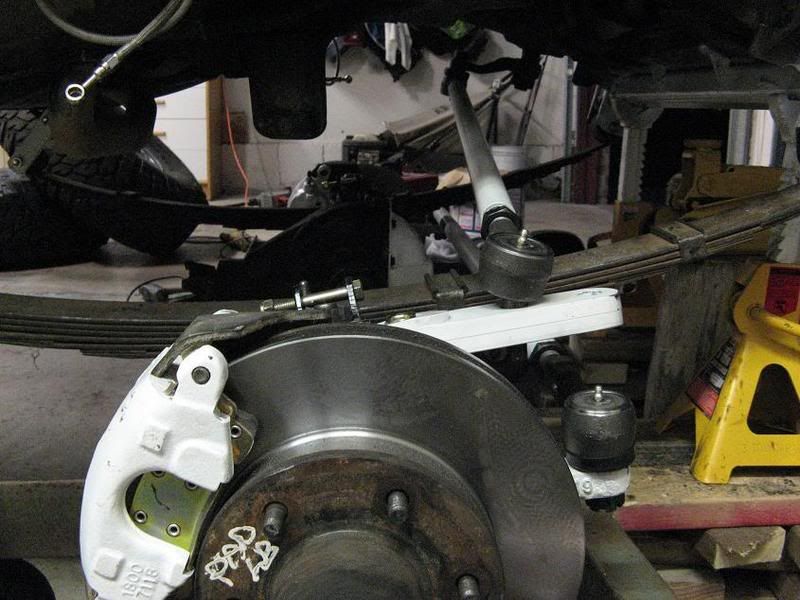
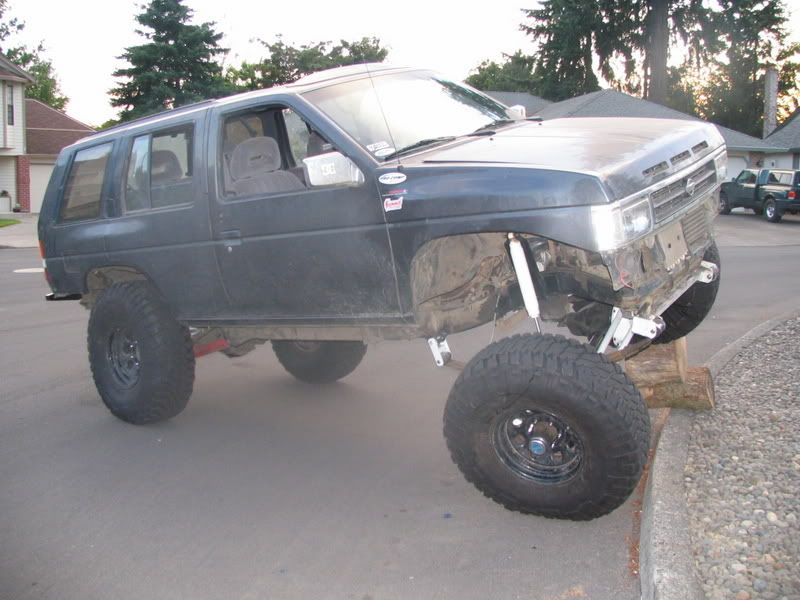
driver side looking towards pass. after mocking up the axle yesterday and using the center hole in the spring bad, i decided the drill out the back hole and move the axle forward 1.5" to get the tire out of the firewall.

IMG_0439.jpg


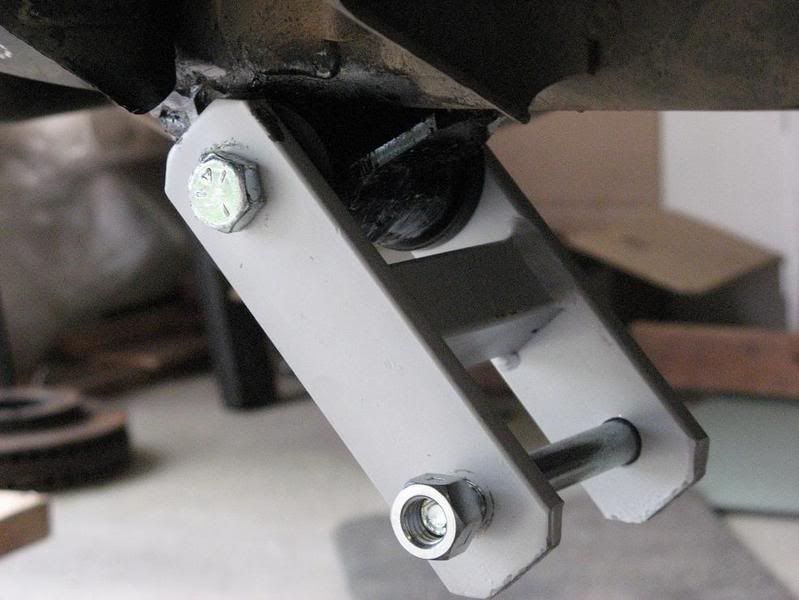
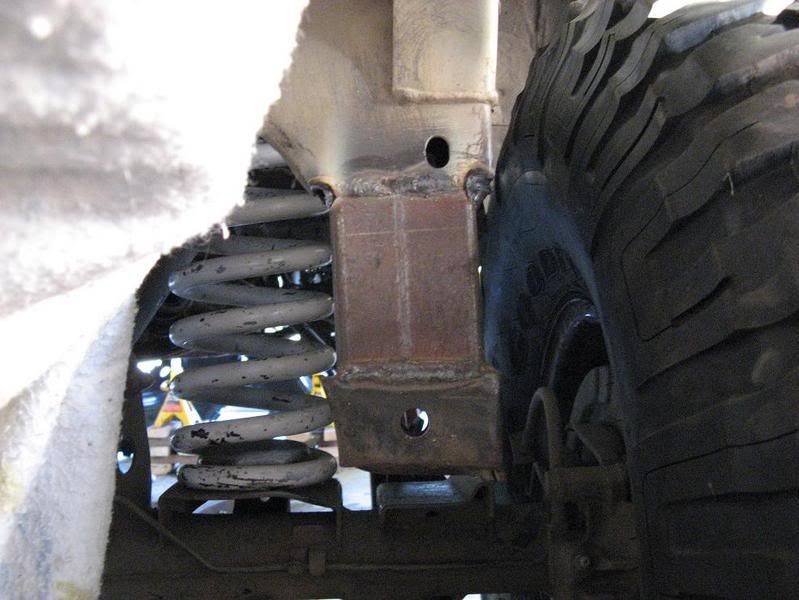
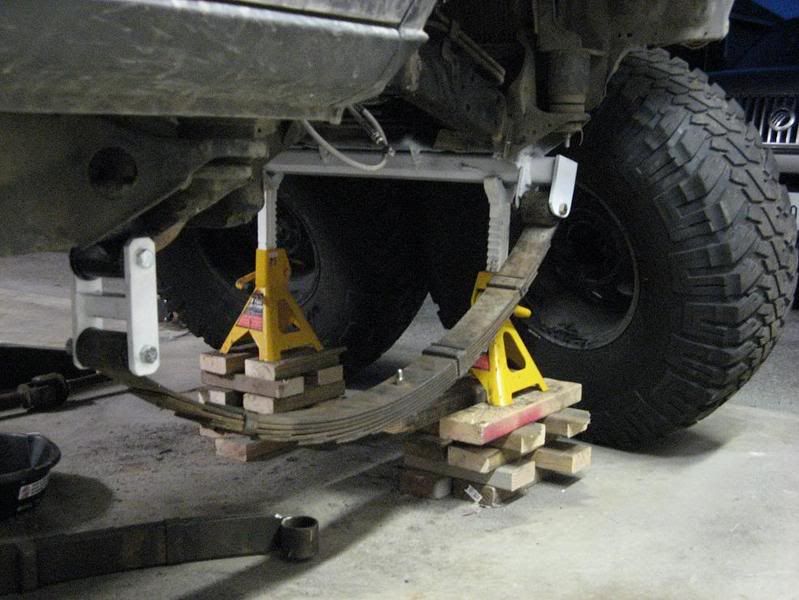
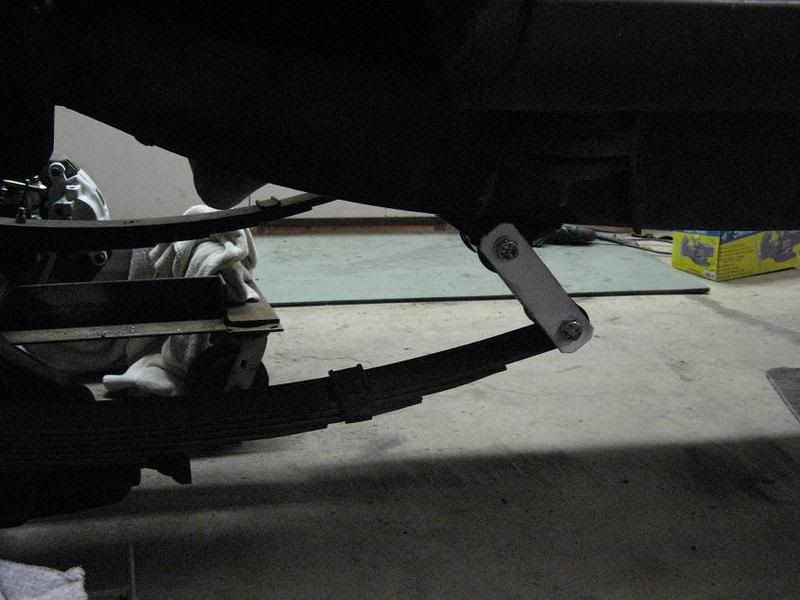
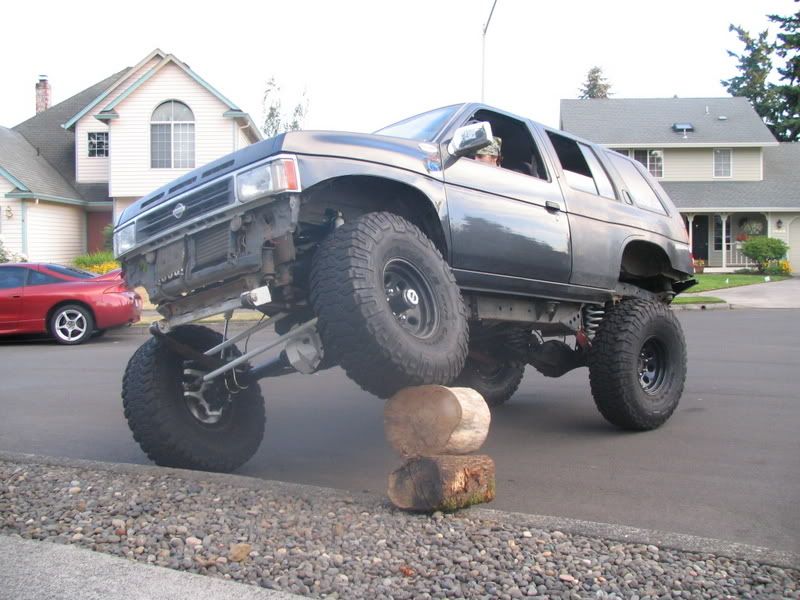
aprox. shackle angle, will be alittle more towards the frame when all the weight is on the springs and i throw my bumper back on.

IMG_0440.jpg


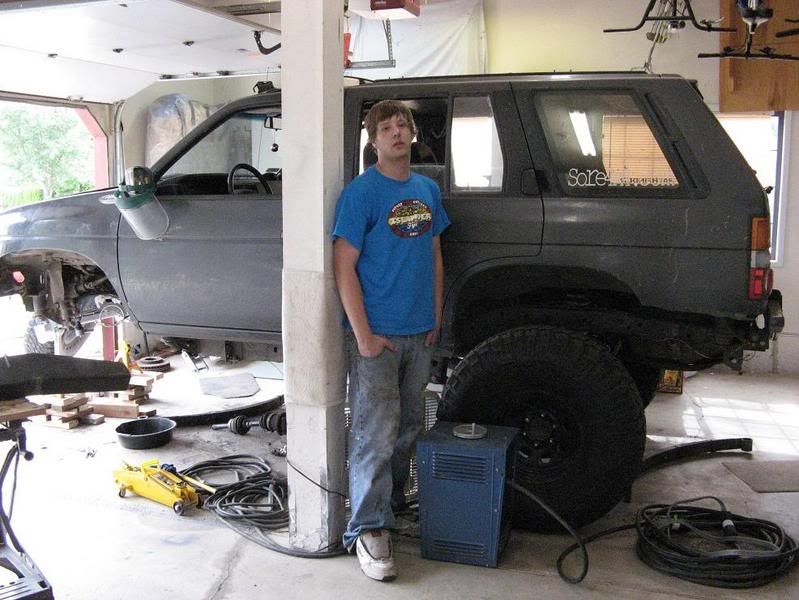
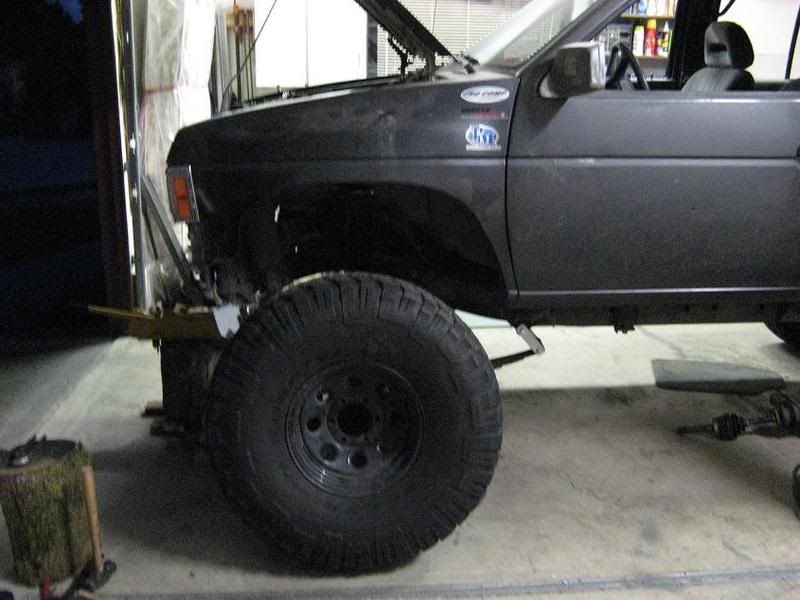
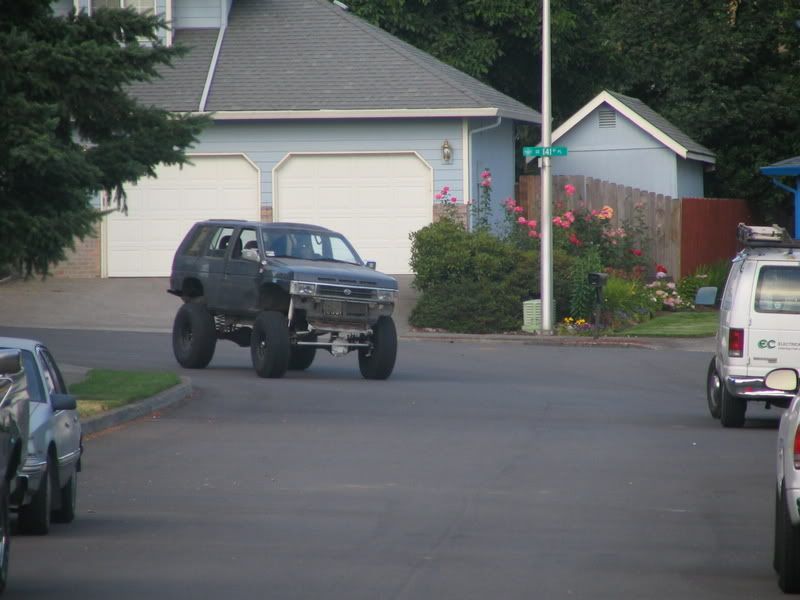
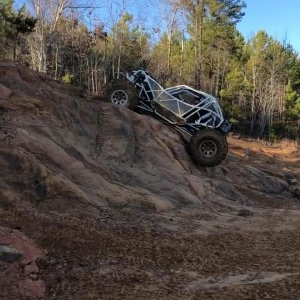
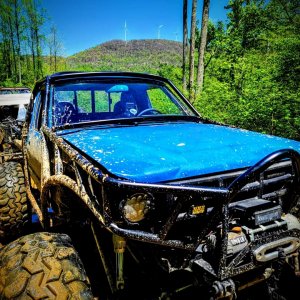
what it should look like. wb is at 106" right now, but after long arming the rear, itll be closer to 108"-109". cool beans!

IMG_0443.jpg


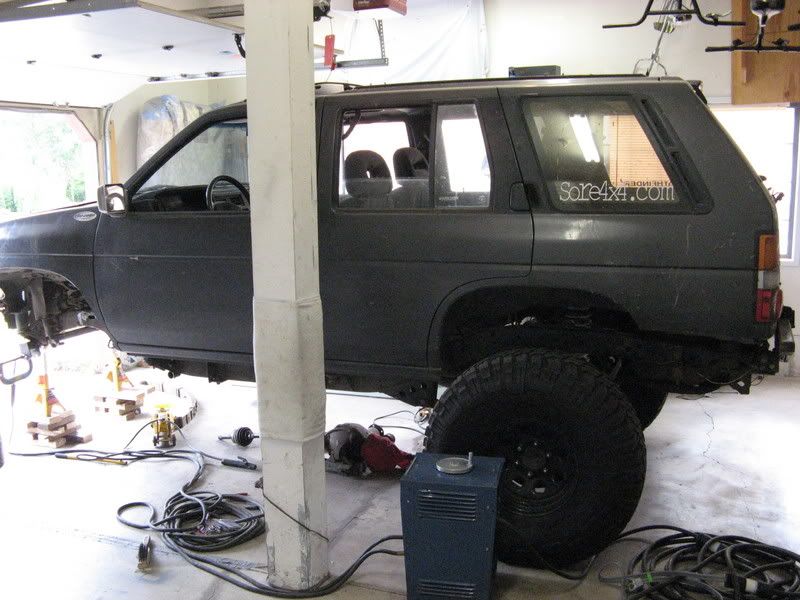
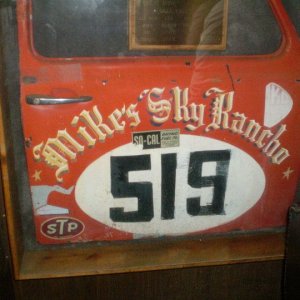
added some horsepower to move these big ass tires. i havent dynoed anything yet, but i think it gained 36hp. i know, awesome.

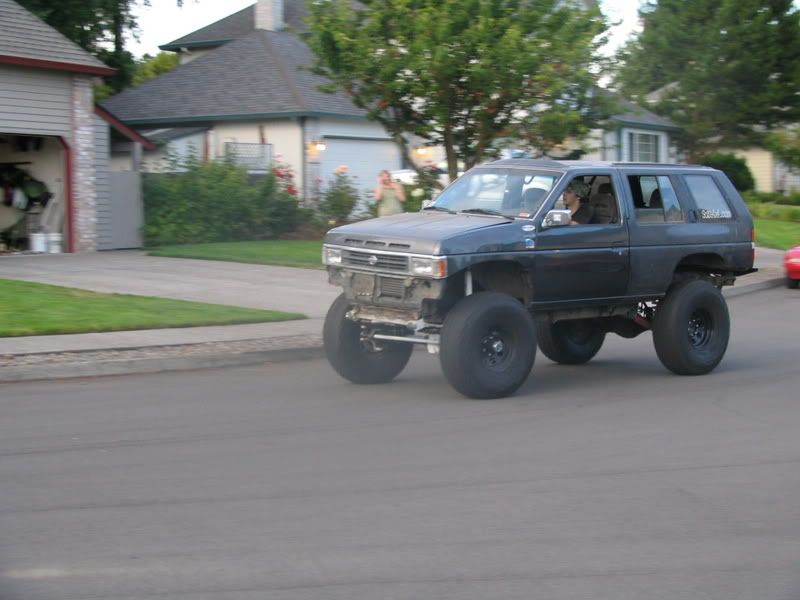
hope to get this out and driving tomorrow, cross your fingers.
 
IMG_0414.jpg


the guys at ballistic fab, FINALLY got my order right, and i got all the correct tabs and tubes. nice pricing, and some trick brackets, but their customer service is shaky at best. took a couple calls to get the status and the correct parts re shipped out.

Would I be able to MIG these? :eeek:
 
yeah i MIG welded those with my 120v lincoln turned up all the way using .035" flux core. only thing i arc welded was my shackle mounts, and spring hanger.

speaking of, i just sawzalled off my spring hanger, to rotate it. having final welded everything, this took all day and a pack of blades. im exhausted, but the extra 4" of stretch will be worth it and keep the tires out of the firewall. also wont have to cut out my shackle mounts to fix the shackle angle.

plated my frame by the shock towers to prevent the frame from bein ripped off. pictures up tomorrow, gotta get this out in the sun and wash off the nasty coat of dust, inside and out.
 
Last edited:
very nice build. Good to see a young one doing things right. did you talk to the manufacturer of the histeer arm about which hole to use? I think you want the furthest one out, whichever one is centered over your tierod for proper steering geometry. If you leave it there I think it will be putting alot of pressure on the ball joints. Id look into it. Otherwise great build and nice presentation.
 
is that so? i just figured that the furthest hole out was for the tierod if i ever went to full hysteer. ill have to shoot an email to sky.

EDIT: just got off the phone with them, and they said to use use the hole over the tierod, so youre correct. good lookin out!

finished a morning of grinding and welding on the spring hanger to get it to work in the new orientation. tacked it into place, and everything is lookin good. im off to our cabin so ill finish it all up on saturday when i get back.
 
Last edited:
I have the same arms you do and have them setup the same way as in your pic. It's really the only way I could have set it up. I'm using a forward facing FJ60 steering box so my drag link is a ways in front of my tie-rod. Hope it works! :redneck:
 

Attachments

  • steering.jpg
    steering.jpg
    47.6 KB · Views: 139
ugh, finally she drives. that damn spring hanger took a whole day and a couple discs as well as a 5 pack of torch blades. brakes arent as bad as i thought theyd be. chevy mc later down the road probably though. gotta weld the bumper and get it on tomorrow. cant decide whether i want the bumpers and soon to be sliders to be satin black or gloss white like everything else.

enough of my jibba jabba, i know you want pics

Hot laps around the col de sac

IMG_5830.jpg


IMG_5831.jpg


IMG_5832.jpg


IMG_5833.jpg


mild flex

IMG_5842.jpg


IMG_5841.jpg


IMG_5840.jpg


IMG_5839.jpg


IMG_5836.jpg


plenty of room towards firewall, hopefully wont have to mess with that, cause fenders are trimmed all the way.

IMG_5838.jpg


PROBLEMS:

1. turning radius to the left sucks. like barely turned out when at steering lock. draglink issue or steering stop? didnt check either cause i was too excited to get it out and wash it.

2. still gotta long arm it. not to bad, got all crossmember and link material.

3. gotta put the stock sway back on. sways like a mutha around corners.

4. not really a problem, but still gotta bump the front.

enough of this internet **** im gonna go drink a few and celebrate!
 
Top