• Help Support Hardline Crawlers :

Scaleready's TTC Tundra Build (picture HEAVY)

PHILLBILLY1

Well-Known Member
Joined
Jan 18, 2007
Messages
1,998
Location
almost oly
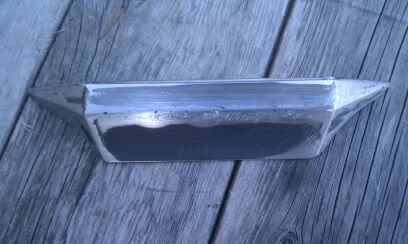
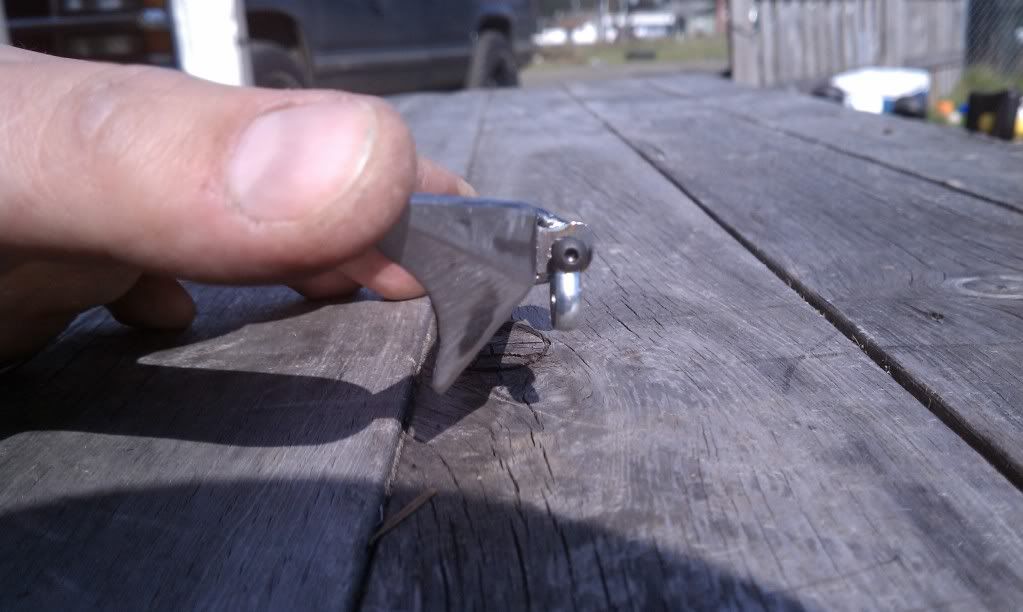
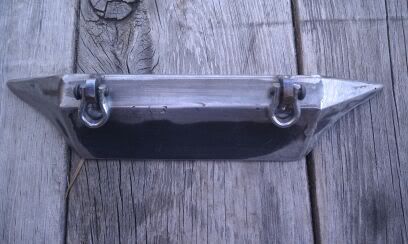
Scaleready? Yep, that is the name of my business.:awesomework: I am now a vendor on RCCrawler.com, building custom chassis' and body protection.

So this is what I have been up to on the side......

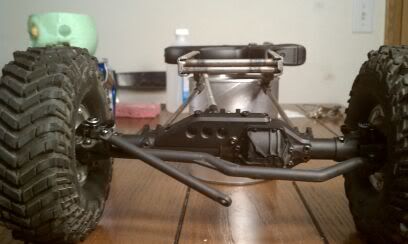
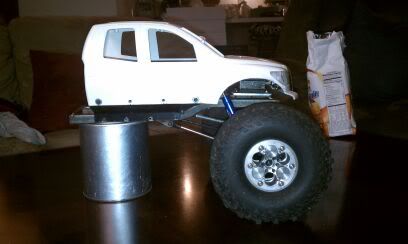
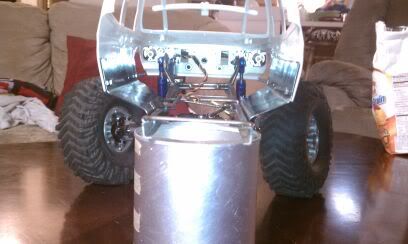
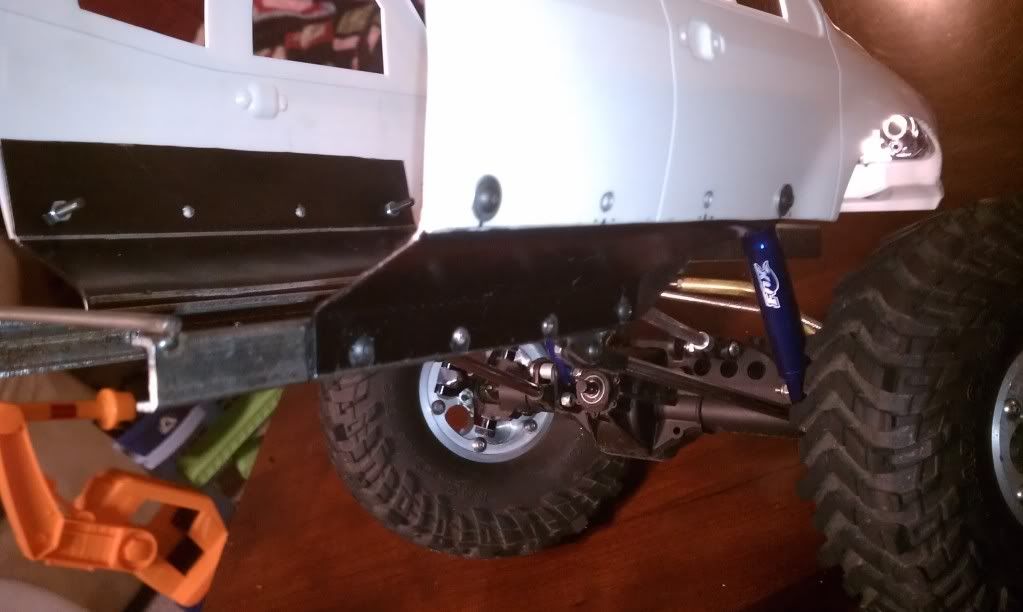
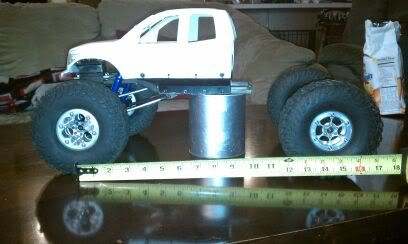
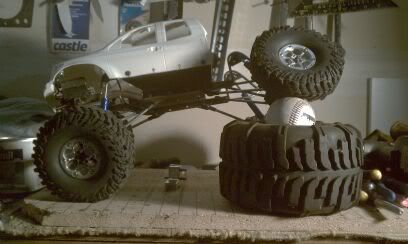
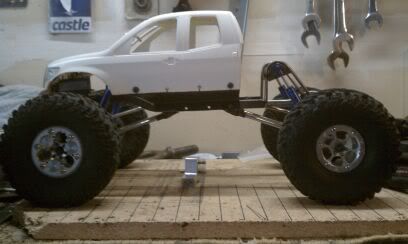
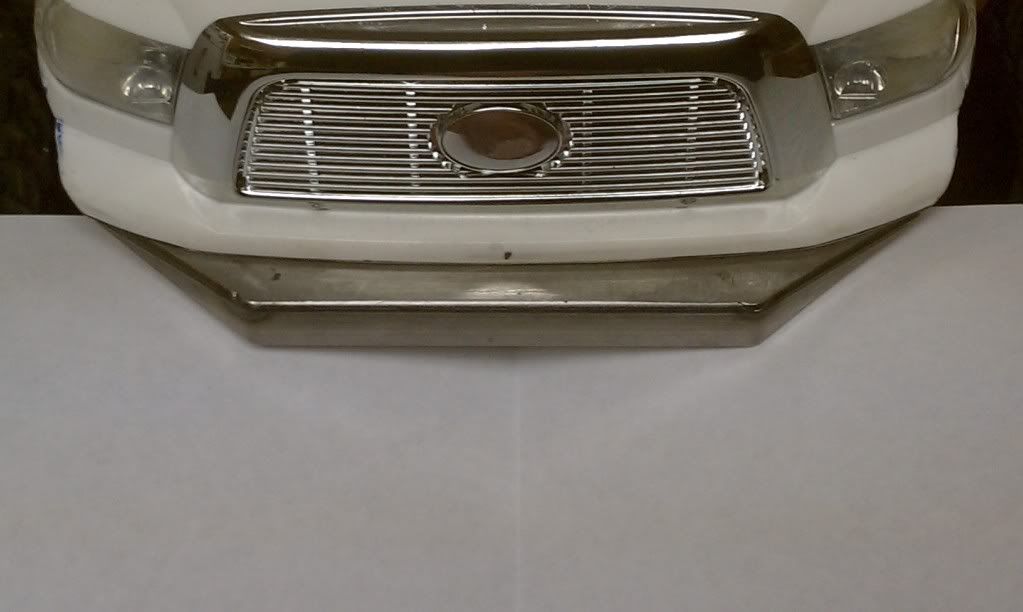
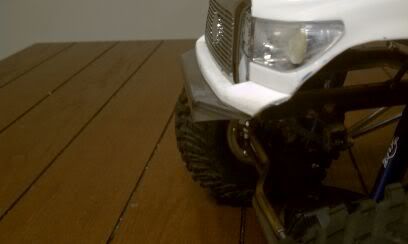
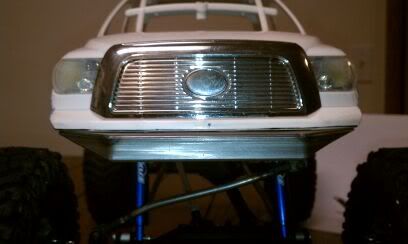
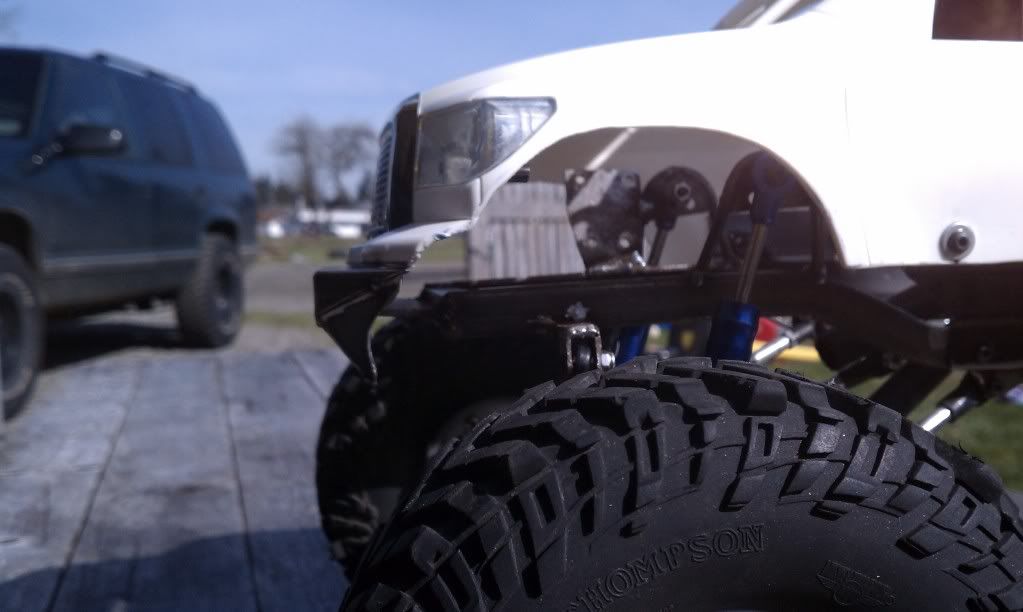
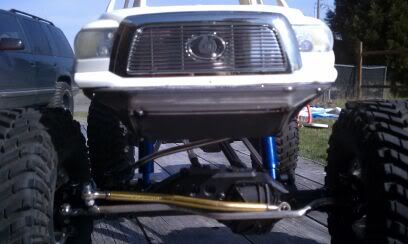
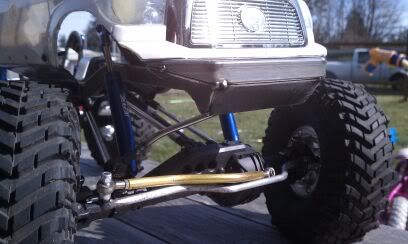
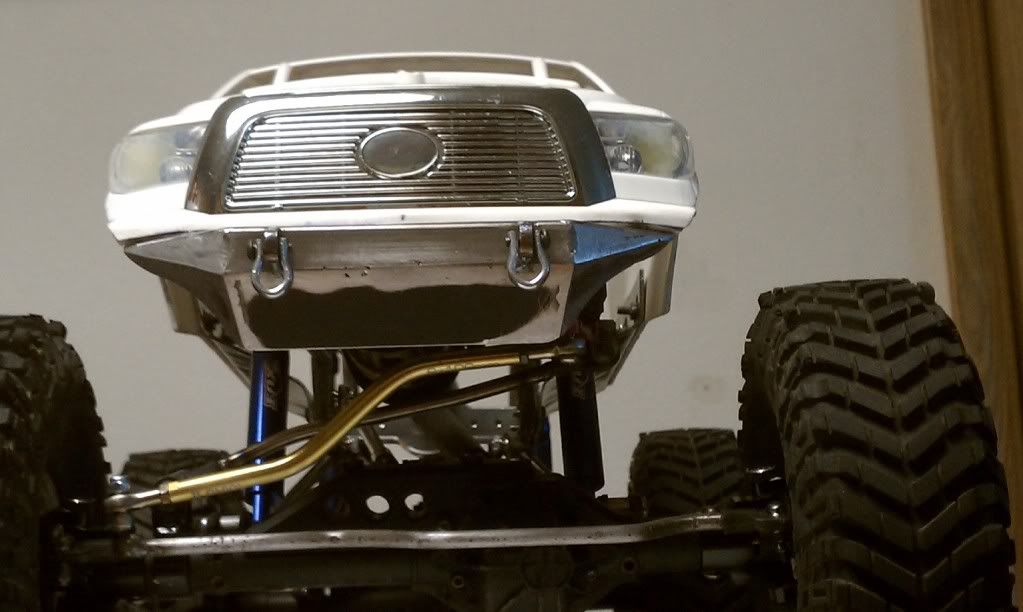
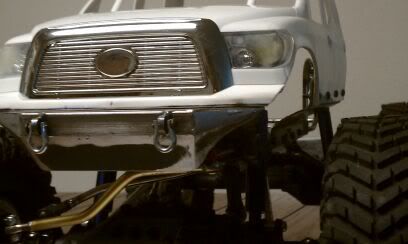
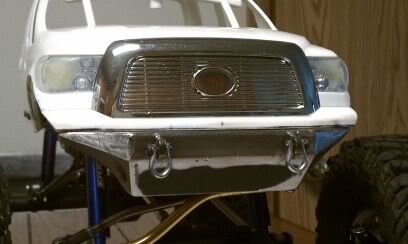
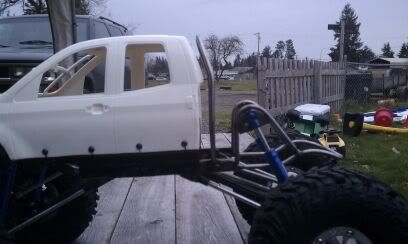
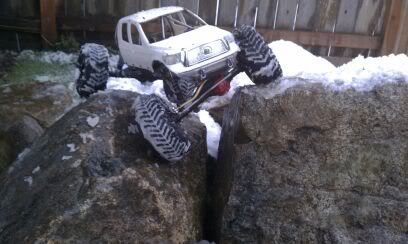
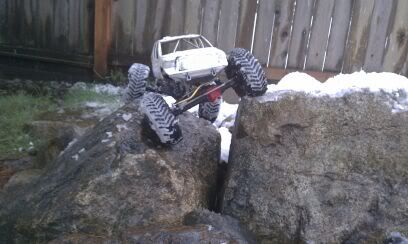
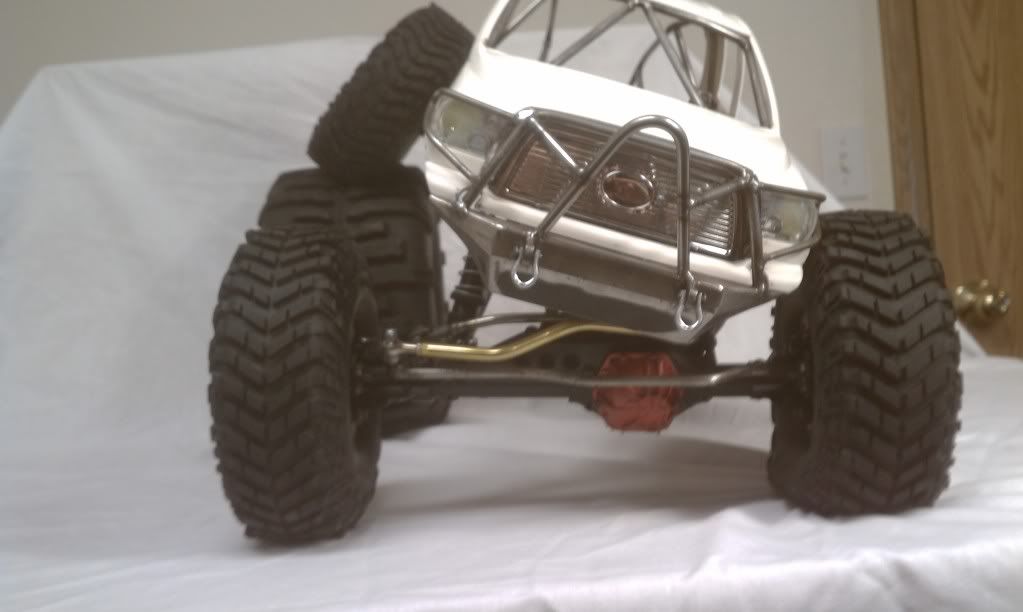
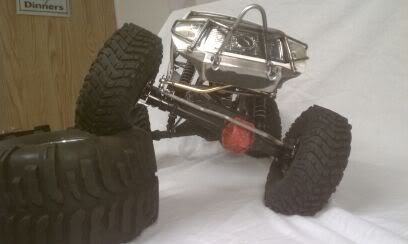
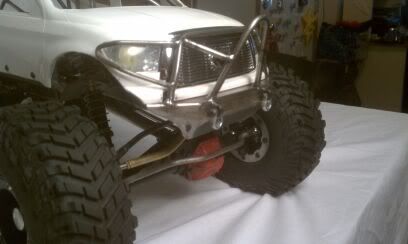
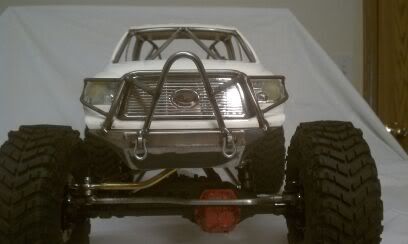
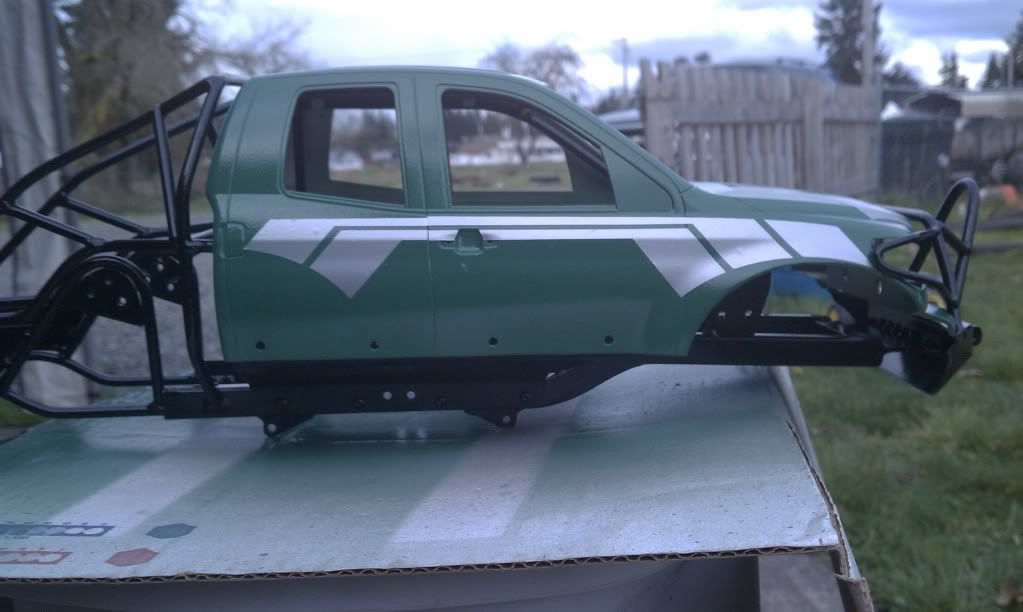
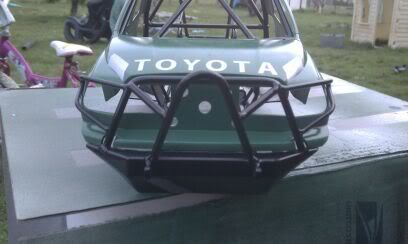
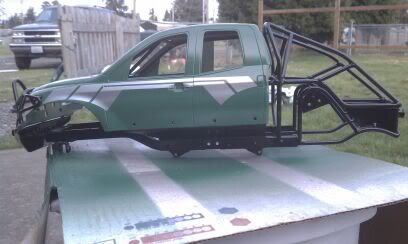
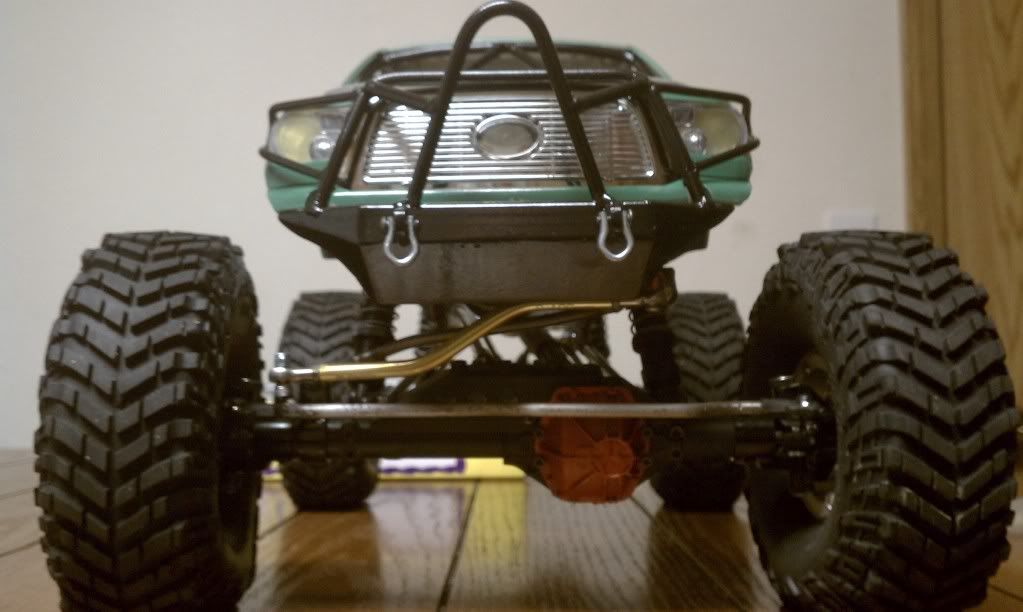
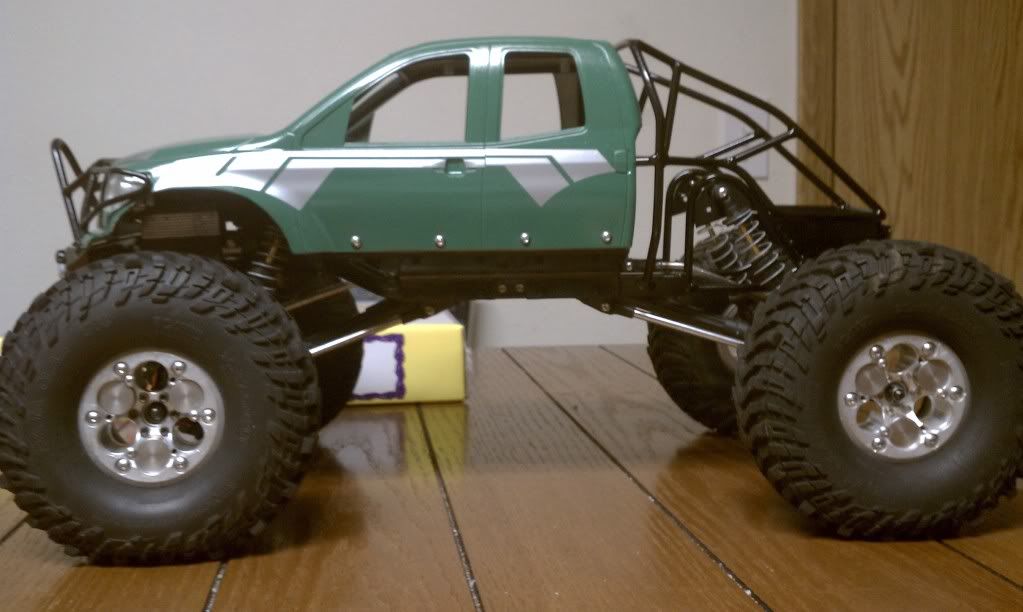
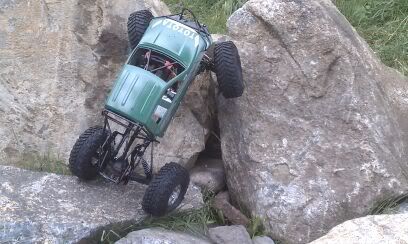
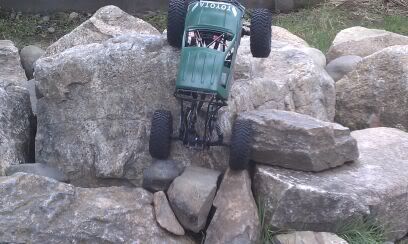
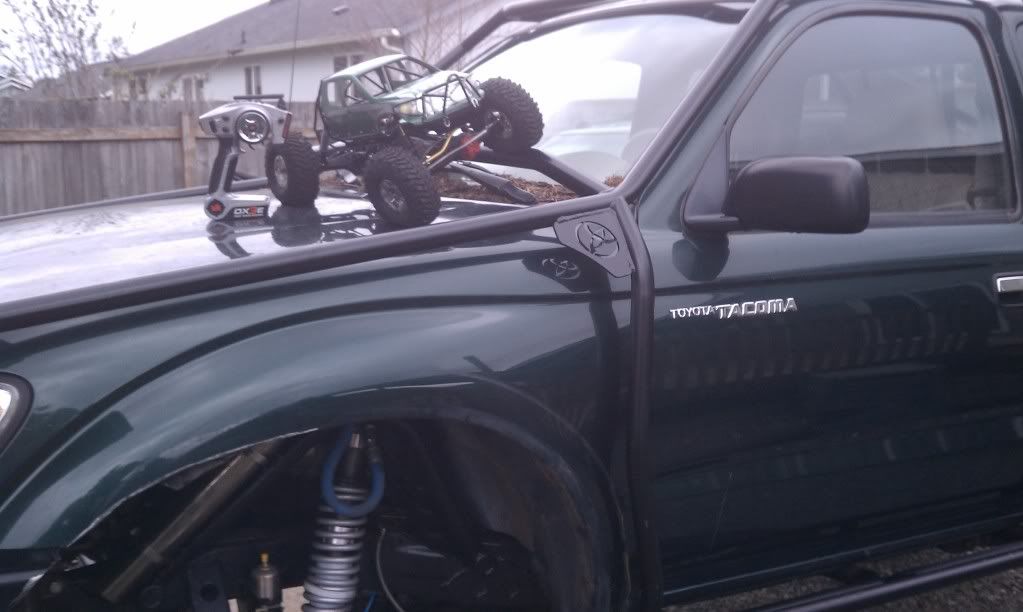
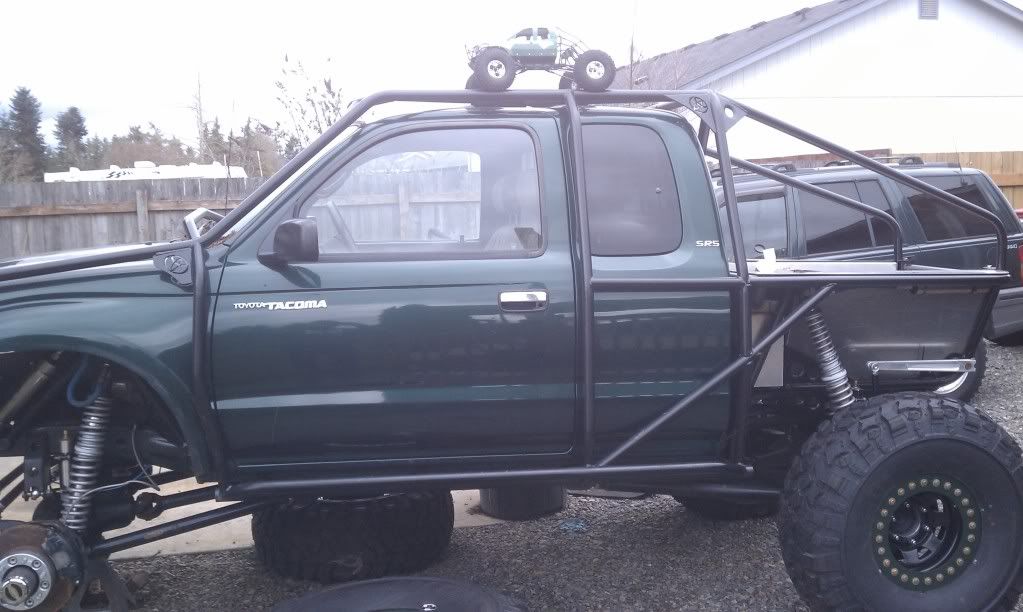
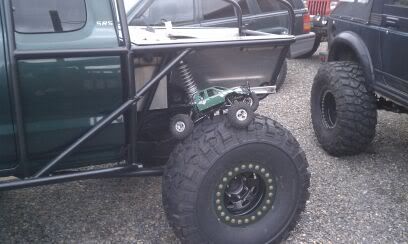
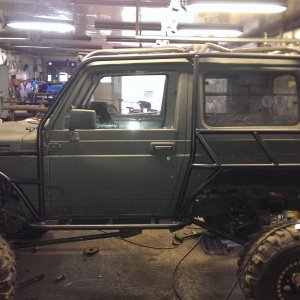
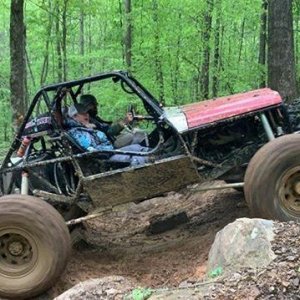
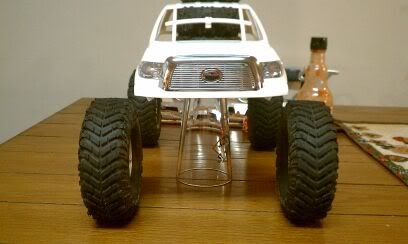
I am building a Tundra bodied 2.2 scale crawler......well, kinda scale.....:redneck:

c3ttc4.jpg


c3ttc2.jpg


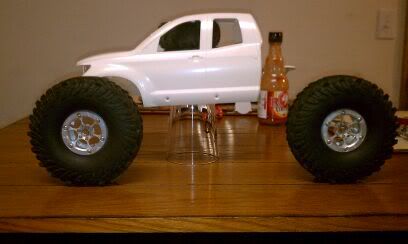
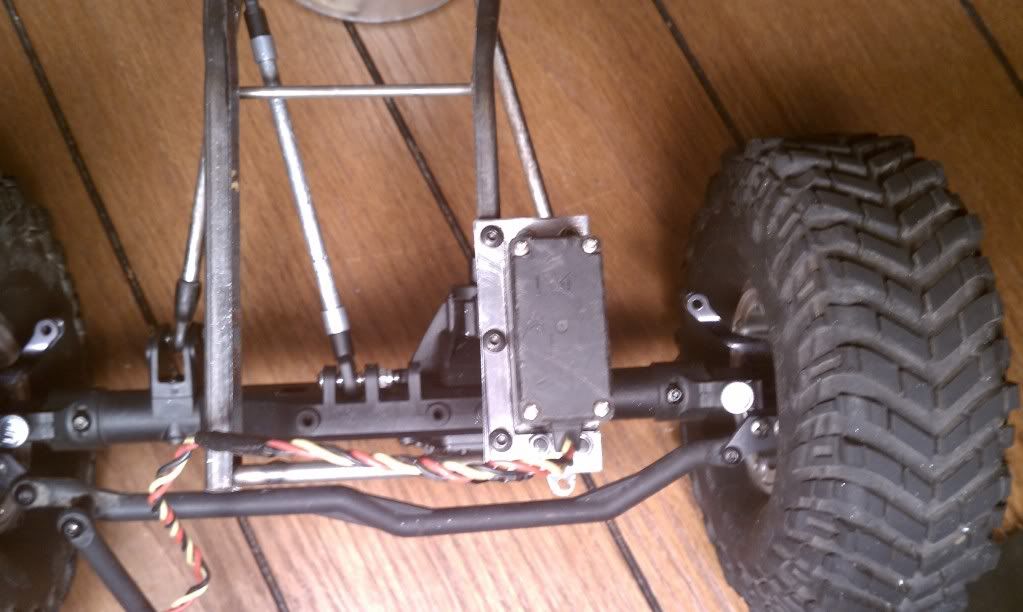
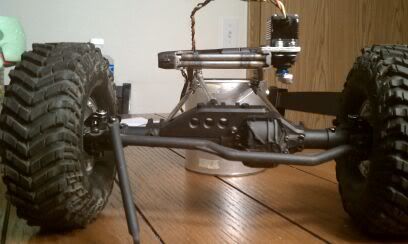
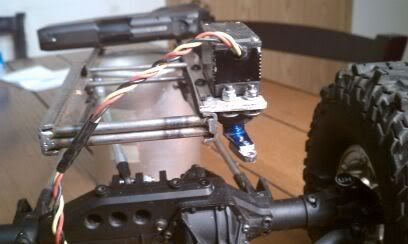
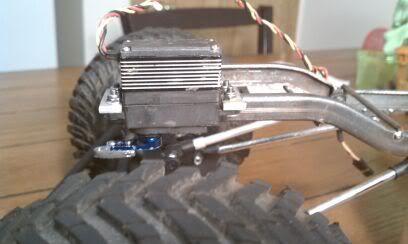
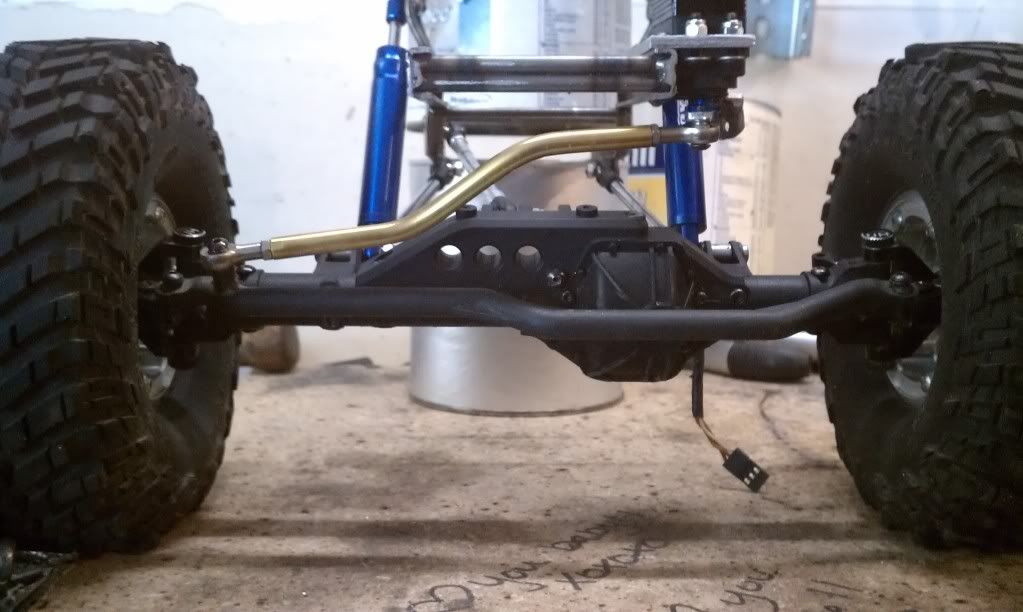
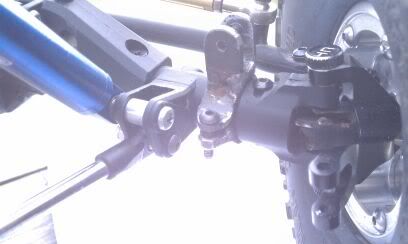
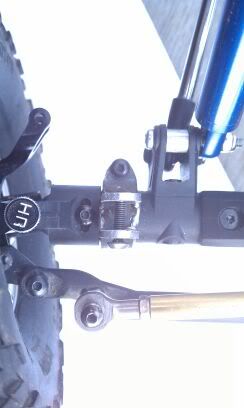
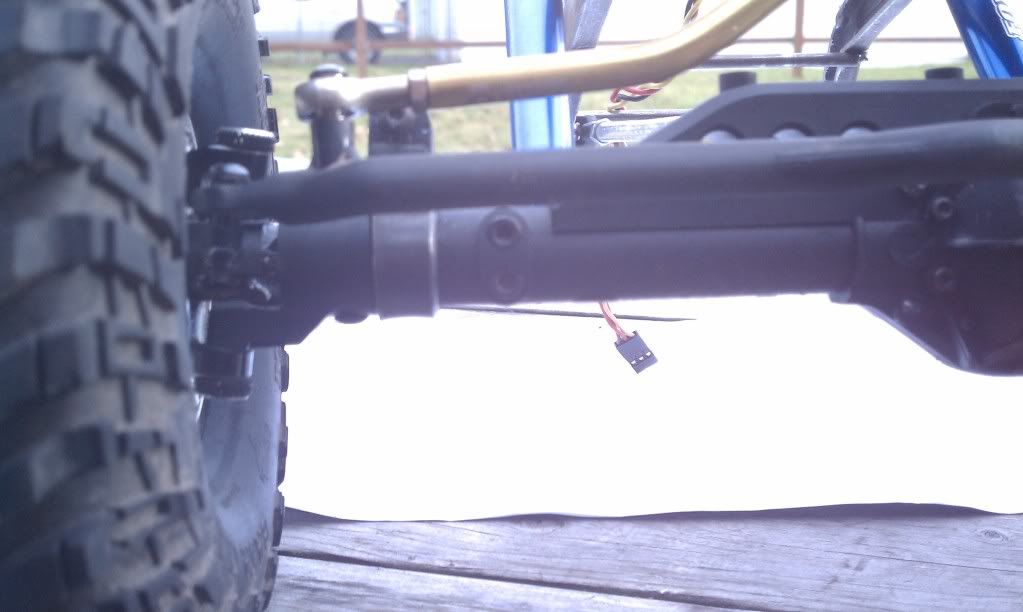
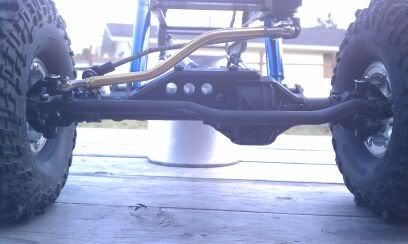
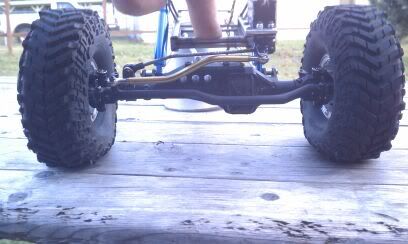
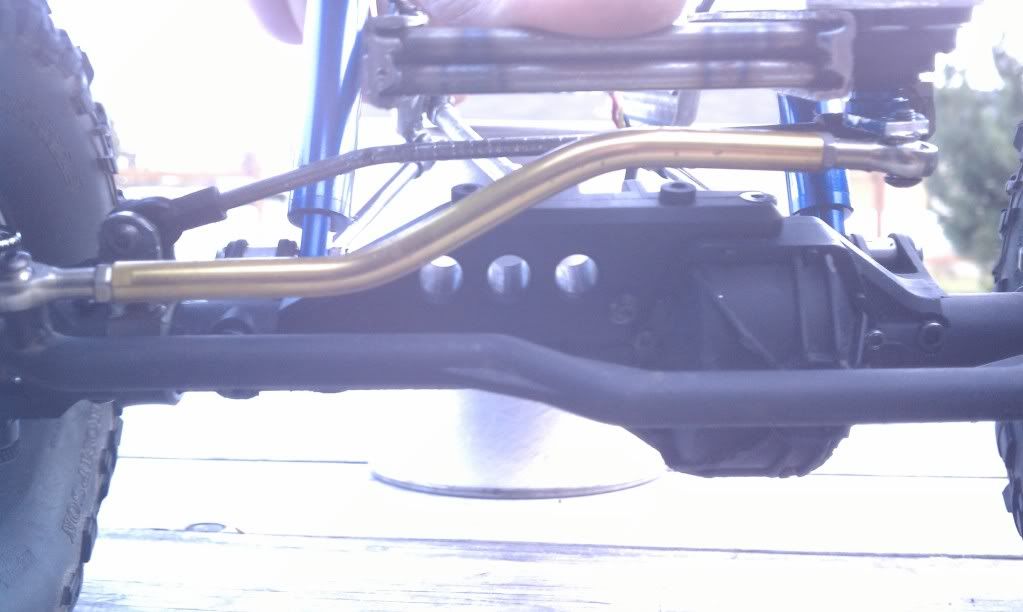
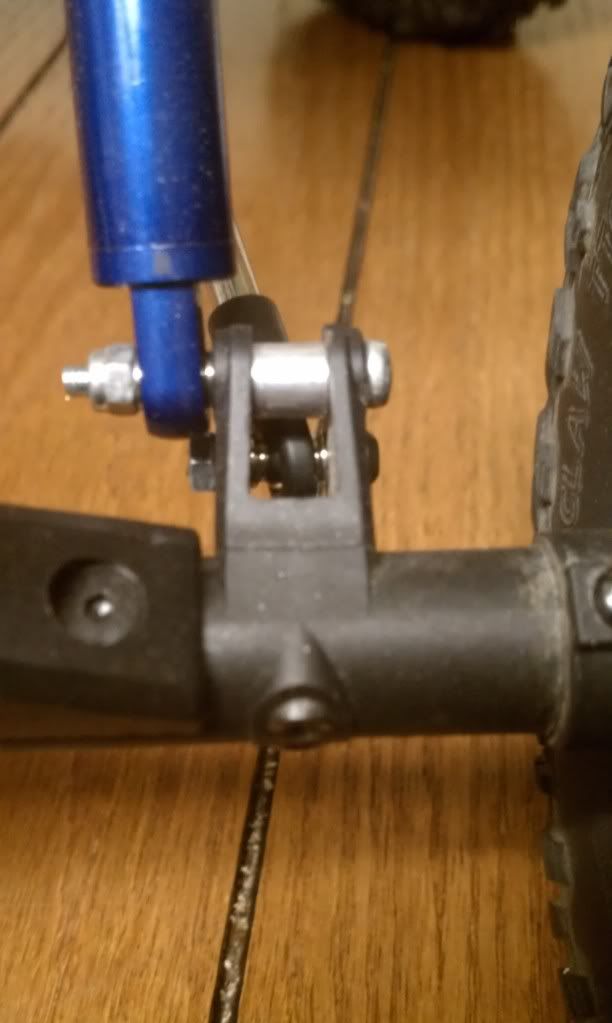
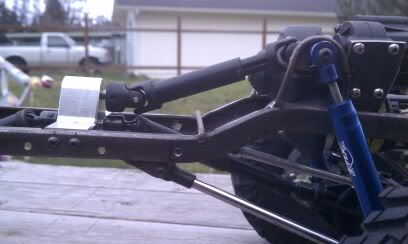
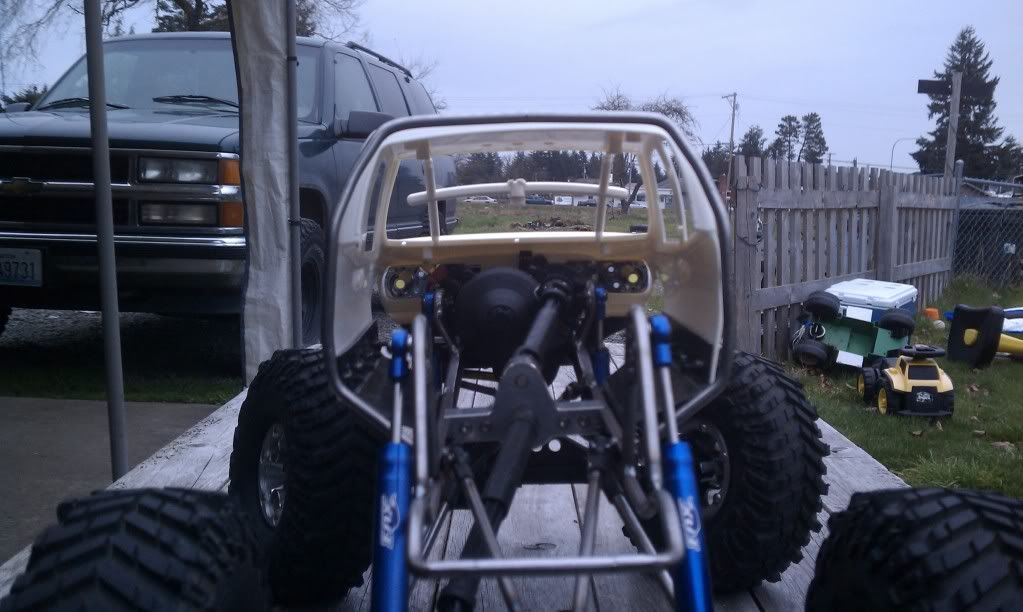
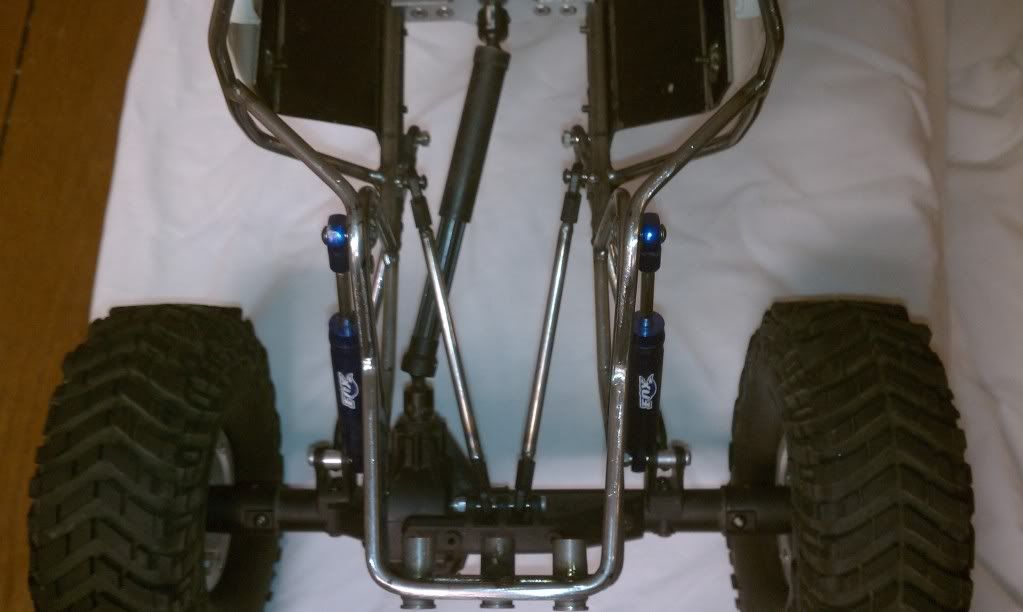
Got some wraith axles for this build:awesomework:
ttc4.jpg


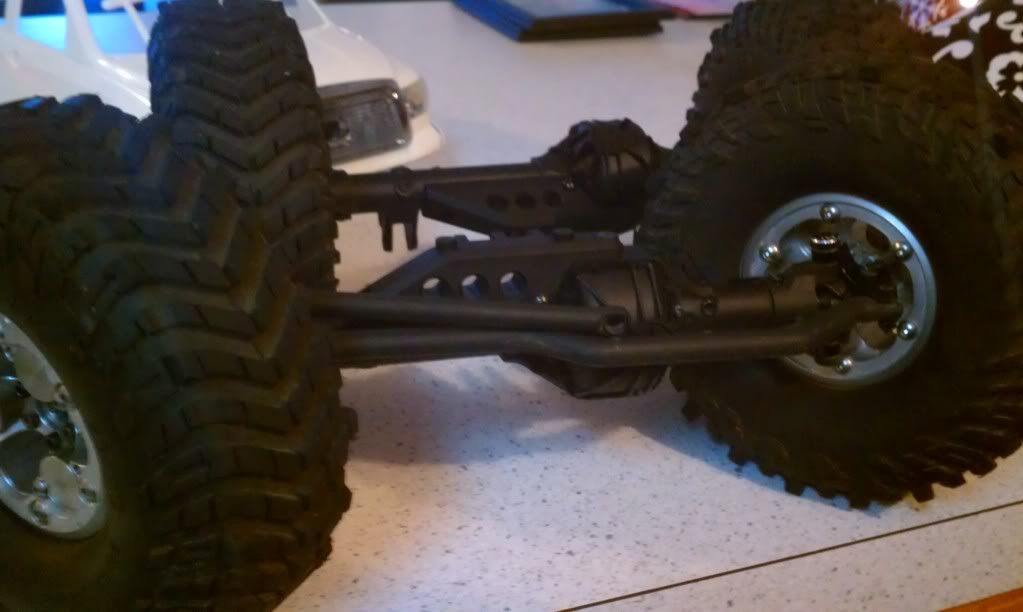
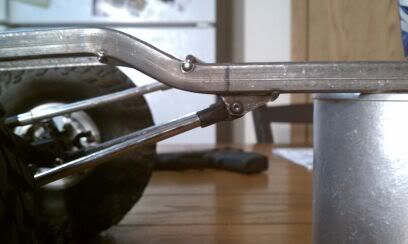
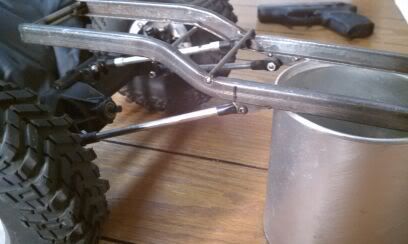
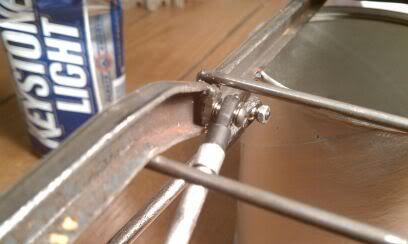
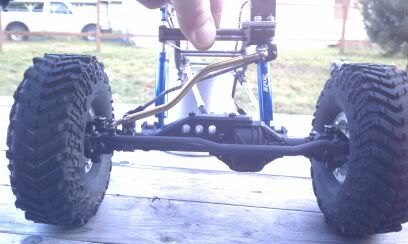
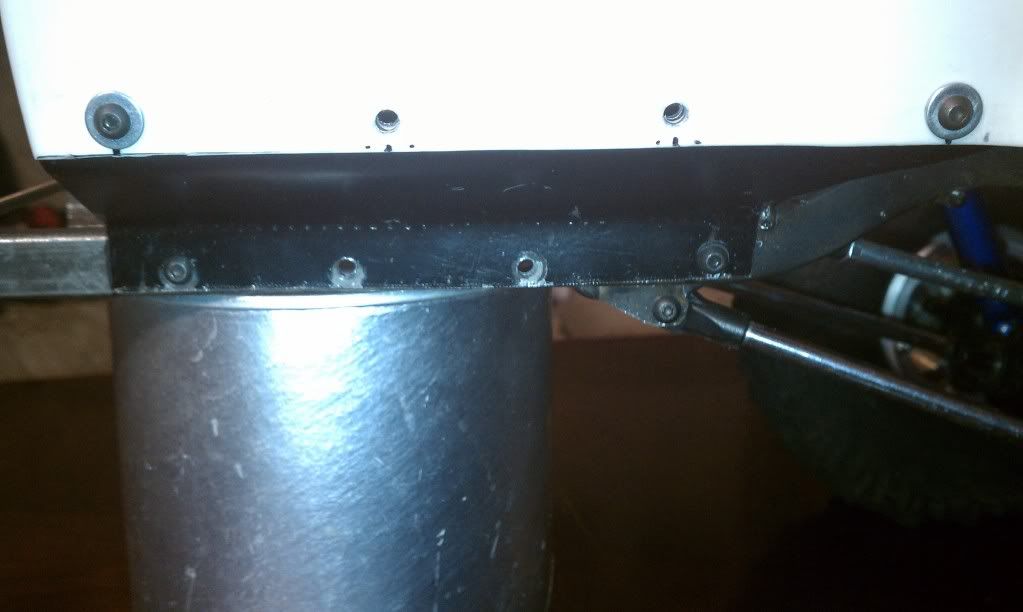
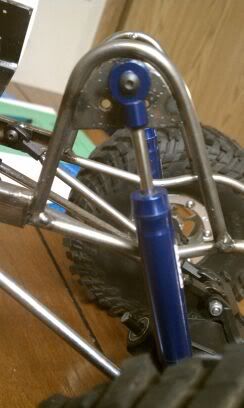
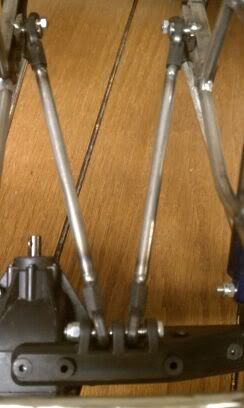
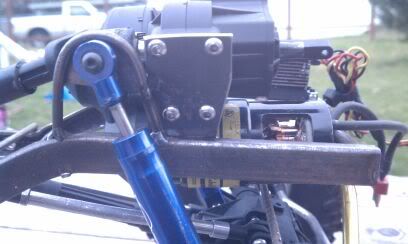
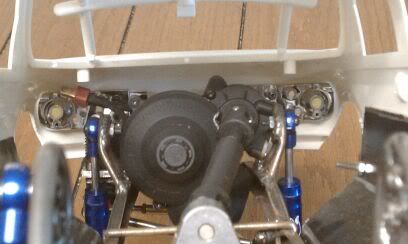
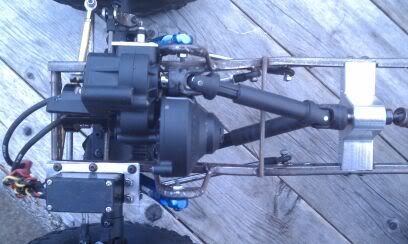
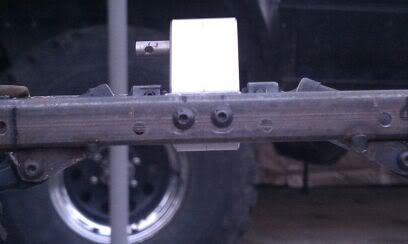
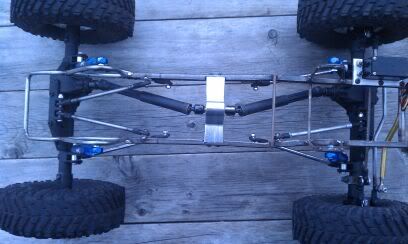
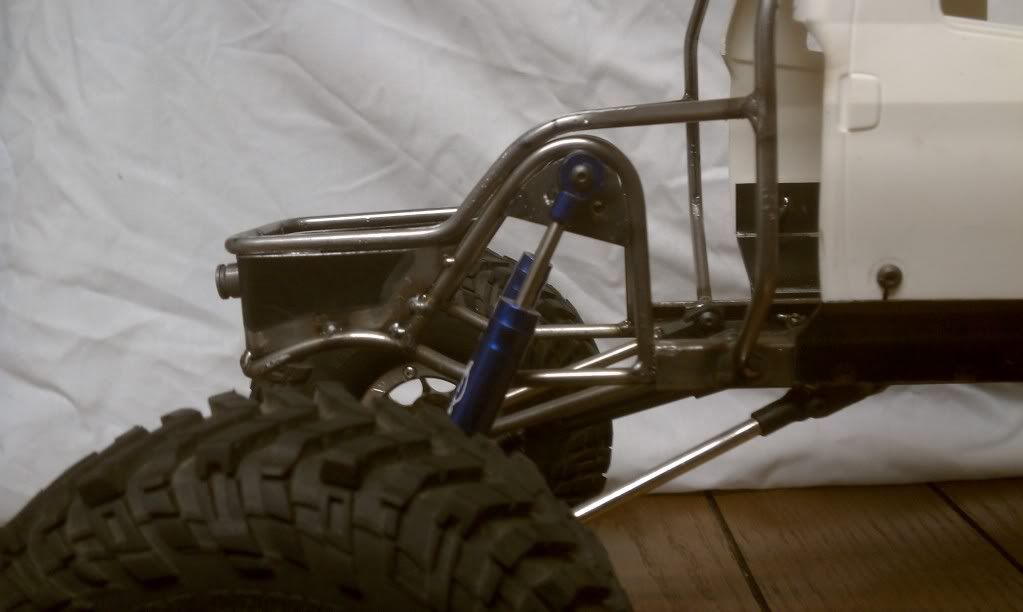
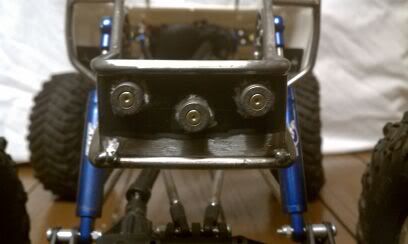
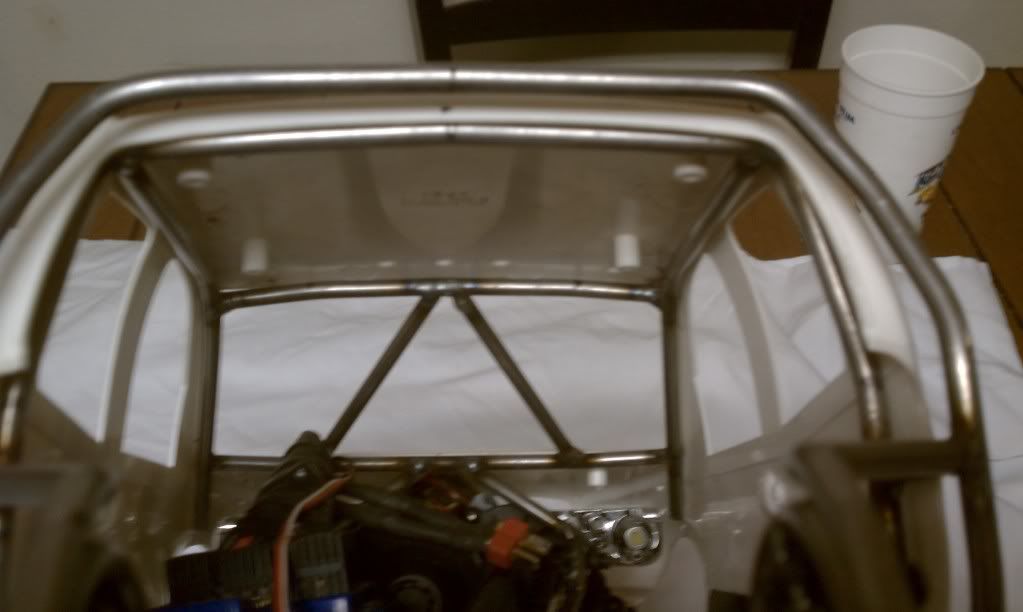
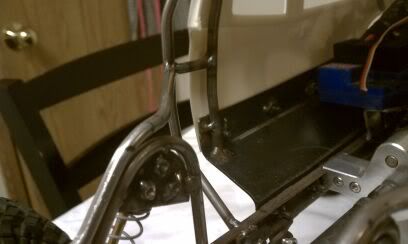
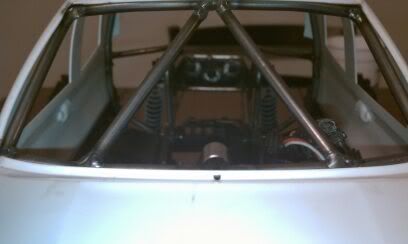
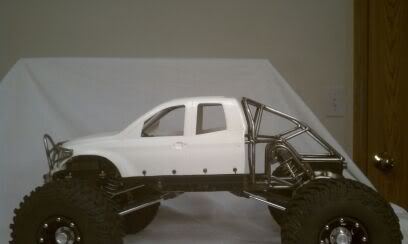
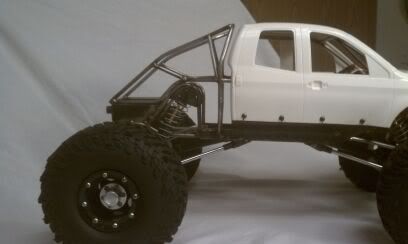
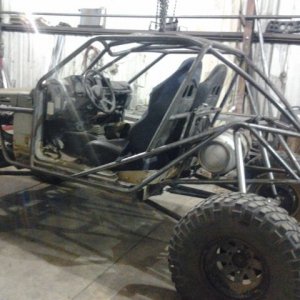
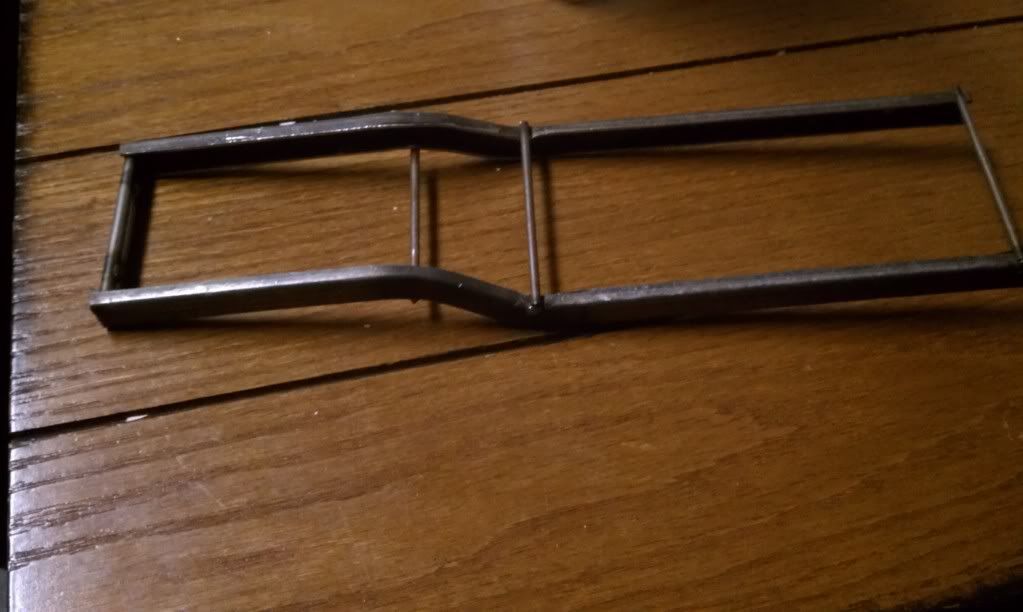
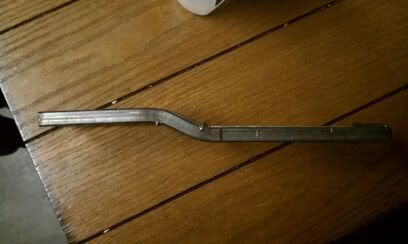
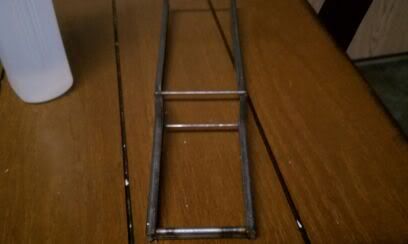
Started the frame. It's going to be c-channel frame to the back of the cab, then tube from there on.
p1.jpg


p2.jpg


p5.jpg
 
Last edited:
Next I tackled the front suspension and steering. I went with the 3-link/panhard setup, as to eliminate bump steer, since I am mounting the steering servo on the chassis.

p3.jpg


p6.jpg


p4.jpg


p7.jpg


Made up a mount for the servo to bolt on to the chassis:

p8.jpg


p9.jpg


p11.jpg


p10.jpg
 
Time to build my drag link and panhard now. :awesomework:

p12.jpg


Drag link done, now on to the panhard:D

frame mount:
p13.jpg


axle mount:

panhard1.jpg


panhard2.jpg


panhard.jpg


It clamps on to the axle housing
panhard3.jpg


Put a temporary panhard in to allign the axle.
panhard01.jpg


I have complete throw of the suspension with zero binding and ZERO bump steer:awesomework:

panhard02.jpg


panhard03.jpg


panhard04.jpg
 
Now I can mount the cab. I decided to attempt some boat sides. I trimmed a bit out of the bottom of the cab to gain the clearance for em.

tb.jpg


tb1.jpg


tb2.jpg


wb1.jpg


Now that it is mounted, time to mock up the wheelbase:

wb.jpg
 
This is where I left for north carolina for a while......

Came back and got some work done, but said to hell with pictures.....

Now it has the rear suspension done...:haha:

tundra.jpg


tundra1.jpg


Closer inspection of the rear setup:

tundra3.jpg


tundra4.jpg


tundra5.jpg
 
I am running a wraith trans with a 7 turn HH cobalt puller motor, but wanted to have it under the hood. So, I came up with a mount, and it fits perfect under there:awesomework:


tundra8.jpg


tundra11.jpg


tundra12.jpg


How in the world will I power both axles with this setup you say!? With a divorced T-Case of course. :awesomework:

tundra6.jpg


tundra7.jpg


tundra9.jpg


tundra10.jpg


New Panhard is SQUEEZED in there:redneck:

tundra13.jpg


FULL compression barely even hits. After the bump stops, it will be perfect:awesomework:

tundra16.jpg
 
Last edited:
Time for a cool ass bumper:awesomework: I love the ARB style bumpers, and I decided to do my take on one. Started out with some 1/2" boxed tubing that I cut and welded to shape.

tundra17.jpg


tundra18.jpg


tundra19.jpg


Then started building the rest from there.

bump5.jpg


bump6.jpg


bump7.jpg
 
Took it off for finish welding and D-ring mounts:

All welded and cleaned up:

bump04.jpg


D-rings and shackles:

bump01.jpg


bump02.jpg


Mounted back on the chassis:

bump05.jpg


bump06.jpg


bump07.jpg


That's it for the bumper for now. More to come later.. :awesomework:
 
I got stumped on how to finish the rear cage at this point, so I moved on to building an internal roll cage:

ic.jpg


ic1.jpg


ic2.jpg


ic3.jpg


Tired of building.....play time....

snow.jpg


snow1.jpg
 
After I got done playing, I decided to go ahead and keep building.

I got a lot done before I decided to take pictures again. When you get on a roll, you don't think to take progress pictures.

d.jpg


d1.jpg


d2.jpg


d3.jpg


d4.jpg


d5.jpg


d6.jpg


d7.jpg
 
Not done yet, but done enough to get some paint on it. This part I promised my son he could pick out the color. His favorite color being green, I saw this coming. :awesomework:

tp.jpg


I also picked up a set of silver, old school hilux decals to set it off. :awesomework:
 
I got the chassis primed, and painted black and the cab is all done.

tps.jpg


tps1.jpg


tps2.jpg


Got it all put back together:

scalereadyt.jpg


scalereadyt1.jpg


Threw some scratches on it at Wes's House yesterday:awesomework:

play4.jpg


play2.jpg


Crawled around on some of his customer's rigs:

play5.jpg


play6.jpg


play.jpg


It aint done yet, but now you are all caught up:awesomework: :cheer:
 
Dang that thing in sick...

trying not to get into another spendy hobby man..

As far as the welding goes do you just use a small MIG turned way down to make your little welds? Pics can play tricks, but those tubes look small-ish? How thick is the sheet metal for the bumber and other stuff? Has anyone ever used a TIG for this stuff? Way more percision arc on a TIG with a good sharp grind on the Tungsten... I dont know.. Tundra looks sik!

Thanks alot! :beer:

99% of my "tubing" is 3/16" cold rolled solid stock. In certain places, I use 1/8". I mig weld all of it. I use a Lincoln 140HD on gas w/ .023 wire. I actually have the heat turned up a ways, and the line speed a little low. There a some people that do TIG these things, and it looks 10X better. Not that it looks like crap with mig or anything. As far as sheet metal goes, I use around 1/16" or a shade thinner, sheetmetal. Sometimes thinner depending on what it's for.
 
Thanks Brandon:awesomework: You know you need a scale version of your wheeler.......come on.....:D

That would be easy money just step on a Mt Dew can and put tires on it.:haha:
But I might need one of my new rig:awesomework:
 
Top