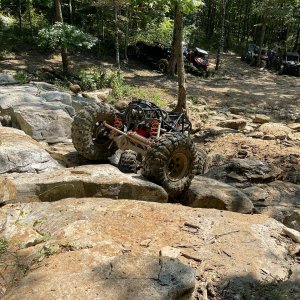
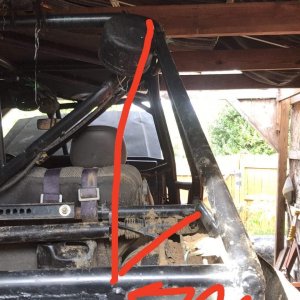
crash2
-Oh no I picked a side-
Mike get him and the car entered in the goodguys car show down in puyallup, it's a all weekend deal and cruise at night. he'll have a blast!
When is it troy?
Mike get him and the car entered in the goodguys car show down in puyallup, it's a all weekend deal and cruise at night. he'll have a blast!


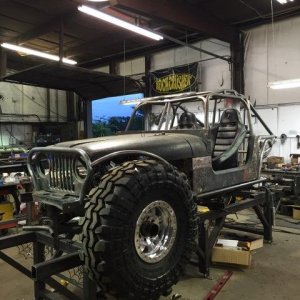
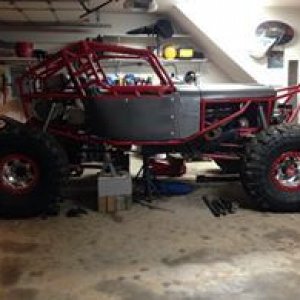
The suspense is killing me....so which motor is the new one? :fawkdancesmiley:
And they call me a dork :fawkdancesmiley: