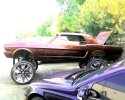
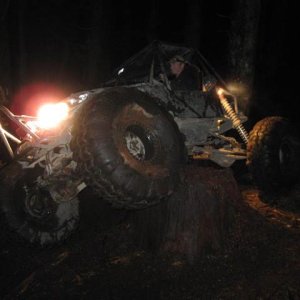
crash2
-Oh no I picked a side-
Looks very good Mike:awesomework:
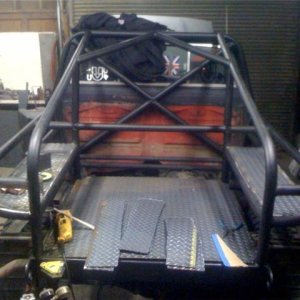
Thanks Gavin--hoping it will really start taking shape in the next week if I keep the progress up...
Looks very good Mike:awesomework:
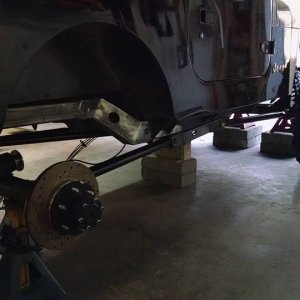
What wheels and tires are going on this?
Did you find a good set of doors? http://seattle.craigslist.org/sno/cto/2253250272.html
This guy might have a pair


I still say Baby Moons!:redneck:

i just remembered your dads mustang is 4 bolt on the rims. very limited options out there.
maybe best to just get some of the wire hubcap/covers that were stock in the day. mostly came on the Special editions. convertables....calif spec etc
awesome mike.
1 suggestion on your rear speakers.
It looks like the foam is touching the steel. If you can, put a spacer beween teh speaker and the steel mount to get the foam off of it, it will vibrate and rub and ruin the speakers in no time.
I love this build.
Fingerprints.....